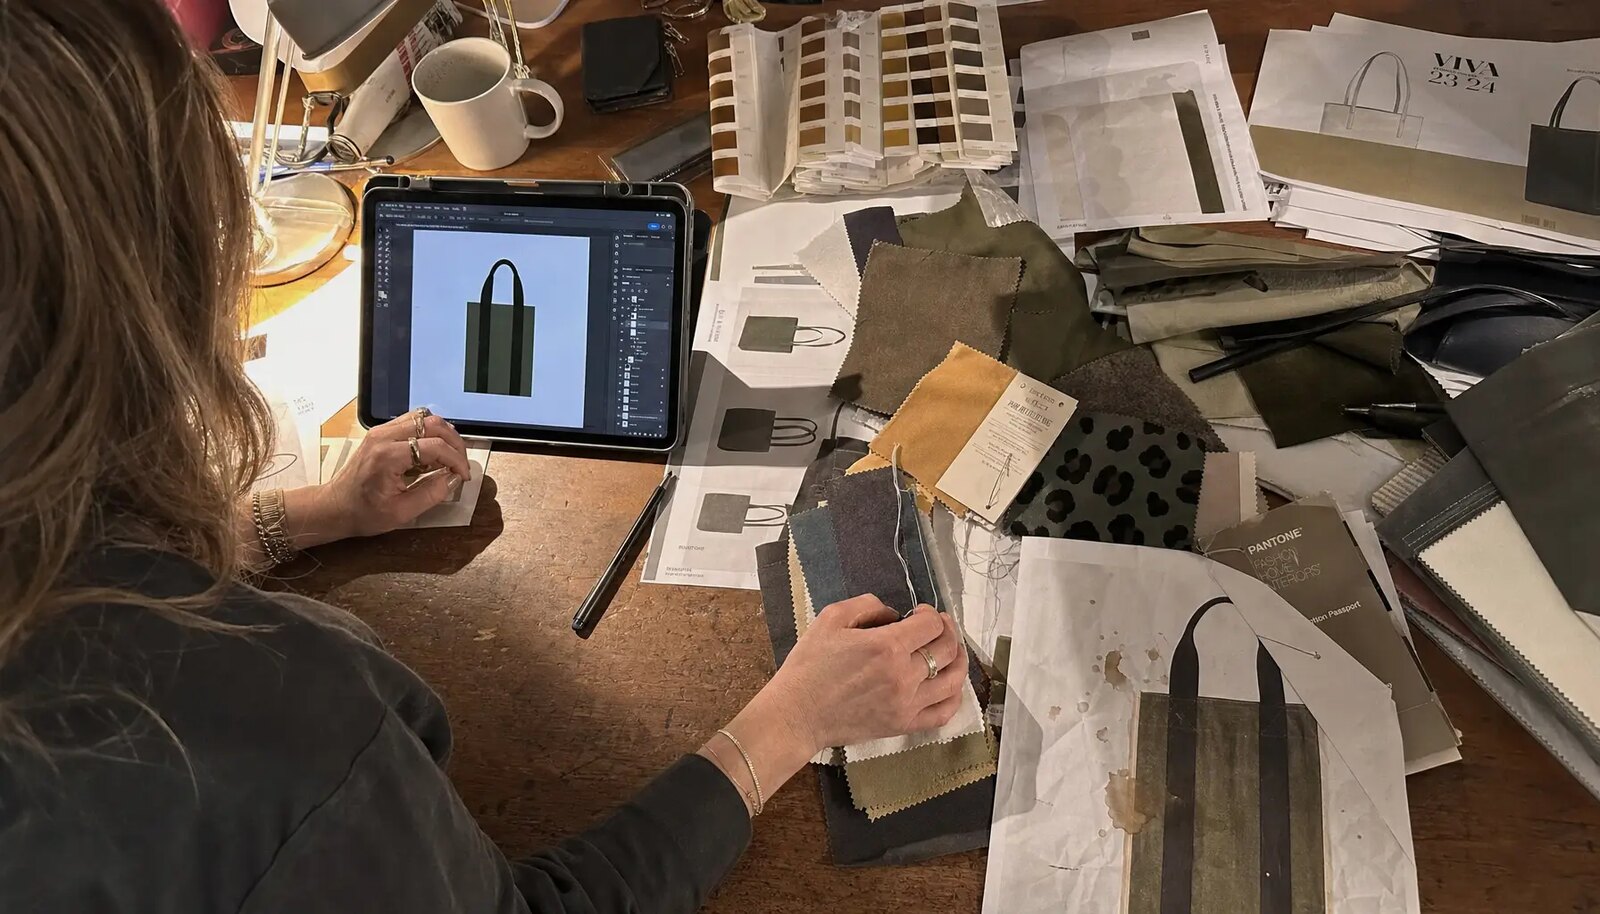
The buying problem: a portfolio looks simple until proofing starts
On a quote sheet, wholesale canvas zipper portfolios can sound almost finished: cotton canvas body, zipper closure, printed logo, carton packing. In real production, each of those words carries choices that affect price, lead time, usable capacity, print appearance, and event readiness. The item is not complicated, but it is unforgiving. A digital mockup can look clean while the finished portfolio fails to fit the buyer packet. A centered logo can look slightly off after sewing. A zipper that feels acceptable on a small pouch can ripple when it is sewn into heavier canvas.
Craft fair orders also tend to have hard dates. The portfolios may be used as exhibitor welcome folders, VIP buyer kits, workshop supply packs, artist print sleeves, order-form storage, or branded retail merchandise. If the shipment lands late, the print is wrong, or the inserts do not fit, there may be no realistic time for a remake. That is why the print proofing checklist should sit inside the procurement process, not after it. It turns preferences into measurable approval points.
Separate four approvals before bulk production: product specification, artwork proof, physical sample, and final inspection plan. A digital proof confirms layout intent. A fabric swatch confirms shade and texture. A print strike-off shows how ink behaves on the actual canvas. A full pre-production sample confirms the combined product: size, zipper function, print position, hand feel, packing, and presentation. These approvals are related, but they are not interchangeable.
- Use one written specification sheet as the control document for quotes, samples, bulk production, and inspection.
- Approve outside finished size and inside usable size separately; measure both on the sample.
- Do not release first-order bulk cutting until canvas weight, zipper grade, print color, and logo placement are physically approved.
- Keep one signed reference sample with the buyer and require the factory to keep one matching sample.
- Record every approved change after sampling, including fabric lot, zipper tape color, ink formula, thread color, label, or packing method.
Define the use before choosing the logo position
Logo placement should not be the first decision. The portfolio has to do a job. A registration-desk portfolio may hold forms, badges, a schedule, and a map. A retail portfolio for art prints needs a cleaner front panel and better protection at the corners. A workshop kit may hold paper, stickers, tags, swatches, or small tools, which changes pressure on the zipper and seams. Put that intended use in the RFQ so suppliers quote the same product, not three different interpretations.
Size needs two measurements. The outside finished size is what buyers see, what affects the retail look, and what drives carton planning. The internal usable size is what the insert actually experiences. Seam allowance, zipper tape, lining, corner radius, and binding can take away space. A4 paper is 210 x 297 mm and US Letter is 8.5 x 11 inches, but the portfolio needs extra clearance for multiple sheets, quick insertion, and smooth zipper movement.
For many craft fair programs, a practical baseline is 12 oz cotton canvas, about 380-410 GSM, with a No. 5 nylon coil zipper and a flat document shape. A 10 oz canvas may fit lower-cost giveaways if the buyer accepts more wrinkling and less structure. A 14 oz canvas gives a heavier retail feel, but it can create seam bulk at zipper ends and add freight weight. Also decide early whether the portfolio is unlined, lined, bound inside, or made with internal pockets.
- State the intended insert: A4 sheets, US Letter forms, 9 x 12 inch prints, catalogs, order forms, product cards, badges, or workshop supplies.
- Confirm whether the portfolio must lie flat on a booth table, stack at registration, hang from a display tab, or fit inside a retail bin.
- Specify finished outside size, internal usable size, zipper opening length, and expected capacity.
- Decide whether a lining is needed for presentation and cleanliness or avoided to reduce thickness and cost.
- Ask the supplier to mark seam allowance, zipper path, corner radius, and print-safe area on a technical layout before sample making.
Canvas weight, finish, and shade can change the print
Canvas is not a neutral print surface. The same ink can look different on natural cotton canvas, bleached canvas, black dyed canvas, pigment-dyed canvas, or washed canvas. Natural canvas often has seed flecks and small shade variation, which can support a handmade craft-market look. Those same flecks can interrupt fine lines, small type, or thin reversed-out details. Bleached canvas gives a cleaner base and stronger logo contrast. Dyed canvas helps with brand-color programs, but it can reduce ink opacity, especially for white, cream, metallic, or pale colors.
Ask for both oz and GSM because buyers, suppliers, and mills may use different conventions. Fabric weight is useful, but it does not fully describe hand feel. Yarn count, weave density, finishing, pre-shrinking, coating, and washing all affect stiffness, shrinkage, and ink absorption. One 12 oz canvas may feel tight and smooth; another may feel looser and more textured. For repeat craft fair programs, confirm whether the fabric is a regular stock quality or a one-time lot.
Shrinkage matters when washing, printing, and sewing are not controlled in the same sequence. If fabric is washed after printing, artwork may distort and final size may reduce. If fabric is pre-shrunk before cutting, dimensions are usually easier to control, although cost can be higher. Dark dyed and washed fabrics also deserve colorfastness attention because the portfolio may rub against documents, garments, table covers, or hands. A simple dry rub check, and a damp rub check where relevant, can catch obvious transfer risk before production.
- Natural canvas: strong craft-market texture, but expect flecks, shade variation, and softer micro-detail.
- Bleached canvas: better for clean logo contrast and retail presentation, but confirm brightness consistency between lots.
- Dyed canvas: require approved swatch, print opacity test, and colorfastness check for dark or saturated shades.
- Washed canvas: approve final size, hand feel, and logo appearance after finishing, not only before washing.
- Coated canvas: test ink adhesion and cracking because some coatings resist standard textile inks.
- Reorder planning: keep a dated fabric swatch with weight, finish, color, and supplier reference for future comparison.
Choose decoration by artwork risk, not only unit price
Screen printing is often the most practical decoration method for wholesale canvas zipper portfolios for craft fairs. It suits solid logos, event names, sponsor marks, booth categories, simple illustrations, and one- to three-color artwork. It can also be efficient for repeat runs when screen size, mesh, ink color, placement, and curing are documented. Still, a strike-off is important. Cotton canvas absorbs ink differently from coated paper, polyester, or the digital proof on a screen.
Heat transfer or digital transfer can work for full-color artwork, gradients, small runs with several versions, or art-based merchandise. The tradeoff is usually hand feel and edge durability. A transfer may look more film-like on natural canvas than expected. Edges may lift if adhesive, heat, pressure, dwell time, or surface texture is not matched correctly. For event products that will be stacked, handled, and opened repeatedly, test light flexing, rubbing, and carton pressure before approving the method.
Embroidery, woven labels, and sewn patches also have a place. Embroidery gives a premium tactile mark for smaller logos, but dense stitches can pucker the front panel unless backing and stitch density are controlled. Woven labels avoid ink absorption problems and keep branding consistent, but they may be too small for sponsor visibility. Patches add perceived value, though they introduce another component, another stitching operation, and another placement tolerance.
- Use screen print for solid logos, simple event names, sponsor marks, and repeat wholesale runs.
- Use transfer print for gradients, photographic artwork, or many-color designs only after testing edge adhesion and hand feel.
- Use embroidery for small premium branding, but specify backing, stitch density limits, and acceptable puckering.
- Use woven labels for consistent small marks, care labels, or maker branding when large front-panel printing is not required.
- Avoid very fine lines, tiny type, and narrow reversed-out details on coarse canvas unless a strike-off proves readability.
- For multi-color screen print, confirm registration tolerance and whether trapping or an underbase is needed on colored canvas.
Make the print proof production-ready
A good print proof is more than a logo dropped onto a product image. It is a production instruction. The factory needs vector artwork, exact print size, Pantone targets, print direction, panel orientation, distance from fixed seams, and the approved decoration method. On zipper portfolios, the print-safe area must allow for the zipper seam, side seams, bottom seam, corner curve, labels, handles if any, and fabric movement during sewing. Do not approve placement without seeing the seam references production will use.
Provide artwork in AI, EPS, vector PDF, or SVG format when possible. Raster files may be acceptable for some transfer methods, but final resolution, color profile, and print dimensions still need confirmation. For screen printing, outline fonts and separate colors. If the artwork includes a sponsor logo, event name, date, booth tier, or city name, confirm spelling, rights, and capitalization before the strike-off. Fixing a word after screens are made is slower and more expensive than checking it upfront.
For first orders, or any order where brand color matters, request a physical strike-off on the actual canvas. Pantone matching on cotton canvas is a target, not a guarantee from a digital file. Natural canvas warms colors. Dark canvas may require an underbase. Coarse fabric softens sharp edges. The approval should state whether the buyer accepts a commercial visual match on fabric or needs tighter color control. Label the signed strike-off with fabric type, ink color, date, print method, print size, and placement reference.
- File format: provide vector AI, EPS, PDF, or SVG for screen print; outline fonts and include linked assets.
- Print size: state exact width and height in millimeters; do not rely on proportional mockups only.
- Placement: define distance from top zipper seam, left seam, right seam, and bottom edge; include centerline if centered.
- Color: provide Pantone references and state whether matching is visual on fabric or controlled to an agreed tolerance.
- Print-safe area: keep artwork at least 25-35 mm away from zipper, seams, and corner curves unless a sample proves otherwise.
- Line detail: test thin strokes, small text, distressed textures, and reversed-out elements before approving bulk.
- Curing: require dry, non-tacky ink with no visible transfer after normal stacking and packing.
- Approval record: sign and date the strike-off and attach it to the final specification sheet.
Zipper construction affects function and appearance
The zipper is not just a closure. It affects how flat the portfolio sits, how the front panel behaves in sewing, and how the logo looks when pieces are stacked. If the zipper tape is too stiff or shrinks differently from the canvas, the edge may wave. If the zipper is undersized, the product can feel cheap against a substantial canvas body. If the slider catches fabric at the ends, users may judge the whole portfolio as poor quality.
A No. 5 nylon coil zipper is a common balanced choice for document portfolios. It is flexible, smooth, and usually easier to sew into canvas than many metal zippers. A No. 3 zipper can reduce cost, but it may look small on 12 oz or 14 oz canvas. Metal zippers can create a premium look, yet they add weight and may scratch paper inserts if not positioned carefully. The quote should name the zipper size, tape color, teeth color, slider type, puller material, puller finish, and end finishing.
Test the zipper on the actual construction sample, not as a loose component. Put in the intended documents or kit contents, close the zipper, and open it repeatedly. Watch the corners and end stops; that is where catching often appears. Also confirm production sequence. If the logo is printed before sewing, zipper installation can affect alignment. If the logo is printed after sewing, the zipper and seams can interfere with the screen bed or heat press.
- No. 3 zipper: lower profile and lower cost, but may feel weak on heavier canvas portfolios.
- No. 5 nylon coil: practical standard for most wholesale canvas zipper portfolios.
- Metal zipper: premium appearance, but heavier and less forgiving around corners and paper inserts.
- Color-matched tape: improves presentation but can create MOQ, dye-lot, or stock availability issues.
- Custom puller: useful for brand programs, but confirm tooling, MOQ, lead time, and spare-puller plan.
- End finishing: inspect both ends for fraying, loose thread, slider escape, and fabric catching.
- Function test: open and close the approved sample at least 20 cycles with intended inserts inside.
MOQ and quote comparison: look past the headline minimum
MOQ is not only the number of pieces a sewing line will accept. For canvas zipper portfolios, it is shaped by fabric availability, dye lot, zipper tape color, slider finish, print setup, label production, packing method, and carton efficiency. A supplier may be able to make 200 or 300 pieces from stock natural canvas, stock black zipper tape, and a one-color screen print. The same supplier may need a higher quantity for custom dyed fabric, special zipper tape, multiple sponsor logos, or molded branded pullers.
Compare quotes by cost drivers, not unit price alone. A low price may exclude screen setup, sample charges, strike-offs, inner packing, carton labels, inspection support, or inland freight. A low MOQ may be possible because the supplier is using thinner canvas, a lower zipper grade, or limited stock colors. A higher MOQ quote can be the safer option if it includes confirmed materials, proper sampling, and clear packing. Procurement teams should compare landed cost and risk, not just ex-factory price.
Many craft fair programs require versions: exhibitor levels, sponsor packages, workshop themes, or retail colorways. Each version can trigger separate setup and minimums. If the buyer wants 1,000 total pieces split across four logos, the factory may treat that as four smaller print runs. Clarify the split before approval, not after the purchase order is placed.
- Ask for MOQ by fabric color, not only total order quantity.
- Ask for MOQ by zipper tape color, teeth color, and puller finish if customized.
- Separate screen setup charges for each artwork, color count, and print location.
- Confirm whether different carton labels, barcodes, inserts, or polybag stickers change packing cost.
- Request price breaks at 300, 500, 1000, and 2000 pieces if demand is uncertain.
- Ask whether reorder pricing assumes the same fabric, zipper, artwork, label, and packing specification.
- Compare estimated landed cost, including freight weight and carton volume, not only ex-factory unit price.
Sample approval should test real use
A clear sample path prevents a common dispute: the buyer approves one thing, but production follows another. A fabric swatch confirms canvas shade, weight, texture, and finish. A print strike-off confirms ink behavior on that fabric. A blank construction sample confirms size, zipper installation, seams, lining, and document fit. A full pre-production sample confirms the complete item: actual canvas, actual zipper, actual print, thread, label, lining if used, and packing. For first orders, this complete sample is the safest gate before bulk cutting and printing.
Use the sample as the final portfolio will be used. Insert the catalog, order form, art print, or kit contents. Close the zipper. Stack it with similar pieces. Put it in the proposed bag or carton. Check whether the logo stays visible, whether the corners crease, whether the zipper snags, and whether the internal usable size still works. An empty sample can look fine and still fail when filled.
Approval notes should be specific. Avoid writing only "sample approved." Record approved size, print size, print position, zipper details, fabric, thread, label, lining, and packing. If approval is conditional, state the change clearly, such as "move logo up 10 mm" or "thread to match canvas." The factory should confirm each correction in writing before bulk production. If a component must change because of stock availability, the buyer should approve the substitute before it is used.
- Measure outside size at top, middle, and bottom because canvas can distort during sewing.
- Measure internal usable size and confirm the real insert fits without curling or forcing the zipper.
- Open and close the zipper at least 20 times, including both ends and the corner area.
- Rub the printed area with a dry white cloth after curing; check for obvious transfer or tackiness.
- Stack the sample overnight against another canvas surface to check print marking if timing allows.
- Check thread color, stitch density, backstitching, label position, lining flatness, and loose threads.
- Photograph the approved sample with ruler, print detail, zipper detail, interior, and packing.
- Tie written approval to sample date, supplier reference number, and any required correction list.
Packing can damage an otherwise good print
Some logo complaints are packing problems. If portfolios are stacked before ink is fully cured, ink may transfer to the next piece. If cartons are too tight, creases can run through the logo. If the portfolio is folded to save volume, the fold line may make it look used before it reaches the craft fair. Natural canvas can also pick up dust, moisture marks, or dirt if it is packed without enough protection.
Flat packing is usually the safest method for document portfolios because it protects shape and keeps the front panel cleaner. Individual polybags reduce dirt risk and simplify distribution, but some buyers prefer recycled polybags, paper bands, glassine-style sleeves, or no individual plastic. Sustainability preferences should be stated in the RFQ. At the same time, the buyer still needs to think about moisture, rubbing, and carton handling during shipment. A paper band may look better for retail, but it does not protect natural canvas from dust.
Review carton planning before shipment. Pieces per carton, carton dimensions, gross weight, stack direction, liner, inner bag, and pallet plan all affect product condition and freight cost. Overloaded cartons can crush corners or leave zipper impressions. Underfilled cartons allow movement and rubbing. If the order includes retail barcodes, event inserts, sponsor labels, or mixed versions, packing accuracy becomes part of QC.
- Use flat packing when the portfolio must protect documents or look premium on arrival.
- Avoid fold lines across the print unless the buyer has approved visible creasing risk.
- Require ink to be fully cured before stacking, bagging, or carton packing.
- Use individual bags, carton liners, or tissue interleaving when print transfer or dirt risk is high.
- Keep carton gross weight practical for manual handling to reduce crushing and dropped-carton damage.
- Separate dark dyed canvas from light canvas if there is any rub-off or dye transfer concern.
- Approve carton marks, barcode labels, inner quantity, outer quantity, and mixed-version packing plan in writing.
- Inspect cartons for dampness, crushed corners, broken tape, incorrect labels, and inconsistent piece counts.
Plan lead time backward from the craft fair date
For a dated event order, plan backward from the in-hands date. Factory production time is only one part of the schedule. Buyers also need time for artwork cleanup, supplier questions, material swatches, sample making, sample freight, internal approval, deposit processing, bulk material purchasing, production queue, printing, sewing, final inspection, export booking, customs clearance, and domestic delivery. Every unclear proofing decision reduces the recovery window.
The fastest route is standardization: stock natural canvas, standard zipper tape, one-color screen print, existing portfolio size, and simple flat packing. Moderate complexity includes dyed canvas, two- or three-color printing, individual bags, carton labels, and multiple delivery addresses. Higher-risk schedules include custom pullers, custom zipper tape, washed fabric, full-color transfers, embroidered patches, several artwork versions, or retail-ready packaging. These choices can be worthwhile, but they need more calendar room.
Ask when lead time starts. Some suppliers count from deposit. Others count from artwork approval, material arrival, print strike-off approval, or pre-production sample approval. That difference matters. A quoted 30-day lead time may stretch if the clock does not begin until sample approval. A fixed craft fair order should include buyer decision deadlines as well as supplier production dates.
- Fastest route: stock canvas, standard No. 5 zipper, one-color screen print, existing size, simple carton packing.
- Moderate route: dyed canvas, two-color logo, individual bag, carton labels, and one or two artwork versions.
- Higher-risk route: custom puller, washed canvas, multiple sponsor logos, transfer print, embroidery, or retail packaging.
- Confirm when lead time starts and which approvals must be completed first.
- Leave time for final inspection, sorting, minor rework, carton relabeling, and replacement of defective pieces.
- Build customs and domestic delivery buffer into the in-hands schedule, especially near peak seasons.
- If the event date cannot move, simplify customization before placing the order rather than relying on emergency freight later.
Specification comparison for buyers
| Spec decision | Recommended option | When it fits | Buyer risk to check |
|---|---|---|---|
| Canvas body weight | 12 oz cotton canvas, typically about 380-410 GSM; confirm actual mill tolerance, finish, and whether weight is measured before or after washing | Balanced option for branded craft fair portfolios, exhibitor document kits, order-form folders, retail add-ons, and workshop packs | Too light may wrinkle around the zipper and show contents; too heavy can create seam bulk, needle marks, higher freight weight, and slower sewing output |
| Finished and usable size | Specify both outside finished size and internal usable size; document formats need clearance beyond A4, US Letter, or 9 x 12 inch inserts | Needed for catalogs, price sheets, art prints, stationery packs, receipts, swatches, badges, and registration documents | Outside size does not equal capacity; seam allowance, zipper stops, lining, corner shape, and binding can reduce the opening by several millimeters |
| Canvas color and finish | Natural or bleached stock canvas for lower sourcing risk; dyed or washed canvas only with an approved swatch and print test | Natural supports craft positioning; bleached improves print contrast; dyed canvas supports brand-color programs | Seed flecks, shade bands, dye-lot variation, washing shrinkage, and fabric absorption can change logo color and edge clarity |
| Zipper specification | No. 5 nylon coil zipper with specified tape color, teeth color, slider type, puller shape, puller finish, and end-stitching method | Most wholesale craft fair orders needing smooth closure, moderate cost, and reliable sewing on cotton canvas | Low-grade or undersized zippers may wave, snag at corners, separate at teeth, lose sliders, or feel inconsistent across the lot |
| Decoration method | Screen print for solid 1-3 color logos; transfer print for gradients or many-color artwork; embroidery or woven label for small premium branding | Best when the same fair logo, sponsor mark, exhibitor tier, or retail brand is repeated in volume | Ink bleeding, poor opacity, cracking, tackiness, transfer edge lift, puckering, or artwork distortion can occur if not tested on actual fabric |
| Logo placement | Centered on front panel with a practical 25-35 mm clearance from zipper seam, side seams, bottom edge, and corner curve unless physically approved | Keeps branding visible when portfolios are stacked, handed out at check-in, or displayed on booth tables | Artwork too close to seams can skew during sewing, fall into zipper folds, or be hidden by compression creases |
| MOQ logic | Confirm MOQ by fabric color, zipper color, slider finish, print design, label, insert, packing version, and shipment split | Useful when comparing 300, 500, 1000, and 2000 piece procurement options | A low headline MOQ may hide stock substitutions, higher setup charges, separate artwork minimums, or limited color control |
| Sample path | Fabric swatch, print strike-off, blank construction sample if size is new, then complete pre-production sample with actual packing | Best for first-time orders, dated craft fair programs, sponsor-branded merchandise, and retail-ready portfolios | Digital proofs do not show fabric absorption, zipper waviness, shrinkage, hand feel, print curing, or carton pressure marks |
| Packing method | Flat packed; individual OPP/recycled polybag or paper band as specified; typically 25-50 pcs per export carton depending on size and weight | Protects print surface and keeps portfolios clean for retail sale, exhibitor distribution, or workshop kit assembly | Over-tight cartons, uncured ink, damp packaging, mixed-version confusion, and folding across the print can make finished goods look used |
Buyer checklist before sampling
- Define the intended use first: exhibitor folder, buyer welcome kit, retail packaging, workshop supply pouch, print storage, registration packet, or promotional giveaway.
- Write finished outside size and internal usable size as separate lines; include the exact insert type such as A4, US Letter, 9 x 12 inch prints, catalogs, card sets, or swatch boards.
- Specify canvas in both oz and GSM, plus natural, bleached, dyed, washed, organic, recycled-content, coated, or uncoated status if relevant.
- Ask whether the quoted canvas is stock fabric, greige fabric to be finished, or custom ordered fabric, and whether future reorders can use the same quality and shade range.
- Specify zipper size, tape color, teeth color, slider type, puller material, puller finish, puller shape, zipper length, and any custom puller or pull-tab requirement.
- Provide vector artwork with Pantone references, print dimensions in millimeters, placement from seams, artwork orientation, and exact panel face.
- Confirm whether the logo must tolerate folding, carton compression, light rubbing, hand oils, event handling, and repeated zipper opening.
- Require a physical pre-production sample made with actual canvas, zipper, lining if used, print method, thread color, label, and packing method.
- Set written tolerances for finished size, internal usable size, print position, print color, fabric weight, zipper function, stitch quality, and loose-thread acceptance.
- Confirm MOQ by fabric color, zipper color, print design, label version, insert version, packing version, and delivery split, not only by total order quantity.
Factory quote questions to send
- What canvas weight in oz and GSM is included in the quote, and is the weight measured before finishing, after washing, or on finished fabric?
- Is the canvas stock fabric, greige fabric to be dyed or bleached, or custom ordered fabric, and what shade variation should be expected between lots?
- Can you provide fabric construction details such as plain weave or twill, and finishing details such as bleaching, dyeing, washing, coating, calendaring, or pre-shrinking?
- What is the finished outside size, internal usable size, zipper opening length, and measurement tolerance after seam allowance, lining, zipper installation, and corner stitching?
- What insert capacity has been tested, and can the sample be tested with A4, US Letter, 9 x 12 inch prints, or our exact buyer packet?
- Which zipper grade, size, tape color, teeth color, slider type, puller material, puller finish, and end finishing are included in the quoted price?
- Are zipper tape color, puller finish, thread color, lining color, and label material standard stock options or subject to separate MOQ and lead time?
- Which print method is quoted for the artwork, how many colors or screens are included, and are screen setup, film, strike-off, and repeat setup charges shown separately?
- Is the quoted ink suitable for the selected canvas color and finish, and what curing or drying process will be used before stacking and packing?
- Can you provide a print strike-off on the actual fabric, and what practical color tolerance will be used for Pantone matching on cotton canvas?
Quality-control points to confirm
- Finished outside size should normally be controlled within plus or minus 5 mm for standard document portfolios unless the product is very small or highly structured.
- Internal usable size needs its own tolerance when inserts are critical; confirm the approved insert fits without curling, forcing the zipper, or damaging corners.
- Print placement tolerance should be agreed before production; plus or minus 3-5 mm is practical for many canvas sewn goods, while tighter targets may increase rejection risk.
- Canvas weight should match the approved swatch within the agreed mill tolerance, and any switch between natural, bleached, dyed, washed, or coated fabric should require buyer approval.
- Fabric panels should be clean, without obvious stains, oil marks, holes, severe slubs, unacceptable shade patches, or visible cutting defects on the logo panel.
- Screen print should show acceptable opacity, clean edges, correct registration, cured ink, no tackiness, and no transfer to adjacent packed pieces after normal stacking.
- Heat transfer prints should be checked for edge lifting, bubbling, cracking during light flexing, poor adhesion over slubs, and unacceptable shiny film appearance if a soft hand was expected.
- Zipper must open and close smoothly over the full length without fabric catching, slider locking, teeth separation, slider loss, frayed zipper ends, or loose end stitches.
- Stitches should be even, secure, and without skipped stitches, broken thread, loose seam ends, open seams, loose backtacks, or sharp thread knots inside the document area.
- Corners and zipper ends should be reinforced or properly backstitched because craft fair portfolios are repeatedly handled during check-in, display, packing, and transport.