Why Skincare Brands Need a Dedicated Quality Inspection Checklist
Skincare products are oily, heavy, and often sold in glass jars. A tote bag that works for a bookstore giveaway may fail completely when used to carry a 500 ml toner bottle and a jar of night cream. The organic cotton tote must hold weight without tearing, resist oil stains from the products inside, and present a clean, retail-ready appearance on a shelf or at a pop-up event.
A generic tote bag inspection checklist misses the specific risks that skincare brands face: handle failure under load, print degradation from repeated handling, and fabric contamination from factory residues. This guide adapts standard quality control procedures to the realities of skincare packaging and retail display. Use it to write a better RFQ, compare supplier quotes, and avoid the most common production mistakes.
- Skincare totes often carry 2–4 kg of product; handle reinforcement is not optional
- Oily residue from factory cutting oils can stain product packaging or transfer to customer hands
- Print adhesion matters more when bags are handled repeatedly at trade shows or retail counters
- Bag dimensions must fit standard retail shelving; a bag that is too tall or too wide looks sloppy
Fabric Weight: The First Decision That Affects Everything
Organic cotton tote fabric weight is measured in ounces per square yard or grams per square meter (GSM). For skincare brands, the sweet spot is 6 oz (170 GSM) for lightweight promotional totes and 8 oz (230 GSM) for daily-use branded bags. A 6 oz bag is soft and folds easily, but it may sag under 2 kg of product. An 8 oz bag holds its shape better and feels more premium, but it costs about 15–20% more per bag and adds freight weight.
Some suppliers offer 10 oz (340 GSM) fabric for heavy-duty totes, but this is usually overkill for skincare. The extra weight increases shipping cost and makes the bag stiff and less packable. Always request a physical swatch before committing to a weight. A photo or digital spec sheet does not show the hand feel or drape of the fabric. Hold the swatch, fold it, and test how it feels against your product packaging. Weigh the swatch on a digital scale to confirm GSM; tolerance should be ±5% of the stated weight.
- 6 oz (170 GSM): best for event giveaways, lightweight samples, or single-use totes; sagging risk above 2 kg
- 8 oz (230 GSM): recommended for retail sale, daily use, or bags that carry 2–3 kg; holds shape well
- 10 oz (340 GSM): only for heavy loads (4+ kg) or when a stiff, structured bag is desired; adds ~20% freight cost
- Request a 30 cm x 30 cm swatch; weigh it on a digital scale to verify GSM; reject if deviation >5%
Handle Attachment: The Most Common Failure Point
A tote bag handle that rips after a few uses is the number one complaint from skincare brand customers. The handle must be attached with a double stitch or a bartack reinforcement at the stress point. A single straight stitch across the handle seam will fail under 3 kg of weight within 20 uses. Bartack stitching adds about $0.08 per bag but reduces handle failure rates to near zero.
For bags that will carry heavy glass bottles, consider a crossbar handle attachment where the handle webbing wraps around a fabric bar sewn into the bag body. This distributes weight across a wider area and prevents the handle from pulling through the fabric. Ask your supplier for a photo of their standard handle attachment from a previous order. If they cannot provide one, request a sample before approving production. Test handle strength by hanging a 5 kg weight from the handle for 30 seconds; no tearing or stretching beyond 2 mm is allowed.
- Double-stitched handle: minimum 2 rows of stitching, each row at least 3 mm from the edge; stitch density ≥8 stitches per inch
- Bartack reinforcement: a dense zigzag stitch at the handle-to-bag junction, 10–15 mm long; adds ~$0.08 per bag
- Crossbar attachment: handle webbing wraps around a fabric bar inside the bag; strongest option for loads >3 kg
- Test handle strength: hang a 5 kg weight from the handle for 30 seconds; no tearing or permanent deformation allowed
Print Method Selection: Screen Print vs. Heat Transfer vs. DTG
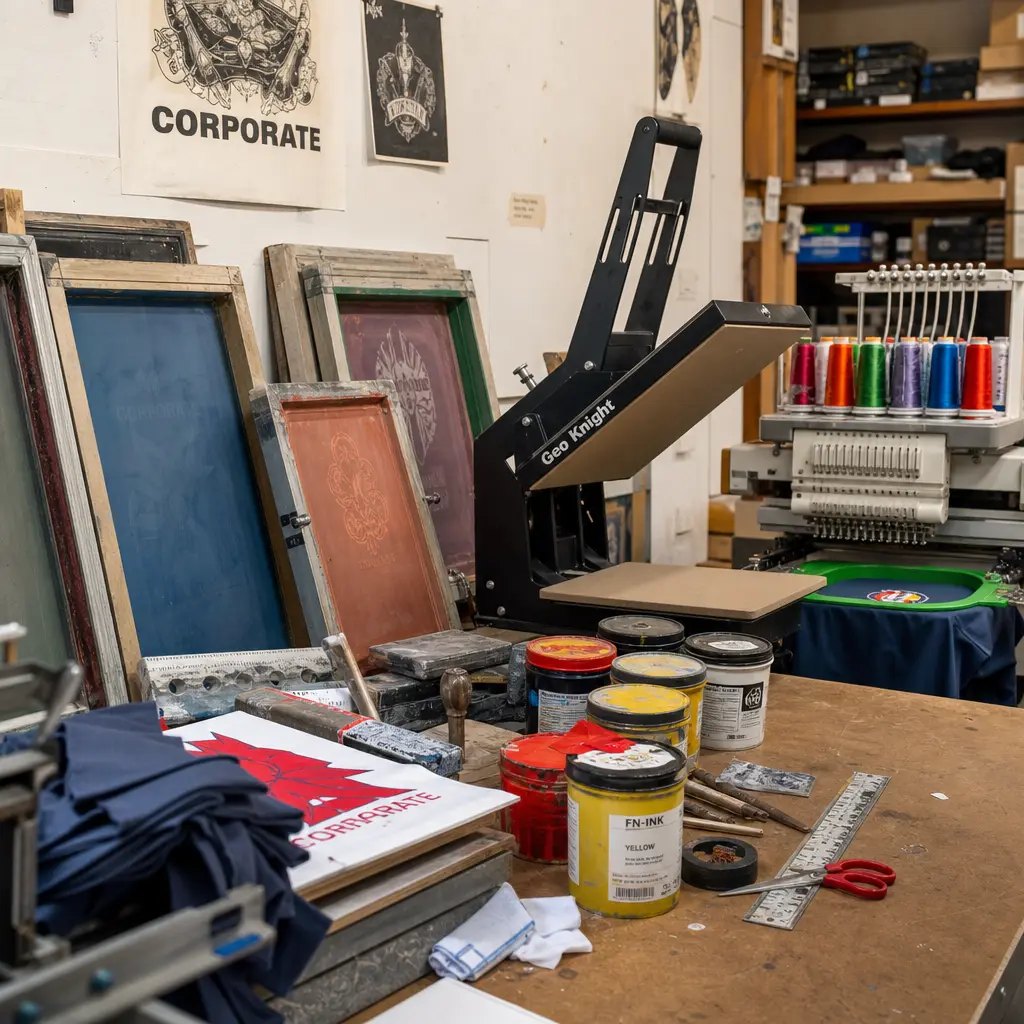
The print method you choose affects cost, durability, and minimum order quantity. For runs of 500 pieces or more, screen printing with water-based ink is the most durable and cost-effective option. Water-based ink soaks into the cotton fibers and does not crack or peel after washing. However, it requires a separate screen for each color, so a 2-color logo costs more than a 1-color logo. Typical screen setup fee is $30–$60 per color.
For short runs (under 500 pieces) or designs with fine details, silicone heat transfer is a good alternative. The print is applied as a thin film that bonds to the fabric under heat and pressure. It is more expensive per piece than screen printing ($0.15–$0.30 per bag extra), but there is no screen setup fee, so the total cost for small quantities is lower. Avoid vinyl plastisol transfers for organic cotton totes; they peel after 5–10 washes and give a cheap look. Direct-to-garment (DTG) printing works for small runs but fades quickly on dark organic cotton after 10 washes.
- Screen print with water-based ink: best for 500+ pcs, durable, soft hand feel, no peeling; setup fee $30–$60 per color
- Silicone heat transfer: good for <500 pcs, fine details, higher per-piece cost ($0.15–$0.30), no setup fee
- Vinyl plastisol: not recommended; peels after 5 washes, stiff feel, looks cheap; avoid for retail-quality totes
- DTG: acceptable for small runs on light colors; fades on dark fabric after 10 washes; not recommended for dark organic cotton
- Always request a wash test: wash the printed sample 5 times at 40°C and check for fading, peeling, or cracking
Gusset and Bottom Construction: Retail-Ready Shape Matters
A flat-bottomed tote bag with a gusset stands upright on a shelf, making it ideal for retail display. Skincare brands selling candles, jars, or boxed products should specify a 4–5 inch gusset. A bag without a gusset (flat bag) will tip over and look messy on a shelf. The gusset also increases internal volume, allowing the bag to carry larger items without bulging.
The bottom seam of a gusseted bag must be reinforced with a double stitch or a French seam to prevent splitting under load. Some factories cut corners by using a single stitch on the bottom, which fails when the bag is filled with heavy products. Ask your supplier for a photo of the bottom seam from a previous production run. If the seam looks thin or uneven, request a sample to test. Fill the bag with 3 kg of product and lift by the handles; the bottom must not sag more than 1 cm or show any seam separation.
- Gusset width: 4–5 inches for standard retail totes; 6 inches for oversized totes; tolerance ±0.3 cm
- Bottom seam: double-stitched or French seam; single stitch is not acceptable for loads >2 kg
- Flat bag (no gusset): only for lightweight giveaways (<1 kg); not suitable for retail display or heavy products
- Test bottom strength: fill bag with 3 kg of product and lift by the handles; bottom must not sag >1 cm or tear
Color Matching and Lab Dip Approval: Avoiding Shade Variation
Organic cotton fabric takes dye differently than conventional cotton. The natural fiber has a slight off-white or beige undertone that affects how colors appear. If your brand uses a specific Pantone color, you must request a lab dip before production. A lab dip is a small fabric sample dyed to match your Pantone reference. Most factories include one round of lab dip in the quote; additional rounds cost $30–$50 each.
Do not rely on a digital proof or a photo of a previous order. Lighting conditions and screen calibration make digital color matching unreliable. Approve the lab dip under natural daylight or a D65 light source. Once approved, keep a physical sample as a reference for the final inspection. If the production batch shows visible shade variation from the approved lab dip, reject the shipment. Acceptable shade tolerance is ΔE ≤ 2.0; any deviation above this is visible to the naked eye.
- Request a Pantone TPX reference; TPX is the cotton-specific Pantone system for accurate color matching
- Lab dip: a 10 cm x 10 cm fabric sample dyed to match your color; approve under D65 light source
- Shade tolerance: ΔE ≤ 2.0 is acceptable; ΔE > 2.0 is visible to the naked eye and should be rejected
- Keep the approved lab dip as a reference for final inspection; do not rely on digital images or photos
Packaging and Carton Packing: Protecting the Product in Transit
Skincare totes must arrive clean, wrinkle-free, and ready for retail display. The standard packaging method is individual polybags made of at least 1.5 mil thick polyethylene. Each bag is sealed to prevent dust, dirt, and moisture from reaching the tote. The polybags also protect the print from rubbing against other bags during transit. Bulk packing without polybags is cheaper but risks stains and abrasion; avoid for retail-ready orders.
Carton packing should be consistent: 50–100 pieces per master carton, depending on bag size. The carton must be a standard export-grade single-wall corrugated box with a minimum burst strength of 200 lbs per square inch. Bags should be stacked flat, not rolled or folded, to prevent creases. Request a carton packing photo showing the bag orientation and layer count before the container is sealed. Verify that carton labels include PO number, quantity, and date.
- Individual polybags: 1.5 mil minimum thickness, sealed, no holes or tears; test seal integrity by pressing air out
- Bulk packing: cheaper but increases risk of stains and print abrasion; not recommended for retail-ready totes
- Carton size: 50–100 pcs per carton; smaller cartons increase per-unit freight cost; larger cartons risk crushing bottom layers
- Carton quality: export-grade single-wall corrugated, burst strength ≥200 lbs/in²; double-wall recommended for heavy loads
- Request a carton packing photo before shipment; verify bag orientation (flat, not rolled) and layer count
Lead Time and Schedule Risk: Planning for Seasonal Launches
First orders of organic cotton totes typically take 25–35 days from order confirmation to shipment. This includes fabric sourcing, cutting, sewing, printing, and final inspection. Reorders are faster, usually 20–25 days, because the fabric is already in stock and the production process is established. If you need bags for a specific event or seasonal launch, add at least 10 days of buffer for unexpected delays.
Rush orders (15 days or less) are possible but come with risks. The factory may skip the sample approval step, use expedited freight (which adds $0.20–$0.50 per bag), or rush the final inspection. If you must place a rush order, insist on a pre-production sample and a mid-production inspection. Do not skip quality checks to save time; the cost of returns and customer dissatisfaction far exceeds the cost of a few extra days. For seasonal launches, place orders at least 45 days before the event date.
- First order lead time: 25–35 days; reorder lead time: 20–25 days; add 10 days buffer for seasonal launches
- Rush orders (≤15 days): possible but risky; request pre-production sample and mid-production inspection
- Expedited freight: adds $0.20–$0.50 per bag; factor into landed cost calculation
- Seasonal launches: place orders at least 45 days before event date to avoid rush fees and quality compromises
Landed Cost Comparison: Beyond the Per-Bag Price
The per-bag price from the factory is only one part of the total cost. You must also consider freight, duties, inspection fees, and potential rework costs. A bag that costs $1.50 FOB but requires $0.30 in expedited freight and $0.10 in inspection fees may end up costing more than a $1.80 bag with standard freight and no inspection issues. Always request a full landed cost estimate from your freight forwarder before placing an order.
Another hidden cost is the defect rate. A factory with a 5% defect rate may offer a lower per-bag price, but you will spend time and money sorting, returning, or reworking defective bags. A factory with a 1% defect rate and a slightly higher price may be cheaper overall. Ask each supplier for their standard defect tolerance and how they handle defects after shipment. Some factories offer a 2% allowance for minor defects; others replace all defective units at their cost. Calculate the cost of defects as: (defect rate × order quantity × per-bag cost) + sorting labor + return freight.
- Landed cost = FOB price + freight + insurance + duties + inspection fees + rework allowance
- Compare total landed cost, not just per-bag FOB price; use a freight forwarder for accurate estimates
- Defect rate: a 5% defect rate adds ~$0.08 per bag in rework and sorting costs; a 1% rate adds ~$0.02
- Ask suppliers for their defect tolerance policy (e.g., 2% allowance) and post-shipment defect handling (replacement or credit)
Final Inspection Checklist: What to Check Before Shipment
Before the container leaves the factory, conduct a final inspection using AQL 2.5 level II sampling. This means inspecting 125 bags from a lot of 1,000 pieces. Check each bag for dimensions, print quality, handle attachment, stitching, and packaging. Measure 3 random bags from the sample: length and width tolerance should be ±0.5 cm, gusset ±0.3 cm. Any bag outside these tolerances is a defect.
Also check for fabric contamination: wipe the interior of 5 random bags with a clean white paper towel. If the towel shows yellow or oily residue, the bags may have been contaminated by factory cutting oils or sizing agents. This residue can stain your product packaging or transfer to customer hands. Reject any lot with visible contamination and request a re-cleaning or replacement. Document all defects with photos and a written report, and share with the factory before shipment.
- AQL 2.5 level II: inspect 125 bags from a 1,000-piece lot; accept up to 7 major defects, reject if more
- Dimension tolerance: length and width ±0.5 cm, gusset ±0.3 cm; measure 3 random bags per sample
- Print quality: no fading, peeling, or misregistration; test adhesion with dry white cloth rub 10 times
- Handle attachment: no loose threads, bartack present, double stitch verified; test with 5 kg weight
- Fabric contamination: wipe interior of 5 random bags with white paper towel; no yellow or oily residue allowed
- Packaging: polybags sealed, cartons undamaged, labeling matches packing list; verify carton burst strength
Specification comparison for buyers
| Spec decision | Recommended option | When it fits | Buyer risk to check |
|---|---|---|---|
| Fabric weight | 6 oz (170 GSM) or 8 oz (230 GSM) | 6 oz for lightweight retail giveaways; 8 oz for daily-use branded totes carrying 2–3 kg | Too-light fabric (<5 oz) causes sagging under 2 kg load; too-heavy (>10 oz) adds freight cost without benefit |
| Handle attachment | Double-stitched crossbar or bartack reinforcement | Any bag expected to carry 3+ kg regularly | Single-stitched handles tear after 20 uses; bartack adds ~$0.08 per bag but prevents returns |
| Print method | Screen print with water-based ink or silicone heat transfer | Screen print for runs >500 pcs; heat transfer for short runs with fine logos | Vinyl plastisol peels after 5 washes; direct-to-garment (DTG) fades on dark organic cotton |
| Gusset width | 4–5 inch gusset for retail-standard flat bottom | Brands selling candles, jars, or boxed products | No gusset = round bottom that tips over on shelves; too-wide gusset wastes fabric and adds cost |
| Inner pocket | Optional patch pocket with reinforced topstitch | Skincare brands including a sample sachet or care card | Pocket sewn with single stitch rips under card weight; pocket placement too low interferes with bag fold |
| Color matching | Pantone TPX reference with 2-round lab dip approval | Brands with exact PMS color requirements | No lab dip = shade variation across production batches; digital proof alone does not guarantee fabric color |
| Packaging | Polybag individually + master carton with 50–100 pcs | Retail-ready totes that must arrive clean and wrinkle-free | Bulk packing without polybags causes dirt stains; overpacking in small cartons increases per-unit freight |
| Lead time | 25–35 days for first order; 20–25 days for reorder | Brands with seasonal launches or event deadlines | Rush orders (<15 days) often skip sample approval or use expedited freight that erodes margin |
Buyer checklist before sampling
- Confirm fabric weight (GSM) in writing and request a 30 cm x 30 cm swatch before production; weigh swatch on digital scale to verify GSM
- Verify handle attachment method: ask for a photo of the bartack or crossbar stitch from a previous order; test with 5 kg weight for 30 seconds
- Request a print adhesion test: rub the printed area with a dry white cloth 10 times; no ink transfer allowed; repeat after 5 wash cycles
- Measure bag dimensions on 3 random samples from the trial run: length and width tolerance ±0.5 cm, gusset ±0.3 cm
- Check for oil or sizing residue: wipe the interior with a clean white paper towel; no yellow or oily marks allowed
- Inspect stitching tension: no skipped stitches, loose threads longer than 1 cm, or puckered seams; verify stitch density ≥8 stitches per inch
- Verify polybag quality: bags must be at least 1.5 mil thick, sealed, and free of holes or tears; check seal integrity by pressing air out
- Request a carton packing photo showing bag orientation, layer count, and carton condition before shipment; verify carton burst strength ≥200 lbs/in²
Factory quote questions to send
- What is your standard fabric weight for organic cotton totes, and can you provide a swatch for GSM verification? What is the tolerance (±GSM)?
- Do you offer double-stitched or bartack-reinforced handles as standard, or is that an upgrade? What is the cost difference per bag?
- What print methods do you recommend for a 2-color logo on organic cotton, and what is the minimum order quantity per color? Do you offer a wash test report?
- Can you provide a lab dip for Pantone color matching before production, and how many rounds are included in the quote? What is the cost for additional rounds?
- What is your standard packing method: individual polybags or bulk packing? What is the cost difference? What polybag thickness do you use?
- What is your lead time for a first order of 1,000 pieces, and what is the reorder lead time? Do you offer a pre-production sample before bulk production?
- Do you perform a pre-shipment inspection? Can I hire a third-party inspector at your facility? What is your AQL level for final inspection?
- What is your defect tolerance percentage (e.g., 2% allowance), and how do you handle defective units after shipment? Do you replace or issue credit?
Quality-control points to confirm
- Incoming fabric inspection: check for slubs, holes, and shade variation against approved lab dip; measure fabric weight on 3 random rolls; reject if GSM deviates >5% from spec
- Cutting stage: verify panel dimensions match approved spec sheet; reject panels with misaligned grain line or frayed edges; tolerance ±0.3 cm per panel
- Sewing line: random check every 50th bag for stitch tension (8–10 stitches per inch), handle attachment (bartack present), and gusset alignment; reject if any skipped stitch
- Print station: test adhesion on first 5 prints of each color; inspect registration (misalignment <0.5 mm) and ink opacity; perform rub test on every 100th bag
- Final inspection: AQL 2.5 level II sampling (e.g., 125 bags from 1,000-piece lot); check dimensions, print quality, handle strength, stitching, and packaging condition
- Packaging check: verify polybag seal integrity, carton labeling (PO#, quantity, date), and pallet stability (stack height ≤1.2 m) before loading container