Start With the Buying Job, Not the Mockup
A good organic cotton totes print proofing checklist for eco apparel brands starts with the business use of the bag. A resale tote has a different risk profile from a campaign giveaway. A gift-with-purchase item may need neat packing and barcode control. A wholesale packaging bag may be judged mostly on size, strength, and brand placement. Before anyone discusses ink color, the buyer should define what the tote must do after it leaves the factory.
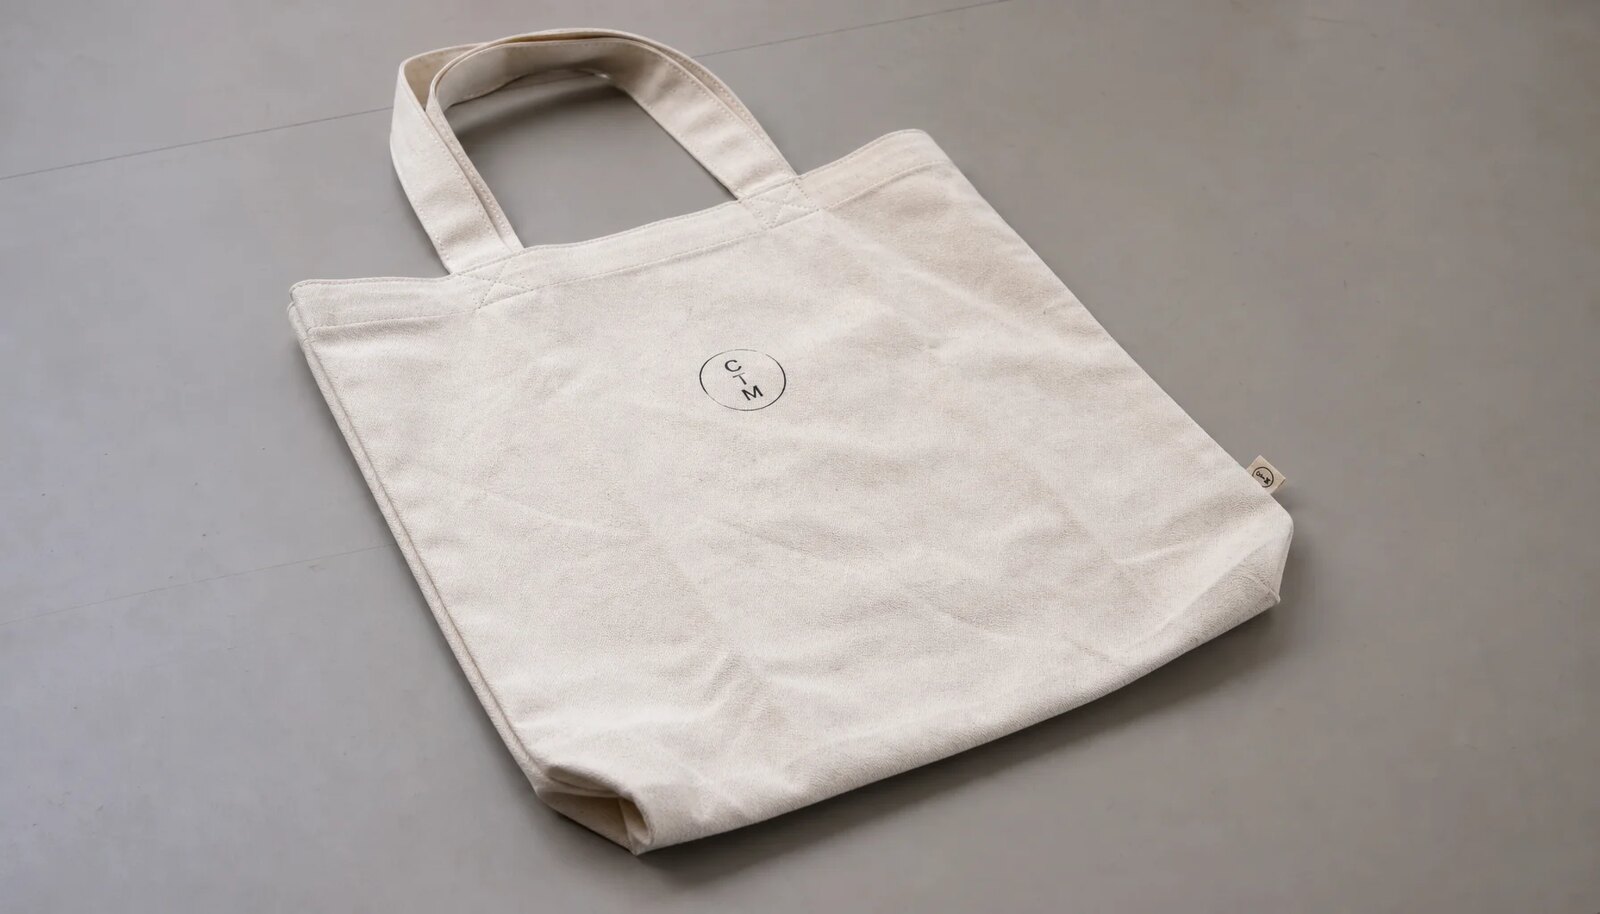
The proof is more than a pretty approval image. In B2B procurement, it is a small version of the production agreement. It should capture the fabric, finished construction, artwork version, print method, placement, color target, packing format, and tolerances. A designer may say the logo feels too low; a sewing and print team needs to know whether that means 5 mm, 10 mm, or a new centerline.
Sort requirements into fixed items and flexible items early. Certification scope, launch date, retailer label position, and brand color may be fixed. Handle length, packing fold, or fabric weight may have room if cost or timing gets tight. This makes supplier conversations calmer because everyone knows which problems can be solved creatively and which ones need a formal change approval.
Name the approval owner before the first proof is made. If procurement, design, sustainability, merchandising, and logistics all need to comment, put that into the timeline. Late feedback after screens are made often means extra cost and lost days. A cleaner process records who approves, what sample is binding, and which comments require a revised proof.
- Define the tote use: resale, gift-with-purchase, event, wholesale packaging, staff issue, or campaign giveaway.
- Separate non-negotiable requirements from preferences in the RFQ.
- Name the approval owner, backup reviewer, and deadline before proofing begins.
- Treat the approved proof as a production standard, not as a reference photo in a message thread.
Lock the Organic Cotton Tote Specification
The blank tote controls much of the print result. Fabric weight, weave, shade, shrinkage, sewing alignment, and pressing all change how a logo sits on the bag. Even perfect vector artwork can look poor on fabric that is too open, too light, unevenly pressed, or built with drifting seams. Approve the bag before approving the decoration.
For many retail-facing eco apparel totes, 180-220 GSM organic cotton is a practical starting range. It gives more body and print stability than very light 140-160 GSM promotional cotton while still folding efficiently for carton packing. Heavier 240 GSM and above can feel more substantial, but it raises material cost, shipping weight, carton volume, and sometimes sewing or print setup demands.
Do not buy by GSM alone. The specification should also cover fabric construction, base shade, finished width and height, gusset depth, top hem width, handle length, handle width, handle spacing, attachment method, seam type, and allowed dimensional variation. Ask whether dimensions are measured flat, after pressing, or after washing if shrinkage is part of the program.
Natural and unbleached organic cotton can shift from lot to lot. A warmer base fabric can make ink look creamier; a greyer base can make the same ink look duller. If the bag is custom dyed, approve the lab dip or bulk fabric swatch before print color approval, then print the strike-off on that approved shade. If the fabric lot changes, color should be reviewed again.
- Specify finished width, height, gusset, top hem, handle length, handle width, handle spacing, seam type, and attachment method.
- Ask for measured GSM tolerance and whether it applies before or after finishing.
- Approve natural, unbleached, bleached, or dyed cotton shade before approving ink color.
- Record whether bulk fabric must match the sample lot or an approved shade range.
Choose the Print Method From the Artwork
The print method should follow the artwork, the fabric, and the commercial expectation. Water-based screen printing is often the most practical route for organic cotton totes with simple spot-color logos, slogans, icons, and one- to four-color graphics. It scales well for B2B quantities and can give a softer handfeel than heavier film-like deposits. It still needs proofing because woven cotton absorbs ink differently from paper, coated labels, or digital screens.
Screen printing is not automatically low risk. Thin strokes, tiny legal copy, tight letter spacing, distressed textures, halftones, gradients, and reversed-out details can fill in or disappear on cotton. A mark that looks crisp on a swing tag may need adjustment at tote scale. Ask the supplier to confirm minimum line weight, minimum text height, negative-space width, and registration tolerance before screens are made.
Dark or custom dyed totes add complexity. A light print on a darker base may need an underbase for opacity. That can improve brightness, but it also adds screens, cost, drying time, registration risk, and handfeel. If the brand expects a soft natural touch, review the underbase sample in person or through a retained physical sample route, not only through photos.
Other methods may fit specific designs. Digital printing can support complex multicolor artwork but should be tested for color, handfeel, durability, and cost at the target quantity. Heat transfers can reproduce fine details but may feel less textile-like. Embroidery can work for small marks, though it may distort lighter tote fabric and is inefficient for large filled areas. The quote should explain why the method fits the actual artwork.
- Use water-based screen print as the default quote path for simple spot-color logo work.
- Flag small type, thin lines, gradients, halftones, distress effects, and reversed-out details before sampling.
- Ask whether an underbase is needed and how it changes opacity, handfeel, price, and lead time.
- Require print method, ink system, screen count, separation count, and cure method in the quote.
Send Artwork That Can Go to Production
Artwork rework is one of the easiest delays to avoid. A supplier can estimate from a JPEG or screenshot, but that does not make the file printable. For branded organic cotton totes, the master file should normally be AI, EPS, or editable PDF with fonts outlined and linked graphics embedded. Logos and type should be vector wherever possible. If the printer rebuilds the file, the buyer loses control over letter spacing, edge shape, proportions, and sometimes color separation.
Every file should state actual print size. Avoid instructions such as medium logo, centered front, or same as mockup. Use width and height in millimeters or centimeters. If one design runs across several bag sizes, state whether the print stays the same physical size or scales by bag. If there is front and back artwork, label each side plainly.
Color references need to be specific, but also grounded in the reality of cotton. Pantone references help communication, and Lab values may be useful for brands with formal standards. The final approval, however, should be the printed result on the approved fabric. Cotton shade, weave, ink system, and curing can all change perceived color. The RFQ should say whether the supplier is matching to Pantone, a physical strike-off, an existing product sample, or a commercially close standard.
Good artwork notes also identify trade-offs. If a tagline must remain readable, define the smallest acceptable result. If a distressed texture is part of the identity, ask whether it can be held at the print size. If a tiny mark is optional, say so before the supplier struggles to hold it in a screen. The aim is not to flatten the design; it is to make print limits visible while there is still time to respond.
- Send AI, EPS, or editable PDF files with fonts outlined and linked assets embedded.
- Name spot colors and attach Pantone, Lab, or approved physical references where available.
- Add actual print width, height, side, orientation, and placement measurements to the proof file.
- Use clear version control, such as brand-tote-front-v03, so the approved file cannot be confused with drafts.
- Ask the supplier to confirm minimum line, text, and negative-space limits before screen making.
Build Proofing Around Physical Evidence
A digital mockup has a job, but it is not the whole proof. It can confirm layout, spelling, approximate scale, side, and orientation. It cannot show ink opacity, cotton absorption, edge gain, cure quality, handfeel, fold marks, or the way a natural base fabric shifts color. Any order with brand risk, resale value, new artwork, a new fabric color, or a new supplier should include physical proofing.
A sensible sequence is digital layout proof, fabric strike-off, then pre-production sample when the risk justifies it. The digital proof should show finished bag dimensions, print dimensions, distance from top hem, distance from side seam or centerline, front/back orientation, and print color references. After that, the strike-off should be printed on the final fabric or finished bag body wherever possible. A full pre-production sample is useful when handles, gussets, two-sided print, fold lines, hangtags, or retail packing affect the final look.
Physical samples need labels. A retained approval sample should show supplier name, buyer name, date, fabric lot or swatch reference, target GSM, artwork version, print method, ink reference, print size, and approval status. Without labels, a sample room quickly fills with similar totes that are not actually interchangeable. The purchase order should reference the binding sample by date and version.
Color should be reviewed under consistent lighting. A formal light box is ideal, but many buying teams use daylight-balanced lighting and compare samples in the same location. Phone photos are useful for quick comments, not final judgment on meaningful orders. When approval includes comments, turn them into measurable instructions: move print 8 mm lower, increase logo width to 240 mm, remove small copy, revise the underbase, or match the strike-off dated on the approval label.
- Use digital proof for layout, physical strike-off for print behavior, and pre-production sample for construction-plus-print approval.
- Print the strike-off on final fabric or the finished bag body whenever possible.
- Label every physical proof with fabric lot, artwork version, date, method, and approval status.
- Convert subjective comments into measurable changes before bulk starts.
Define Tolerances Before Bulk Starts
Production teams need acceptance limits they can measure. Words like premium, clean, centered, and accurate are useful in brand discussions but too loose for inspection. The purchase order should define tolerances for placement, registration, color, opacity, cure, finished dimensions, sewing, cleanliness, and packing. Natural textiles will never be mathematically identical from piece to piece. Tolerances define what variation is commercially acceptable.
Placement should be measured from fixed points. Common references include top hem to top of artwork, side seam to artwork edge, and centerline to artwork center. For many cotton tote programs, buyers use +/-5 mm for stricter retail work or +/-10 mm for more flexible promotional orders. The right number depends on bag size, artwork size, sewing consistency, equipment, and cost expectations. Agree on it before bulk pricing is locked.
Registration tolerance matters most on multicolor artwork. Fine outlines, small type, corners, repeated logo elements, and reversed-out details show misregistration quickly. Ask the supplier to state the expected tolerance in millimeters and prove it in the strike-off. If the design cannot hold that tolerance on woven cotton, adjust the artwork before production rather than accepting a weak bulk result.
Color control should be based on the approved printed standard unless a formal measurement method is specified. Pantone books are printed on paper, so they work best as targets. If the brand requires instrument readings, define the instrument, illuminant, observer angle, and Delta E limit. If not, retain the approved strike-off and inspect under consistent lighting. Also separate fabric shade variation from ink mixing error so disputes stay specific.
- Set placement tolerance from top hem, side seam, and centerline instead of approving by eye.
- Define registration tolerance for multicolor prints, especially around type and outlines.
- Use the approved printed strike-off as the primary color standard unless formal color measurement is agreed.
- State which natural cotton shade variation is acceptable and which contamination is not.
- Write tolerances into the PO, not only into email comments.
Check Cure, Durability, and Finish
Ink cure is technical, but the consequences are commercial. A tote can look correct at the print table and still fail after stacking, folding, packing, shipping, or store handling. Under-cured prints may feel tacky, transfer onto another bag, smell stronger than expected, smear during rubbing, or crack early. Heavy ink can also feel out of step with an eco apparel brand that wants a softer textile hand.
Basic production checks should include dry rub, light scratch, fold, stack, and handfeel review. The print should not smear on a clean cloth during normal dry rubbing. It should not lift under a light fingernail scratch, crack when folded as specified for packing, or block against another bag after cooling. These checks do not replace formal lab testing when a retailer or brand standard requires it, but they catch many floor-level failures.
Inspect the run over time. Ink viscosity, screen condition, squeegee pressure, fabric lint, humidity, operator handling, and curing temperature can change during production. Pull pieces from the beginning, middle, and late stages of printing. On larger orders, inspect cartons from different production times rather than only the easiest cartons near the front of the stack.
The finish should match the approved sample. Some water-based prints sink into cotton and look softer. Some underbased prints sit higher and look more opaque. Neither result is automatically wrong. What matters is consistency against the retained standard for opacity, edge sharpness, pinholes, smudges, fabric show-through, ink buildup, and handfeel.
- Check dry rub, light scratch, fold behavior, stack blocking, odor, and handfeel before packing release.
- Inspect early, middle, and late production pieces to catch drift across the run.
- Compare opacity, pinholes, edge sharpness, and fabric show-through against the approved strike-off.
- Do not seal bags in polybags until the print is fully cured, cool, and dry.
Control Sewing and Print Interaction
A tote bag is not a flat poster. Seams, hems, gussets, handle reinforcement, pressing, and folding can change how the artwork appears. Review print placement on the finished bag form, not only on a rectangular layout. This matters for large centered logos, two-sided artwork, bottom-positioned graphics, and designs that need to look straight when the bag is carried.
The blank bag should be inspected before printing begins. Check finished width and height, top hem width, handle position, handle length, gusset depth, stitch quality, loose threads, seam puckering, and fabric defects. Printing on a bad blank turns a sewing issue into a more expensive decorated defect. If the supplier uses a separate printer, define who rejects off-spec blanks before they enter the print line.
Safe print area belongs in the drawing. Keep artwork away from top hems, side seams, bottom folds, gussets, and handle reinforcement unless a physical sample proves the placement works. If the design intentionally crosses a fold or seam, approve that effect on a finished sample. A logo can look centered when laid flat and still appear low or distorted once the tote is filled.
For reorders, construction consistency is as important as ink consistency. The same artwork can look different if the handle drop changes, the top hem grows wider, or the body shrinks differently. Retain the approved bag sample and record construction specs with print specs. Procurement then has a repeatable standard instead of relying on a catalog name or old email chain.
- Approve the blank tote before bulk printing starts.
- Keep the print away from seams, hems, gussets, and handle reinforcements unless tested.
- Measure finished bag dimensions after sewing and pressing, not only cut panel dimensions.
- Retain construction and print samples together for repeat-order control.
Make Packing Part of the Proof
Packing can damage a tote after printing has passed. Fresh ink, tight stacking, damp cotton, overfilled cartons, fold lines through the logo, rough handling, and wrong labels can all create downstream rejections. For retail, wholesale, event kits, and 3PL shipments, packing should be part of the proofing checklist rather than a factory afterthought.
Choose flat pack or controlled fold before bulk packing. Flat packing protects the print better but increases carton volume. A single fold can reduce freight space, but the fold should avoid the logo or heavy ink when possible. If the print must be folded, test the exact fold after cure. Check whether the folded presentation hides the logo, creases a key mark, or conflicts with a hangtag, belly band, or barcode label.
Moisture and cleanliness matter on cotton. Bags should be dry before sealing, especially in individual polybags. Trapped moisture can lead to odor, surface marks, or blocking. Natural cotton also shows lint, oil marks, dye transfer, dark fibers, loose threads, and dirty table marks. Small natural flecks may be acceptable on unbleached cotton; production contamination should not be treated the same way.
Carton control protects distribution. Carton marks should identify SKU, artwork version, fabric color, quantity, purchase order, carton number, destination, and any barcode or retailer reference. If the order has multiple artwork versions, cartons must not be mixed without clear labels. Packing instructions should also define units per inner pack, carton quantity, carton dimensions, gross weight target, and whether polybags, tissue, hangtags, or warning labels are required.
- Approve fold direction and presentation before bulk packing starts.
- Avoid fold lines across logos, heavy ink deposits, or small type where possible.
- Confirm bags are fully cured, cool, dry, and clean before stacking or sealing.
- Use carton labels that identify SKU, artwork version, fabric color, PO, and quantity.
- Check packing from different cartons, not only a top-layer sample.
Normalize Quotes Before Comparing Price
A low unit price can hide missing work. Printed organic cotton tote quotes often vary because one supplier includes strike-offs, another excludes screen charges, another assumes lighter fabric, and another prices basic packing when the buyer expects retail labels. Procurement should normalize quotes before selecting a supplier. Compare the same fabric, construction, artwork, proofing, QC, packing, documentation, and incoterm.
Ask for pricing by quantity tier and by version. MOQ can change by fabric color, bag size, print color count, print side, artwork version, and packing style. A total order of 5,000 pieces may still be inefficient if split across five artwork versions and three fabric colors. Screen charges, setup, underbase, color changes, sample fees, extra proof rounds, labels, hangtags, and inspection support should be visible as separate lines.
Lead time also needs the same starting point. One supplier may quote 25 days after deposit, another 25 days after sample approval, and another 25 days after fabric arrival. Request a timeline covering artwork check, digital proof, strike-off, sample dispatch, buyer review, bulk material preparation, sewing, printing, curing, inspection, packing, and ex-factory date. If the tote supports an apparel launch, add approval buffer.
Accountability should influence the award decision. A direct bag factory with coordinated printing may be easier to manage for full-product responsibility. A specialist printer may be excellent at decoration but rely on another source for blanks. A trading partner may coordinate multiple steps but adds handoffs. The practical questions are simple: who controls the fabric lot, who approves blanks before printing, who retains the approved sample, and who resolves defects that involve both sewing and print.
- Compare quotes only after fabric, bag size, print method, color count, proofing, packing, and incoterm are aligned.
- Separate unit price from setup, screen, sample, proof, packing, labeling, and inspection charges.
- Ask for MOQ by SKU, fabric color, artwork version, print side, and color count.
- Compare lead time from the same starting point, preferably artwork lock and sample approval.
- Choose the supplier that can repeat the approved sample, not just the lowest first quote.
Specification comparison for buyers
| Spec decision | Recommended B2B control | When it fits | Buyer risk to check |
|---|---|---|---|
| Sourcing route | Use an organic cotton bag factory or coordinated supplier that controls fabric sourcing, sewing, print proofing, final inspection, and packing records. | Retail, wholesale, event, and gift-with-purchase tote orders where one accountable party must own the approved sample and the bulk result. | Confirm whether printing is in-house or subcontracted, who checks blank bags before printing, and who pays if correct artwork is printed on off-spec totes. |
| Fabric weight | Use 180-220 GSM organic cotton canvas or plain weave for many retail-facing totes; use 140-160 GSM only when light duty and lower cost are accepted. | Eco apparel brand programs that need a practical balance of print stability, handfeel, foldability, carton efficiency, and price. | Ask for measured GSM tolerance, fabric construction, fabric width, shrinkage expectation, and bulk-lot swatch approval before cutting. |
| Fabric color | Choose natural or unbleached cotton for simpler proofing; use custom dyed fabric only after lab dip, shrinkage check, and strike-off on the approved shade. | Orders where a natural material look is acceptable, or where the brand color is mainly carried by the printed artwork. | Natural cotton shade varies by lot; dyed fabric may need an underbase, revised ink formula, extra cure control, and separate color approval. |
| Bag construction | Lock finished size, gusset, top hem, handle length, handle width, handle spacing, handle attachment, stitch type, and dimensional tolerance before print approval. | Programs with front logos, back logos, two-sided print, retail display needs, or repeat orders across seasons. | A print can look crooked when the top hem, side seam, gusset fold, handle reinforcement, or pressing changes between sample and bulk. |
| Print method | Use water-based screen print for most one- to four-color logos, slogans, and flat graphics; test alternatives on the final fabric. | Scalable B2B orders needing soft handfeel, repeatable spot color, and clean logo edges on cotton. | Check mesh count, ink system, underbase, registration tolerance, minimum line weight, minimum text height, and curing method. |
| Proof type | Require a digital layout proof plus a physical strike-off on final fabric; add a full pre-production sample for new suppliers, custom dye, two-sided print, retail resale, or high-value orders. | Situations where approval cannot rely on a clean PDF, catalog image, or product mockup. | Digital proofs cannot validate ink opacity, fabric absorption, cure, handfeel, fold marks, shade interaction, or seam distortion. |
| Artwork package | Supply vector AI, EPS, or editable PDF files with outlined fonts, embedded links, named spot colors, Pantone or Lab references, actual print size, and version number. | Brand-controlled color, clean separations, repeat production, and fewer artwork rebuilds. | Reject screenshots and low-resolution raster art as master files; they cause fuzzy edges, substituted fonts, scaling errors, and unclear separations. |
| Placement control | Measure from fixed reference points: top hem to top of artwork, side seam to artwork edge or centerline, and safe distance from seams and gussets. | Front logo, back logo, two-sided artwork, retail-facing displays, and reorders where visual consistency matters. | Do not approve placement by eye. Define tolerance, such as +/-5 mm or +/-10 mm, based on bag construction and artwork size. |
| MOQ and pricing | Break MOQ and cost by bag size, fabric color, print location, color count, artwork version, packing style, and proof round. | Comparing several supplier quotes or managing multiple logo versions, colorways, or delivery destinations. | Screen charges, setup, color changes, sampling, expected print waste, packing labels, and documentation may be missing from a low unit price. |
Buyer checklist before sampling
- Locked product spec sheet with finished bag width, height, gusset, top hem width, handle length, handle width, handle spacing, handle attachment, seam type, fabric construction, target GSM, and dimensional tolerances.
- Organic cotton fabric details, including certificate scope where required, fabric shade, weave, target GSM, GSM tolerance, shrinkage expectation, approved swatch reference, and whether the bulk lot must match the sample lot.
- Final vector artwork in AI, EPS, or editable PDF format with outlined fonts, embedded links, named color separations, actual print size, print side, file date, and version number.
- Color standard showing Pantone, Lab value, or approved physical reference, plus a clear statement that final approval is based on the printed strike-off on fabric, not only a paper or screen reference.
- Placement drawing measured from top hem and side seam or centerline, with print area, orientation, safe distance from seams, front/back identification, and agreed tolerance in millimeters or centimeters.
- Confirmed print method, ink type, number of colors, number of screens or separations, underbase requirement, minimum printable line weight, minimum text height, and expected handfeel.
- Proof route with digital layout proof, fabric strike-off, pre-production sample if needed, proof round allowance, approval owner, approval deadline, binding sample label, and change-control rule.
- Quality limits for placement shift, registration, color variation, opacity, pinholes, smudges, edge sharpness, ink cure, rub resistance, fold cracking, bag dimensions, seams, handles, cleanliness, odor, and packing marks.
- MOQ and cost breakdown by bag size, fabric color, print side, number of print colors, artwork version, setup charge, screen charge, sample charge, proof charge, packing style, label requirement, and expected waste allowance.
- Packing instruction covering flat or folded pack, fold direction, units per inner pack, polybag or no polybag, hangtag or barcode placement, carton quantity, carton size, carton weight limit, carton marks, SKU labels, and PO reference.
Factory quote questions to send
- What organic cotton fabric will be used, what certification documentation is available for the fabric or finished product scope, and will the same fabric lot be used for sampling and bulk?
- What is the target GSM, acceptable GSM tolerance, weave type, fabric width, base shade, shrinkage expectation, and fabric-lot approval process before cutting?
- What finished bag dimensional tolerances apply to width, height, gusset, top hem, handle length, handle spacing, and handle attachment position after sewing and pressing?
- Is printing handled in-house or by a subcontracted printer, and who is responsible for matching the approved strike-off during bulk production?
- Which print method, ink system, screen mesh or separation setup, number of screens, underbase, curing method, and handfeel expectation are included in the quoted price?
- What minimum line weight, minimum text height, negative-space width, and registration tolerance do you recommend for this artwork on the selected cotton fabric?
- Can you produce a physical strike-off on the final fabric or finished bag body before bulk production, how many proof rounds are included, and what is the added cost for extra rounds?
- What file formats do you require, and will you flag non-printable details such as gradients, soft shadows, small legal copy, distressed textures, or low-resolution raster elements before sampling?
- What placement tolerance applies from the top hem, side seam, and artwork centerline, and how will operators measure it during in-line and final inspection?
- What QC limits apply to color drift, registration, ink opacity, pinholes, smudges, edge sharpness, crocking, tackiness, blocking, cracking, and under-cure?
Quality-control points to confirm
- Fabric GSM is measured from the production lot against the approved tolerance, and the shade, texture, weave, and handfeel match the approved swatch or accepted natural cotton range.
- Finished bag width, height, gusset depth, top hem width, handle length, handle spacing, handle reinforcement, stitch density, seam allowance, and overall symmetry match the locked specification before printing starts.
- Print placement is measured from fixed reference points such as top hem, side seam, centerline, and bottom fold; visual centering alone is not used as the inspection standard.
- Registration stays within the agreed tolerance across all color layers, especially outlines, corners, small type, reversed-out details, and repeated logo elements.
- Ink opacity, coverage, edge sharpness, pinholes, smudges, fabric show-through, and ink buildup remain consistent from early production through middle and late production cartons.
- Color is checked against the approved printed strike-off or retained physical standard under consistent lighting, with fabric shade variation considered separately from ink mismatch.
- Cure quality is checked through dry rub, light scratch, fold, stack, and handfeel review, with no tackiness, blocking, peeling, smearing, odor from under-cure, or early cracking.
- Artwork details remain legible at production scale, including punctuation, minimum strokes, internal logo spaces, small lettering, alignment, and negative space.
- Print does not interfere with seams, top hem, gusset fold, handle reinforcement, bottom fold, hangtag placement, barcode labels, or intended fold style.
- Bags are clean, dry, and odor-controlled before packing, with no oil marks, dye transfer, lint contamination, loose threads, needle damage, stains, damp feel, or dirty handling marks.