Why artwork setup changes your quote
Screen printing on organic cotton bags is not only a design task. It is a production task that changes the factory's screen count, ink use, labor time, and yield. A logo that looks simple on a PDF can become expensive if it uses too many colors, tiny text, gradients, or a large print area that crosses seams. If you want comparable quotes from different suppliers, the artwork must be treated as part of the technical spec, not as a casual attachment.
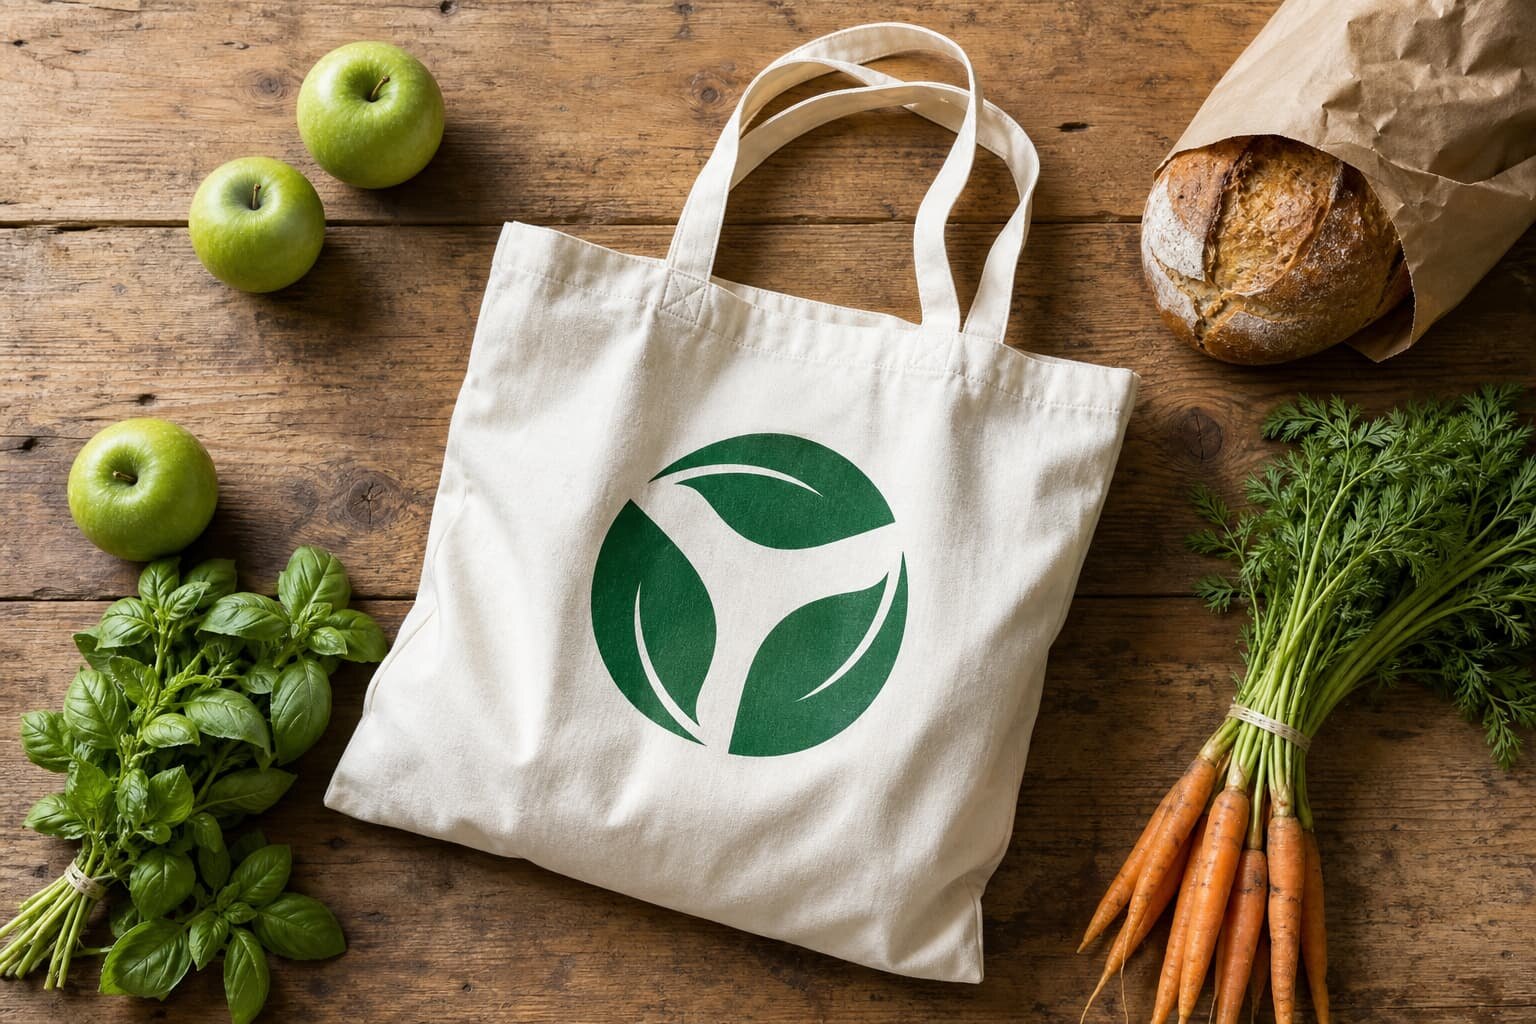
Organic cotton adds its own variables. Most bags are natural, unbleached, or lightly bleached, so the fabric tone changes how the ink reads. The weave can show through more than on coated material, and ink may sink into the cloth instead of sitting on top. That means the same logo can look clean on a 220 gsm retail tote and rough on a 140 gsm giveaway bag. The goal of this guide is to reduce those surprises before you ask for pricing.
- Quote changes when the color count changes, even if the logo shape stays the same.
- Print size matters because larger artwork needs more ink, more setup care, and more drying time.
- Bag color and fabric tone affect opacity, especially on natural cotton.
- Artwork cleanup time can add cost if the file is a screenshot, low-resolution JPG, or flattened PDF.
Start with the bag, not the logo
Choose the bag spec first. If the brief only says 'organic cotton bag' without weight, finish, and construction, the factory will quote against assumptions. A 120-160 gsm bag is usually fine for a light promo tote or event giveaway. A 180-240 gsm bag is better when the bag has to hold more weight, keep a firmer shape, or support retail resale. Above 250 gsm you get more body, but the bag also becomes heavier and can raise freight costs.
The bag shape changes the artwork as much as the fabric does. Flat bags with a wide front panel are easier to print than gusseted bags, drawstring styles, or bags with external pockets. A logo that sits neatly on a flat blank can twist once the bag is sewn and pressed. If the print must stay clear of stitching, fold lines, or woven side labels, state that in millimeters so the supplier can lay out the screens correctly.
- Light promo bags usually sit in the 120-160 gsm range.
- Retail or reusable shopper bags often need 180-240 gsm for structure.
- Heavier fabric improves body but can increase freight and packing weight.
- Ask whether the print is being quoted on a flat blank or a fully sewn bag.
Build artwork that screens cleanly
For screen printing, send vector art whenever possible: AI, EPS, editable PDF, or SVG. Raster files can work as references, but the factory still has to redraw or trace them before screen output. That redraw step is where errors creep in, so the buyer should approve the cleaned file before screens are made. Keep fonts outlined and linked images embedded so the file opens correctly on the factory side.
The cleanest screen-print files use spot colors, not full-process graphics. Name each color clearly and define it with Pantone or another standard reference if color matching matters. Avoid hairline strokes, tiny reversed text, and thin outlines that disappear on rough cotton. As a working rule, keep positive lines above 0.35-0.5 mm and make reversed text large enough to survive ink spread into the weave. If the design needs a soft fade or gradient, ask the factory whether it will be converted to halftones or switched to another print method.
- Send one final vector file, not multiple screenshot versions.
- Outline all text so the printer does not substitute fonts.
- Keep small type simple and avoid script fonts that break on woven cotton.
- If the art has gradients, ask for a printability review before quoting.
Match print method to fabric weight and bag color
For natural organic cotton bags, water-based or low-build spot screen printing is often the safest starting point. It gives a softer hand feel and fits the eco story many buyers want to sell. For a simple one-color logo, a solid spot print is easy to control and usually keeps quoting straightforward because the same setup can be reused across the production run. On a natural bag, dark inks usually read well, while pale inks may need stronger opacity.
Heavier ink coverage or a white underbase becomes important when the bag is dyed or dark. In that case the factory may need extra screens, flash curing, or a second pass to achieve the right density. That changes cost and lead time. Heat transfer or digital transfer can solve complex artwork in small programs, but buyers should treat those methods as exceptions when durability, hand feel, and repeat-order economics matter. For most organic cotton bag programs, a clean spot screen print is still the most commercial choice.
- Use water-based or low-build screen print when you want a softer, textile look.
- Add a white underbase only when the bag color needs opacity support.
- Treat heat transfer as a short-run option, not the default for long programs.
- Ask the supplier how the chosen method changes curing time and ink consumption.
Define placement, size, and tolerance
Print placement should be specified in millimeters, not only as 'centered on the front'. The factory needs a target size, a reference point from the top edge or side seam, and a rule for how much movement is acceptable during sewing, pressing, and packing. A bag with a 10 mm sewing deviation can still be acceptable, but only if the artwork was laid out with enough margin from the start.
Do not place important text too close to the top hem, side seam, or gusset fold. The fabric shifts when the bag is pressed flat, and seam bulk can distort a round logo or warp a rectangular frame. For buyer approval, define whether the print is measured on the finished bag or on the flat blank, because those are different dimensions once stitching and shrinkage are involved. If you also need a side label, pocket, or woven brand tab, approve that placement with the print at the same time.
- Keep the main logo away from seams, hems, and gusset folds.
- Use millimeter references for both position and print size.
- Ask for a flat-blank layout if the sewing process can shift the design.
- Define acceptable movement before sampling, not after the first bulk carton arrives.
What to send in the RFQ
A clean RFQ should let two factories quote the same job without guessing. Include bag size, fabric GSM, body color, print method, print size, number of colors, and whether the art is single-sided or double-sided. Add the logo file in vector format and state whether the factory must clean it up or print it exactly as approved. The goal is to make the quote easy to compare, not easy to misunderstand.
Ask the factory to break the quote into lines: blank bag cost, printing cost by color count, screen or setup fee, sampling fee, extra packing, carton marks, and any special handling. If your program uses multiple sizes, ask whether each size needs a separate screen or whether the art can be scaled without new setup. That one question affects MOQ logic, quoted lead time, and total landed cost. If the supplier cannot explain where the cost comes from, the quote is not ready to compare.
- Bag size, GSM, color, construction, and print placement should all be listed.
- State the exact quantity by size and color so MOQ is not guessed.
- Ask for separate pricing for sample, bulk, and special packing.
- Confirm whether artwork size changes require a new screen set.
Sampling and proof approval
Do not approve screen printing from a digital proof alone. A good factory will show a cleaned artwork proof first, then a strike-off or sample print on the actual bag fabric. That step matters because organic cotton absorbs ink differently than paper, and a line that looks sharp on screen can appear softer on the bag. A real sample also reveals whether the print color sits correctly on a natural or unbleached surface.
Review the sample under daylight and warehouse light, then check it against a ruler. Confirm the real print size, edge sharpness, color density, and how the logo sits relative to seams and labels. If your program includes retail packaging or a hangtag, check those at the same time so the final packing does not push the print out of position. If the sample needs revisions, agree on the revision limit and whether sample cost is credited back against bulk.
- Approve the cleaned file before any screens are made.
- Ask for a strike-off on the actual bag fabric whenever possible.
- Check the sample in more than one lighting condition.
- Measure placement and print size with a ruler, not by eye.
QC checkpoints before bulk release
For bulk production, define what counts as pass or fail before the line starts. The factory should check first-piece registration, ink opacity, curing, and alignment on each color change. Buyers should also ask for in-line checks on the first cartons because screen printing often drifts after the first setup run, especially when the press operator changes bags or the ink thickens during the day. The earlier a problem is caught, the cheaper it is to fix.
A practical acceptance standard is simple: no visible smearing, no obvious pinholes in solid areas, no broken letters, and no major shade shift between cartons. There should also be no print bleeding through to the back unless that was part of the approved look. If your company uses AQL or another inspection standard, put it in the PO and define which defects are critical, major, and minor. The buyer should never assume the factory and the warehouse use the same tolerance.
- Verify first-piece output before full production continues.
- Inspect several cartons, not just one sample carton.
- Check for curing problems that cause rubbing or sticking in packing.
- Confirm that the back side is clean unless show-through was approved.
Packing, lead time, and cost drivers
Packing affects both damage risk and freight cost. Screen-printed organic cotton bags are usually shipped flat, folded, or bulk-packed in master cartons. If the print is large or still fragile after curing, ask for tissue sheets or separator paper so the print face does not rub during transit. For retail orders, confirm inner polybag rules, carton labels, and whether the carton must show size, quantity, and country-of-origin marks. Packing is part of the product spec, not an afterthought.
Lead time depends on how fast the artwork and sample are approved. As a planning example, a simple one-color order may need about 7-10 days for sample development and roughly 20-35 days for bulk after approval, but that changes with fabric stock, printing queue, and packing complexity. The main cost drivers are screen count, print area, ink type, fabric weight, bag construction, and whether the supplier must source the fabric or only print on stock bags. Always ask when the lead time starts: PO date, deposit date, artwork approval, or sample approval.
- Flat packing reduces distortion and is often easiest for screen-printed bags.
- Use separator paper or tissue if the print can mark during transit.
- Ask whether lead time starts after art approval or sample approval.
- Confirm carton and label requirements before the order is released.
Mistakes that force avoidable re-quoting
The most common quoting mistakes are not about price; they are about missing information. Buyers often send a logo screenshot, forget to state the bag GSM, or say 'print on front' without telling the factory where the print should sit relative to seams. Those gaps force the supplier to guess, and each guess can change the setup fee, sample timeline, or MOQ. If you are comparing vendors, the fastest way to get reliable numbers is to standardize the inputs before asking for the quote.
Another common mistake is assuming all organic cotton bags behave the same. Natural, bleached, dyed, lightweight, and heavy bags all print differently. A clean logo on a 220 gsm tote may look too soft on a 140 gsm event bag, and a color that looks rich on a white bag may need an underbase on a natural one. Better RFQs lead to fewer sample rounds, fewer revisions, and fewer arguments after production starts.
- Do not quote from a screenshot when a vector file exists.
- Do not leave the bag GSM or color unspecified.
- Do not ignore seam clearance when the logo is close to edges.
- Do not compare suppliers if one quoted with underbase and the other did not.
Specification comparison for buyers
| Spec decision | Recommended option | When it fits | Buyer risk to check |
|---|---|---|---|
| Bag fabric GSM | 140-160 gsm for promo; 180-240 gsm for retail | You need a balance of price, structure, and print clarity | Too light shows weave and print-through; too heavy raises freight and cost |
| Print method | 1-2 color water-based or spot screen print | Most organic cotton bag logos and simple brand marks | Tiny type, gradients, and overfilled solids can fail on rough cotton |
| Print location | Centered front panel with seam clearance | Standard tote branding and retail pack programs | Gusset, pocket, or hem interference can distort the logo |
| Artwork complexity | Vector art with spot colors and no gradients | Comparing supplier quotes and fast sampling | Raster cleanup adds time, proof rounds, and extra cost |
| Short-run alternative | Heat transfer or digital transfer for complex art | Very small orders, variable names, or full-color promo pieces | Durability, hand feel, and repeat-order economics can be weaker |
Buyer checklist before sampling
- Send vector artwork in AI, EPS, editable PDF, or SVG format, with fonts outlined and links embedded.
- Confirm bag size, fabric GSM, color of the bag body, and whether the material is natural, bleached, or dyed.
- State the exact print area in millimeters and note any seam, pocket, gusset, or label clearance.
- Define the number of print colors, ink references, and whether a white underbase is needed.
- Ask the factory to quote blank bag cost, printing cost, setup cost, sampling cost, and packing cost separately.
- Confirm MOQ logic by color, size, and placement before comparing quotes.
- Request a strike-off or pre-production sample on the actual bag fabric, not only a digital proof.
- Set the inspection standard for registration, coverage, curing, and print position before bulk production starts.
Factory quote questions to send
- What bag GSM, construction, and size are you quoting, and are there any assumptions about fabric shrinkage?
- How many screens, setup charges, and print passes are included for this artwork and placement?
- Will you print from my vector file as provided, or do you include cleanup and redraw work in the quote?
- What is the MOQ per color, per size, and per placement, and can quantities be pooled across sizes?
- Do you recommend water-based ink, standard spot ink, or another method for this fabric and bag color?
- Can you make a strike-off on the actual bag fabric before bulk, and is the sample cost deductible from production?
- What is the lead time from final artwork approval, sample approval, and deposit to bulk completion?
- How will the bags be packed for shipping, and do you charge extra for inner polybags, tissue, or carton marks?
Quality-control points to confirm
- Confirm the approved artwork version, print size, and placement reference before the line starts.
- Check first-piece registration against the approved sample and reject any shift beyond the agreed tolerance.
- Inspect solid fills for pinholes, weak coverage, smearing, and ink bleeding into the cotton weave.
- Verify curing or drying so the print does not crack, stick, or rub off during packing.
- Check that all bags in the carton match the approved color, size, and print position.
- Review the back side for unwanted show-through if the design should be front-only.
- Inspect stitching, hems, and woven labels after printing so the artwork is not cut or warped by construction.
- Confirm carton count, inner packing, and outer marks before release to forwarder or warehouse.