Start With The End Use, Not The Price
A natural cotton tote is easy to under-spec because it looks simple. That is usually where procurement trouble starts. A bag meant for a trade show handout, a retail shelf, and a repeat-use customer program are three different products in disguise. If you do not define the end use first, the quotes you collect will not be comparable, and the lowest number may simply be the lightest construction or the loosest finish.
Before you send an RFQ, write down the use case in plain terms: promotional, retail, e-commerce insert, grocery-style carry, or premium brand merchandise. Then fix the working dimensions, handle drop, gusset depth, logo area, and target load. For buyers who manage several channels, it helps to define a good-better-best ladder so suppliers know whether they are quoting a giveaway bag or a tote that needs to hold shape on a store floor. That one step reduces a lot of wasted back-and-forth later.
- Define the tote's real job before discussing unit price.
- Lock finished size, handle drop, and gusset depth in one drawing.
- Separate promo use from retail resale because the inspection rules are not the same.
Separate Natural Cotton From Organic Cotton Claims
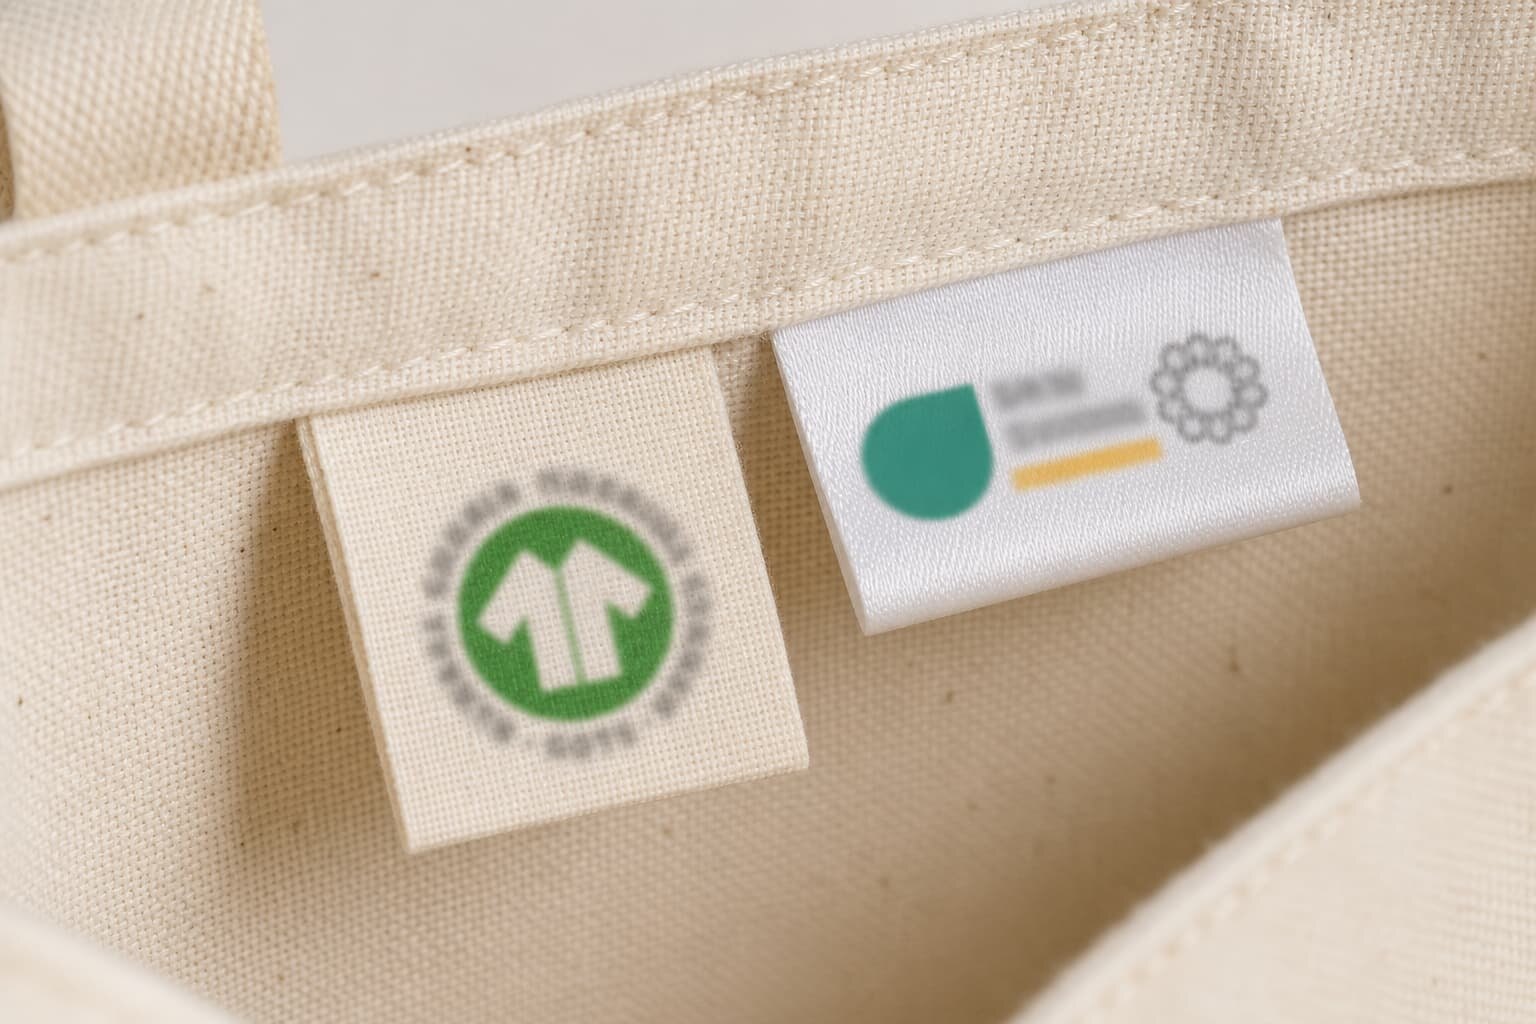
Category names can blur together, but procurement should not. A natural cotton tote may be undyed or lightly processed, while an organic cotton tote needs a proof chain that supports the claim. If your marketing, packaging, or retail listing mentions organic cotton, the supplier's verbal assurance is not enough. You need traceable documents that match the actual order, not just a nice sounding certificate in a folder somewhere in the office.
For organic cotton programs, ask for the applicable scope certificate and transaction certificate, and confirm that the factory and trading company are covered for the specific product claim. Traceability matters here: the certification claim must match the batch, the invoice, and the labeling. If the bag is only natural cotton and not certified organic, keep the wording precise so the product page, hangtag, and customs paperwork do not drift into a claim you cannot support. Good buyers treat claim control as part of quality control, not as a later marketing edit.
- Request the scope certificate and transaction certificate for any organic cotton claim.
- Check whether the certificate covers the named supplier, facility, and product category.
- Keep the product wording aligned across artwork, PO, invoice, and pack labels.
Read The Fabric Beyond The Handfeel
Fabric weight is one of the first things buyers compare, but GSM alone does not tell the whole story. Two bags can both claim 180 GSM and still behave differently because of weave density, yarn quality, shrinkage, and finishing. A tighter weave usually prints more cleanly and keeps the bag looking neater after repeated folding. A looser weave may save money, but it can also make the logo look fuzzy and the bag feel less controlled in the hand.
For most buyer programs, the useful range sits somewhere between 150 and 240 GSM, but the right number depends on what the tote is expected to carry. A lighter build can work for events and sampling. A heavier build is more suitable when the bag is sold as merchandise or used daily. Ask for the actual mill weight, the allowed tolerance, and the shrinkage expectation before you approve bulk. If the supplier cannot describe those in measurable terms, the quote is not yet procurement-ready.
- Check GSM, weave tightness, and shrinkage together instead of in isolation.
- Inspect the fabric for slubs, specks, uneven yarn, and shade difference between rolls.
- Treat a clean print surface as part of the fabric spec, not only the artwork spec.
Treat Sewing As The Load-Bearing System
Most tote failures show up at the seams and handle anchors, not in the middle of the panel. That is why a bag that looks neat on a table can still fail under normal use. The buyer should inspect the stitch density, seam allowance, reinforcement pattern, and thread quality around the top edge and handle attachment. Those areas carry the real stress when the bag is loaded, lifted, dropped, and reloaded.
A practical check is simple: look for straight seams, even tension, secure corner turns, and consistent reinforcement on both sides. A strong tote usually uses 7-9 stitches per inch on main seams, with bar tacks or boxed stitching where the handles join the body. If the factory uses a different construction, it is fine as long as the method is written down and repeatable. What you want to avoid is a sample that depends on one skilled operator and collapses when bulk production starts. That is the quiet, expensive failure mode.
- Inspect handle anchors, top hems, and bottom corners first.
- Measure seam allowance on the sewn bag, not only on cut panels.
- Reject skipped stitches, loose thread tails, and puckering at stress points.
Choose The Branding Method That Matches The Bag
Branding is where a natural cotton tote often becomes either useful merchandise or a maintenance problem. Screen printing is usually the most practical route for bold logos, short color counts, and repeat orders because it is efficient and easy to compare across production lots. If the artwork is more detailed, a woven label or sewn patch can deliver a cleaner result than forcing fine detail onto a textured cotton surface. Embroidery can look premium, but it is not always the best choice for thin fabric or large artwork areas.
The key is to align the branding method with the tote structure, not with habit. A strong print on a loose weave can still look rough. A dense embroidered mark can distort a lighter panel. Ask for the print size, placement template, cure method, and acceptable registration window. For sewn branding, inspect edge finishing, stitch security, and whether the patch sits flat. For brand owners, this is less about decoration and more about repeatable identity at scale.
- Use screen print for bold logos and stable production runs.
- Use woven labels or sewn patches when durability and surface texture matter.
- Match artwork complexity to the fabric and the target price point.
Build Quote Comparisons That Reveal Real Cost
A useful quote is a breakdown, not a single unit price. If one supplier quotes a lower number but excludes setup, packing, or certification handling, you are not comparing the same product. Build the RFQ so every supplier prices the same inputs: fabric GSM, finished size, seam construction, print method, packing format, carton count, sample charges, and any overage allowance. That is the only way to see whether the price gap comes from true efficiency or from a weaker build.
This is also where buyers should push for line-item thinking around tradeoffs. A slightly heavier fabric may raise material cost, but it can reduce complaint risk and make the bag better for retail. A more controlled fold and polybag format may add labor, but it can save warehouse sorting later. Ask each supplier what changes the price most: fabric weight, print color count, label type, or packing requirement. The answer usually tells you more than the quote itself.
- Compare quotes on the same fabric, size, print method, and packing rules.
- Separate sample cost, setup cost, unit price, and shipping-related charges.
- Ask what the quote assumes about under-run, over-run, and replacement pieces.
Use A Sample Path That Mirrors Production
The sample should behave like the order, not like a showroom version of it. Start with the approved fabric, then check the sewn sample under the final print method and packing method. Measure the finished bag after sewing, because cut-panel dimensions are not the same thing as a sewn tote. This is where buyers catch most preventable surprises: the logo sits too high, the handle drop feels wrong, or the fabric shrinks enough to pull the shape off center.
A second stage, usually the pre-production sample, is worth it when the order has custom branding, retail packing, or a tight launch date. Use that sample to confirm the final label, barcode, fold, carton count, and appearance under the same light you will use for approval. If the pre-production sample changes materially from the first sample, stop and compare them line by line. That review is cheaper than sorting 5,000 units after the fact.
- Measure finished size, handle length, and logo placement on the sewn sample.
- Use the pre-production sample to confirm packing and label accuracy.
- Approve the lot only when the sample matches the production spec, not just the artwork mockup.
Set A Clear Inspection Standard Before Shipment
Final inspection should be a written process, not a mood. For tote programs, buyers commonly use a lot-based sampling method such as ANSI/ASQ Z1.4 or ISO 2859-1 with General Inspection Level II, then set AQL targets for critical, major, and minor defects. That structure keeps the factory conversation concrete. It also makes it easier to explain why a bag with a visible hole or a wrong certification claim cannot be waved through while the shipment is already on the truck.
The tolerance sheet should cover size, GSM, stitch quality, print placement, odor, stains, and packing. Typical buyer tolerances are around +/-0.5 cm for many dimensions on controlled retail bags, with slightly wider ranges only if the product is not shelf-sensitive. Print placement often needs a tighter window than general sewing because even a strong logo looks careless if it is visibly shifted. If you want the inspection to protect your margin, define the reject line before bulk production begins, not after the carton seals are cut.
- Set the inspection method, sample size, and AQL in the PO or QC sheet.
- Separate critical, major, and minor defects with real examples.
- Treat wrong certification claims, holes, and seam failures as non-negotiable defects.
Check Packing, Cartons, And Warehouse Fit
Packing is easy to underestimate because it is not visible in a product photo, but it is part of product quality. A natural cotton tote can arrive with good sewing and still disappoint if the folding is uneven, the bag carries lint, or the cartons collapse in transit. Retail and e-commerce programs need a stricter packing spec than a bulk giveaway order. If the bag is going to a warehouse, the fold direction, barcode position, and carton count need to fit the receiving workflow, not just the factory line.
Ask for the carton size, gross weight, inner pack format, and label layout in writing. If the tote is individually polybagged, confirm the bag material and whether the packaging can trap moisture or odors. If it ships bulk-packed, check that the carton still protects the fabric face and the print area. Packing is one of the easiest places for a buyer to lose time later, because the shipment arrives complete but not ready. A tight pack spec saves that waste.
- Specify fold style, pack count, and barcode placement before production starts.
- Confirm cartons are strong enough for export handling and stacking.
- Check that packing materials do not add odor, moisture marks, or print transfer.
Use A Simple Defect Map On The Line And At Final Inspection
The most useful QC reports for tote bags are concrete. Instead of broad language like 'good quality,' a defect map should list what counts as critical, major, and minor. Critical defects are the ones that make the bag unacceptable for sale or use, such as holes, broken handles, contaminated fabric, or a certification claim that cannot be supported. Major defects usually affect function or appearance strongly enough to trigger rejection or rework, such as crooked logos, weak seams, or an off-size lot. Minor defects may be small thread tails or slight fold marks if the buyer accepts them.
A good production workflow checks these points early. In-line inspection catches seam drift, logo shift, and packing variation before the whole lot is finished. Final inspection confirms the finished bag against the approved sample and the QC sheet. If the order is important to your brand, consider a pre-shipment inspection before freight release. That extra gate is where many procurement teams save themselves from a lot of awkward emails later.
- Define critical, major, and minor defects in a shared QC sheet.
- Use in-line checks to catch sewing drift before it becomes a full lot problem.
- Hold freight until the final inspection matches the approved sample and packing spec.
Specification comparison for buyers
| Spec decision | Recommended baseline | Best for | Inspect this first |
|---|---|---|---|
| Fabric weight | 150-180 GSM | Light promotional use, events, and low-load brand giveaways | Confirm the bag still holds shape after folding and light loading |
| Fabric weight | 200-240 GSM | Retail resale, premium gifting, and repeated daily use | Check handle anchoring and seam strength because the fabric carries more load |
| Weave and finish | Tight plain weave, clean natural finish | Logo clarity and a more polished retail look | Look for slubs, uneven yarns, specks, and shade inconsistency across the roll |
| Seam construction | Side seams with 7-9 stitches per inch and reinforced stress points | General brand programs that need dependable production | Inspect stitch density, seam allowance, and skipped stitches at corners and handles |
| Handle reinforcement | Box stitch or bar tack with double reinforcement at anchor points | Heavier carry, retail programs, and longer product life | Pull-test the handles and check that reinforcement is symmetrical and secure |
| Size tolerance | About +/-0.5 cm on key dimensions for controlled production | Retail and e-commerce programs that need repeatable shelf appearance | Measure finished bag size after sewing, not just cut panels |
| Print method | 1-3 color screen print | Simple logos, repeat orders, and stable bulk output | Check print placement, ink coverage, cure quality, and crack resistance |
| Packing format | Flat fold with individual polybag or carton-only bulk pack | Warehouse-controlled retail, e-commerce, and export orders | Verify fold consistency, barcode labeling, moisture protection, and carton count |
| Certification claim | GOTS or OCS only when supported by scope and transaction documents | Any order marketed as organic cotton | Check certificate scope, traceability, and whether the claim matches the actual order records |
Buyer checklist before sampling
- Confirm the exact fabric type, GSM, weave, and whether the cotton is left natural, bleached, dyed, or certified organic cotton.
- Lock finished dimensions, gusset depth if any, handle length, and reinforcement pattern before sampling.
- Approve the logo method, print size, placement, and color standard on the first pre-production sample.
- Request a measured sample report covering fabric weight, size tolerance, stitch count, and print cure.
- Define the packing method, carton quantity, inner packing, barcode label, and retail hangtag requirements.
- Set a defect list for seams, holes, stains, off-size panels, print smears, odor, and shade mismatch.
- Get the supplier to quote the bag separately from printing, packing, testing, and overage allowance.
- Ask for the organic cotton claim path up front if the product will be sold or labeled as organic.
- Agree the approval point for bulk production, pre-shipment inspection, and shipment release in writing.
Factory quote questions to send
- What is the exact fabric construction, GSM, yarn count, and tolerance you will use for this tote?
- What finished size, handle size, seam allowance, and gusset specification are included in the quote?
- Which print method are you pricing, how many colors are included, and what is the setup cost per color?
- What is your MOQ for blank bags and printed bags, and what changes the MOQ if the logo, label, or packing changes?
- Will you quote sample making, pre-production sample, bulk production, carton packing, and any overage separately?
- What is your normal production lead time after sample approval, and what can extend it?
- How do you control shrinkage, print placement, and stitch quality before bulk starts?
- If the tote is sold as organic cotton, which scope certificate, transaction certificate, and traceability documents will accompany the order?
- What carton count, master carton size, and barcode label format are included in the shipment quote?
Quality-control points to confirm
- Use an inspection method tied to lot size, such as ANSI/ASQ Z1.4 or ISO 2859-1, with General Inspection Level II unless your program sets another rule.
- Set AQL targets in the PO or QC sheet, commonly 0 for critical defects, 2.5 for major defects, and 4.0 for minor defects on tote programs.
- Measure finished dimensions after sewing; typical buyer tolerance is about +/-0.5 cm for small totes and +/-1.0 cm for larger formats if agreed in advance.
- Confirm GSM against the approved fabric spec and keep the tolerance tight, often within +/-5% of the target weight unless your program allows more.
- Check stitch density on main seams at about 7-9 stitches per inch, with reinforcement where handles meet the body and where corners take load.
- Require handle reinforcement such as bar tacks, boxed stitching, or double stitching at the anchor points, with symmetry on both sides.
- Set a load test that matches end use, such as 5 kg for light promo totes or 10 kg for retail totes, held for 30 seconds without seam opening or handle failure.
- Inspect print placement against a measured template, with a typical tolerance around +/-0.5 cm for standard retail work and tighter for premium programs.
- Verify print cure by rub or tape test when the artwork and ink system require it, and reject visible cracking, smearing, or incomplete coverage.
- Classify visible holes, oil stains, strong odor, broken stitches, and wrong certification claims as critical or major defects depending on the use case.