Why Side Seam Allowance Controls Pouch Consistency
In a drawstring pouch, side seam allowance is not a minor sewing detail; it controls finished width, seam strength, print real estate, and how square the bag sits when packed. A pouch can use the right fabric weight and still look wrong if the seam allowance drifts between the left and right sides or changes from sample to bulk. Buyers should treat this allowance as a buying spec, not a factory preference.
The photo packet matters because it turns a hidden sewing decision into something procurement can measure before bulk starts. If the allowance is too narrow, fray, seam pop, and print distortion become more likely. If it is too wide, the finished size shrinks, the pouch may lose usable panel space, and the quote assumptions for fabric and packing can be wrong. That is why a measured packet is more useful than a polished beauty shot.
- Tie the allowance to finished size, not just cut size.
- Lock the allowance before artwork is finalized.
- Compare the packet against the same fabric batch planned for bulk.
What a Useful Photo Packet Must Show
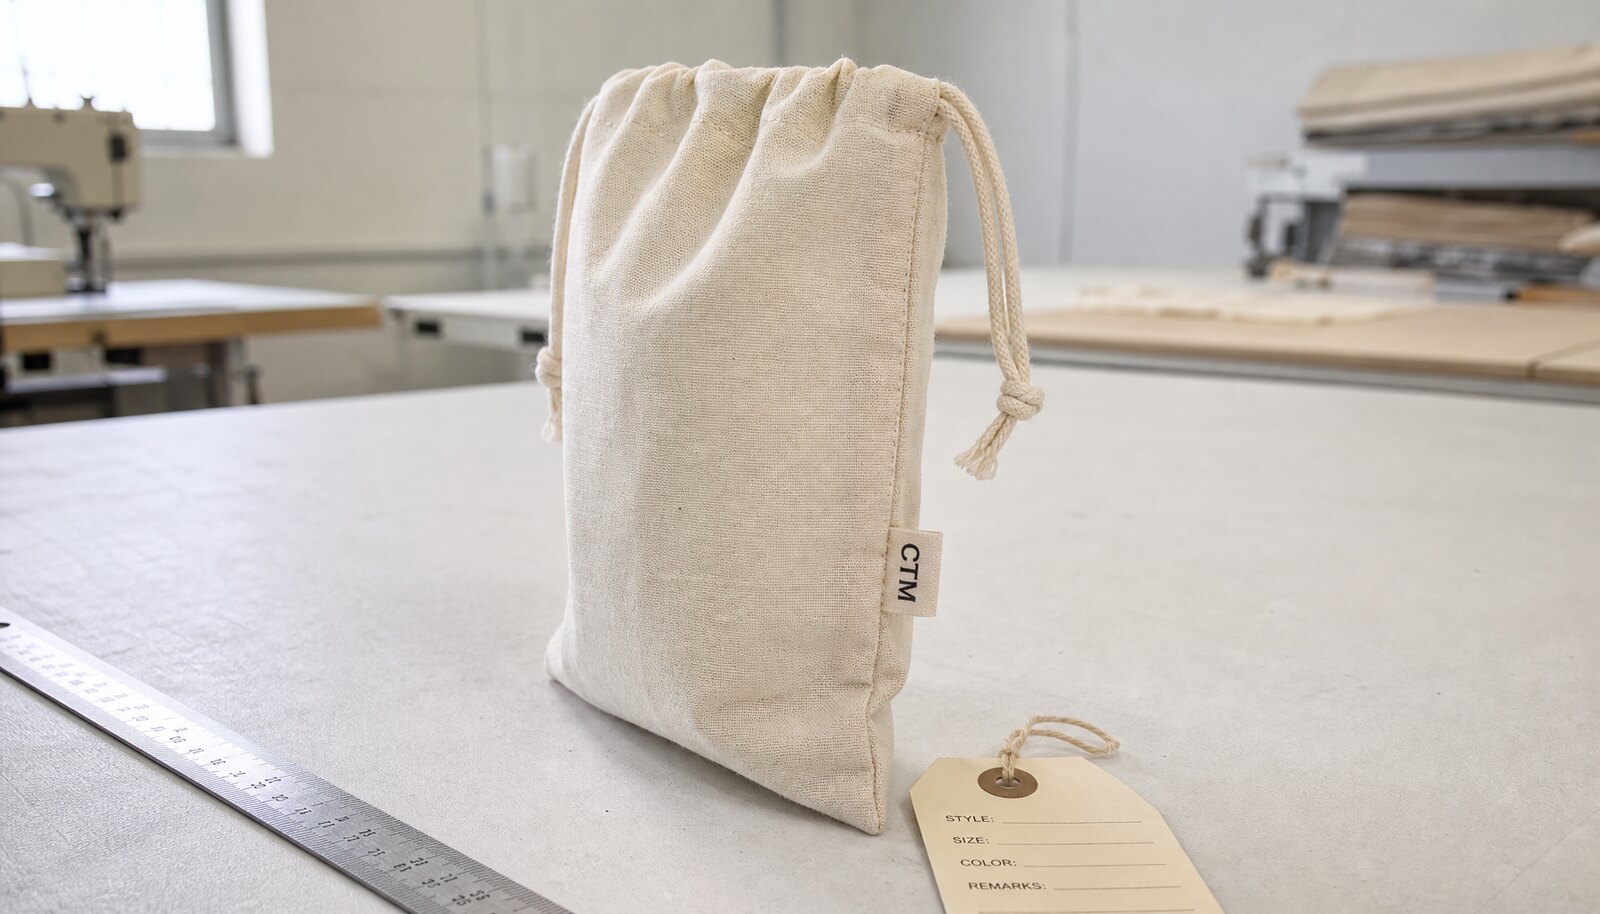
A useful packet is not a folder of nice angles. It should show the seam from the outside, the inside-out seam, the top drawcord channel, the bottom corners, and a ruler or scale in frame. For a drawstring pouch side seam allowance photo packet, the important question is whether the stitch line sits where the factory says it does on both sides and whether the finished panel remains balanced after hemming, turning, or trimming.
Ask the factory to label every image with the style name, fabric GSM, print method, sample date, and the sample number. If the pouch has a woven side label, embroidery, or a sewn-on logo patch, the packet should show that attachment point in the same shot or a matching close-up. Without those details, the photos may still look professional while hiding the exact decision you need to approve.
- Front and back views with the pouch laid flat.
- Close-up of both side seams with a ruler touching the seam line.
- Inside-out shot to show trimming, overlock, or lockstitch finish.
- Bottom corner close-up if the seam continues into a gusset or square base.
- One packed photo to show how the seam affects fold and carton fit.
Match Seam Allowance to Fabric Weight and Build
The right seam allowance depends on fabric body, not just pouch size. On 120-150 GSM cotton, a narrower allowance can work because the fabric folds cleanly and the seam bulk stays low. Once you move to 160-220 GSM canvas, a little more allowance usually gives a cleaner and safer stitch path. At 240-340 GSM, the seam can become thick enough that a narrow allowance causes puckering, hard corners, or drawcord-channel distortion.
The photo packet should make this visible so you can compare alternatives before you pay for bulk mistakes. Do not accept a quote that says standard seam allowance without stating the finished tolerance, stitch type, and edge finish. If the pouch will be lined, laminated, or washed, the allowance should also account for shrinkage and seam recovery after handling. In sourcing terms, the seam allowance is part of the product architecture, not a sewing note.
- Lightweight cotton usually tolerates a narrower seam zone.
- Midweight canvas usually needs a more forgiving allowance and cleaner trimming.
- Heavy canvas or lined builds need extra room to avoid seam bulk.
- Loose weave or recycled fabrics need more attention to fray control and shrinkage.
How Print Method Changes the Seam Decision
Print placement and seam allowance are linked. Screen print is durable and cost-effective at scale, but a heavy ink deposit close to the seam can crack if the fabric folds sharply at the side seam. Heat transfer and digital print can handle more artwork detail near the edge, but they still need a stable panel area so the image does not warp when the seam is stitched. Embroidery adds thickness, so it should be checked against the seam path and the cord channel.
Ask the factory to show the same pouch with the actual print method, not a generic blank sample. A one-color screen print on 140 GSM cotton may be fine with a tighter seam zone, while a multi-color graphic on 220 GSM canvas may need more open space. If your logo is carried on a side label, make sure the label width, label insertion depth, and stitch density are shown in the packet so you are comparing finished goods, not artwork on a theoretical bag.
- Screen print: watch ink cracking at fold lines.
- Digital or heat transfer: watch edge lift and heat marking.
- Embroidery: watch thickness near side seams and the drawcord channel.
- Woven label or patch: watch insertion depth and stitch balance.
- If art crosses the seam, request a sewn sample photo, not just an artwork proof.
How to Read Photos and Compare Supplier Quotes
When quotes differ, do not compare only the unit price. Compare what each factory is actually promising: cut size, seam allowance, fabric GSM, stitch type, print method, label type, and packing format. A lower quote may be using less fabric, a narrower allowance, or a simpler finish that will fail your fit test. The photo packet should help you spot those differences before sampling costs multiply.
Ask the factory to mark the measured seam allowance directly in the image or on the sample itself and to include the same reference points across every quote. If one supplier shows a generous 10 mm allowance and another shows an unmeasured edge, the lower number is not automatically better. Your job is to compare the cost of the spec, not just the cost of the bag. That includes rework risk, carton density, and whether the sample will hold up after your own QC process.
- Make the quote line items explicit: fabric, cutting, sewing, print, label, packing, carton.
- Ask whether sample fees are credited back after bulk.
- Confirm whether extra seam width changes fabric consumption.
- Require the same photo angles for each supplier.
- Treat missing measurement photos as an incomplete quote, not a bonus.
Sample Approval Checks That Prevent Bulk Surprises
Use the sample to test the seam, not just the look. Measure the allowance at the top, mid-panel, and bottom of both sides; the numbers should stay within the range you set in the RFQ. Then check whether the pouch body hangs square, whether the top channel is even, and whether the drawcord pulls without twisting the side seam. If the sample is lined or printed, repeat the check after a press or wash if your end use will expose the bag to heat or moisture.
Keep your acceptance criteria practical. For a promotional pouch, you may allow a modest variance if the bag packs cleanly and the artwork stays clear. For a retail pouch, you may need tighter control because the customer sees every seam and edge. Decide this before approval, not after a defect reaches the warehouse. If you do not define the acceptance band, the factory will default to what is fastest to sew, not what is safest to ship.
- Measure both sides of the same pouch.
- Check after pressing or steaming if those steps are part of production.
- Pull the drawcord through several cycles.
- Inspect for fray at cut edges and thread ends at the channel.
- Compare the sample dimensions to your spec sheet, not to memory.
Bulk Production Controls for the Factory Floor
Bulk problems usually start when the sample was approved but the line was not controlled. Ask for a pre-production meeting, a first-off seal sample, and an inline check on the first 20-30 pieces. The operator should know the exact seam allowance, needle type, thread count, and trimming rule. If the factory changes from one machine to another, the seam can drift enough to change finished width and print position.
For pouches with woven labels, embroidery, or multiple print colors, keep a control sample at the line and a second sealed sample in the office. That gives the production team something physical to match instead of relying on memory from the photo packet. If the fabric has shrinkage risk, ask whether the factory cuts after pre-shrink or if compensation is built into the allowance. A good packet is only useful if the factory can reproduce it under pressure.
- Lock machine settings before the first bulk run.
- Use the same fabric lot for approval and production when possible.
- Check label insertion orientation on every line shift.
- Reconfirm seam allowance after needle change or line stop.
- Hold back a small final inspection sample from every carton lot.
Packing, Carton Load, and Lead Time Planning
Seam allowance affects more than sewing; it changes folded size, carton utilization, and the way a pouch sits in a polybag. If the allowance is wider than the approval sample, the product can become bulkier and reduce carton count. That matters when your quote is built on a specific inner pack quantity or carton dimension. Ask the factory to show one packed sample photo with the pouch folded the same way it will ship, not just laid flat on the table.
Lead time should be split into sample time, art approval time, and bulk time. A realistic order may need a few days for sampling, then a separate window for approval, then a production cycle that depends on fabric availability, print setup, and packing requirements. If the factory offers a very short lead time, check whether it excludes label sourcing, custom packaging, or rework if the seam allowance changes after the first sample. In procurement, schedule risk is often hidden inside the phrase after confirmation.
- Ask for carton size, gross weight, and per-carton count.
- Confirm whether each pouch is polybagged or bulk packed.
- Verify if carton marks are printed, stickered, or plain.
- Ask whether the packed sample photo reflects final pack-out.
- Build buffer time for artwork approval and sample revision.
Mistakes That Turn into Rework or Claims
The most common mistake is approving a clean beauty photo and assuming the seam is controlled. A second mistake is comparing a 140 GSM sample to a 220 GSM bulk order and expecting the same seam behavior. Another one is ignoring the cord channel, which can steal space from the side seam and make a good allowance look wrong. The photo packet should expose those issues before bulk, not after a warehouse inspection.
Buyers also get into trouble when they do not specify which side seam matters. Some factories focus on the better-looking side and leave the opposite side loose or uneven. Others hide a frayed edge behind the fold or trim one sample more tightly than they can in production. If your checklist does not demand measured evidence, your claim file will end up trying to prove a detail that should have been settled in sampling.
- Do not approve unmeasured photos.
- Do not compare unlike fabric weights.
- Do not ignore the opposite seam side.
- Do not skip the packed sample view.
- Do not assume sample handwork will repeat at bulk speed.
How to Write the RFQ Around This Photo Packet
Build the RFQ so the factory knows the photo packet is part of the deliverable, not an optional extra. State the pouch size, target fabric GSM, weave or finish, print method, label type, seam allowance target, and acceptable tolerance. Tell the supplier whether you need front, back, inside-out, and ruler shots, plus a packed photo and the sample date. If the logo is near a seam, identify the measurement from seam to print edge so quotes can be compared on the same basis.
Also specify how the quote should be structured. Ask for separate numbers for sample, bulk unit price, print setup, label setup, packaging, and any special seam reinforcement. That lets procurement see whether a cheaper quote is actually missing labor or material. Once the RFQ is written this way, the supplier cannot hide seam variation inside a vague standard finish line. You get a usable quote, a usable sample, and a cleaner approval trail.
- Attach a dimensioned tech pack or annotated sketch.
- Require a photo packet with a ruler and date reference in frame.
- Ask for sample revision turnaround and cost policy.
- Request lead time by milestone, not one vague date.
- Ask the factory to note any fabric shrinkage assumptions.
Specification comparison for buyers
| Spec decision | Recommended option | When it fits | Buyer risk to check |
|---|---|---|---|
| 120-150 GSM cotton | 6-7 mm side seam allowance | Light promo pouches, low bulk, simple one-color print | Check fray control and whether print sits too close to the stitch line |
| 160-220 GSM cotton canvas | 8-10 mm side seam allowance | Retail pouches, moderate body, logo centered on the panel | Check puckering at the drawcord channel and bottom corners |
| 240-340 GSM heavy canvas | 10-12 mm side seam allowance | Structured pouches, premium feel, frequent handling | Check seam bulk, needle marks, and carton thickness after folding |
| Lined pouch | 10-12 mm allowance plus trimmed corners | Cosmetics, accessories, or higher-end packaging | Check lining alignment and hidden seam bulk inside the pouch |
| Recycled or loose weave fabric | 10-12 mm with edge finishing | Softer hand feel, unstable weave, or natural slub look | Check seam creep, fray, and shrinkage after pressing or washing |
Buyer checklist before sampling
- Confirm the finished pouch size, fabric GSM, and whether the fabric is plain weave, canvas, or a recycled blend.
- Set the target side seam allowance and the tolerance band before sampling starts.
- Require a measured photo packet with front, back, inside-out, and ruler-in-frame seam close-ups.
- Confirm the print method and the minimum safe distance from print edge to seam line.
- Ask for the same fabric batch in sample and bulk whenever possible.
- Verify label type, label placement, and how the label is sewn into the seam or side panel.
- Check the drawcord channel, top hem, and bottom corners for distortion or fray.
- Ask how the pouch will be packed, folded, bagged, and cartonized for shipment.
- Request lead time by milestone: sample, approval, production, and packing.
Factory quote questions to send
- What exact side seam allowance will you cut and sew for this pouch size?
- Can you send a measured photo packet with ruler shots, inside-out seams, and the packed sample view?
- What fabric GSM and shrinkage assumption are included in the quote?
- Which print method are you quoting, and how does it affect the seam clearance and MOQ?
- What sample revisions are included, and what costs extra if the seam allowance needs to change?
- What packing method, polybag spec, carton size, and carton count are you quoting?
- What is the lead time after artwork approval and sample signoff, not just the first sample date?
- What tolerance do you hold on seam allowance, print placement, and label position during bulk?
Quality-control points to confirm
- Measure the side seam allowance at the top, middle, and bottom of both sides.
- Check left-right symmetry so one side is not tighter or looser than the other.
- Inspect stitch density, skipped stitches, thread ends, and seam trimming quality.
- Verify that the print stays clear of the seam line and does not crack at the fold.
- Confirm that the drawcord pulls smoothly and does not twist the pouch body.
- Check for fray, puckering, or seam creep after pressing, steaming, or washing if relevant.
- Compare the sealed sample, the photo packet, and the first bulk pieces against the same standard.
- Review packed dimensions and carton count to confirm the seam allowance did not change shipping density.