Why barcode placement matters on document zipper bags
For a document zipper bag, barcode placement is not a small artwork detail. It affects how fast your warehouse receives the goods, how cleanly a distributor can relabel the bag, and whether a retail team can scan units without opening cartons. If the barcode lands on a curved seam, a soft gusset, or too close to the zipper tape, the code may scan on one unit and fail on the next.
The right placement depends on how the bag will move through the supply chain. If the bag is a bulk office item, the priority is carton and unit counting. If it is retail-ready, the barcode needs a stable, visible face on the product itself. That is why buyers should define barcode location before quoting, not after the first sample arrives.
- Treat barcode placement as a supply chain requirement, not just a print task.
- Choose the placement based on receiving speed, retail handling, and relabeling needs.
- Avoid any zone that folds, stretches, or touches the zipper path.
Start with the scan path, not the decoration path
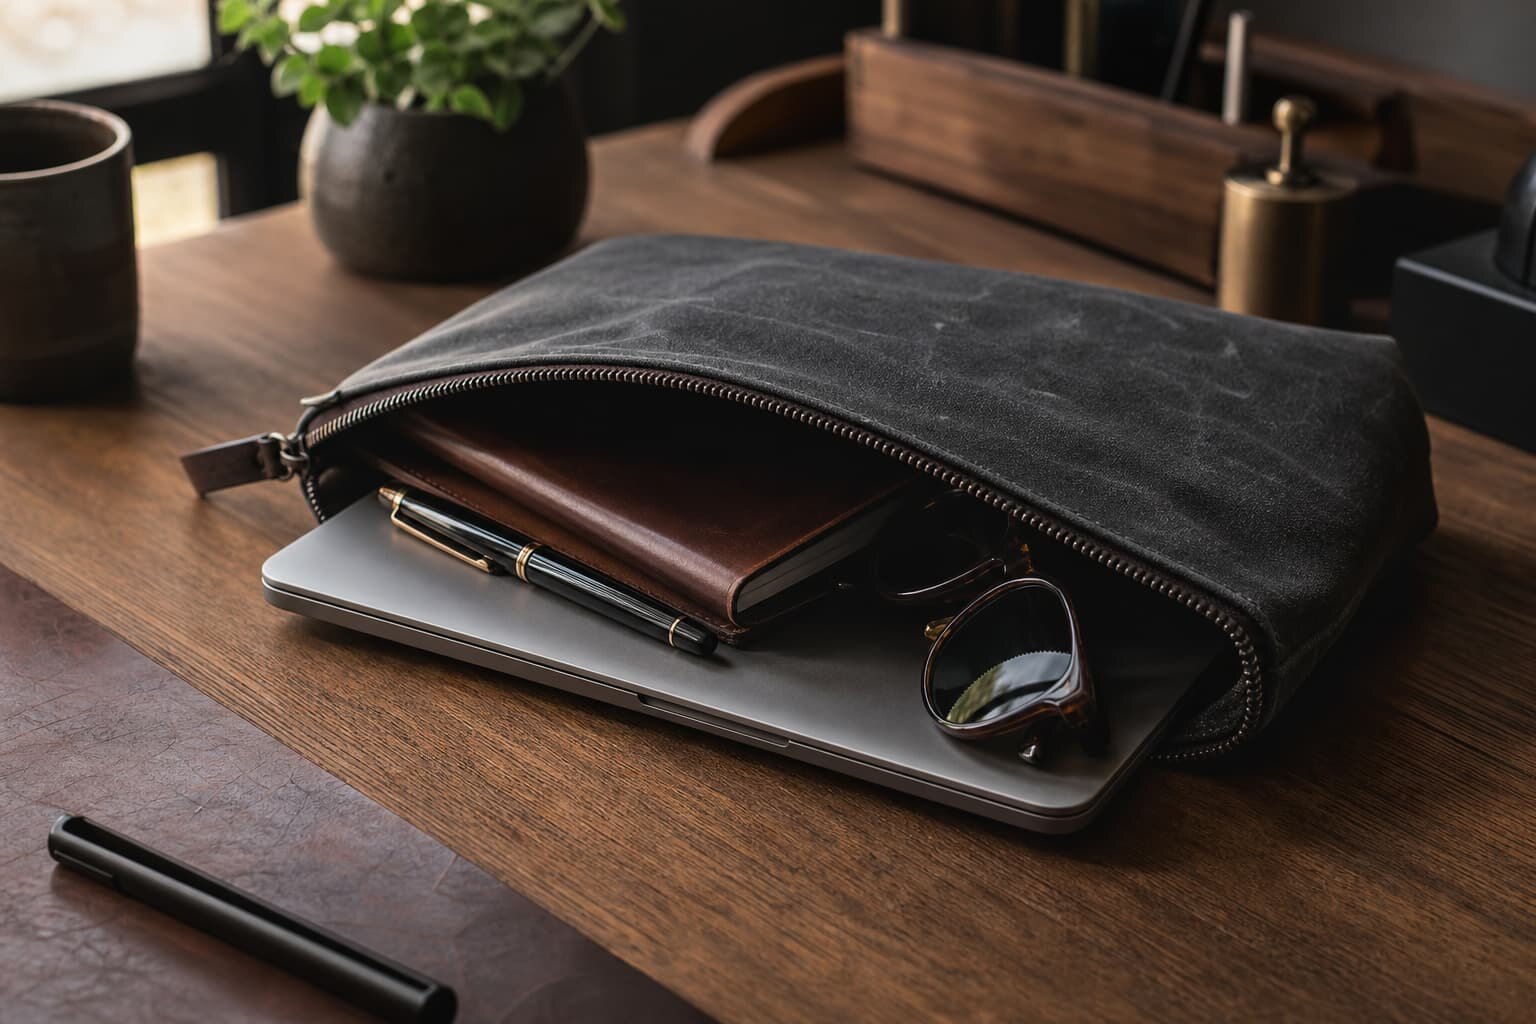
The best barcode position is the one a warehouse worker can see and scan in one motion. On most document zipper bags, that means the back panel or a lower corner of the front panel, placed on the flattest section above the hem. Lower-right back panel placement is often practical because it stays away from the main logo area and keeps the face of the bag clean for branding.
Do not place the barcode where the bag naturally bends. The corners near the zipper pull, side gusset, and bottom seam are common failure points. A barcode that looks centered on artwork may still fail if the bag fabric ripples after packing. Ask the factory to show the exact placement with a printed sample on the real bag structure, not on a paper drawing.
- Use a flat panel with enough margin around the code for scanner quiet zones.
- Keep the code away from zipper teeth, metal pulls, seam joins, and gusset folds.
- If the bag has a strong front logo, move the barcode to the back to avoid visual conflict.
Compare label types before you compare quotes
Not all barcode labels belong on the bag in the same way. A matte adhesive label is the fastest option for unit-level identification and is usually the simplest for short-life or medium-life business bags. A sewn or woven label is more durable, but it needs a cleaner approval process because the barcode itself must remain legible after stitching, folding, and wear.
If your program requires a high-volume retail barcode, ask the supplier which label construction fits the material. For smooth polyester, a thermal-transfer printed synthetic label is usually efficient. For a heavier canvas bag, a woven side label or a stitched label card may hold up better, but you still need scanner verification. The table below shows the buying logic to use during quote comparison.
- Ask the factory to quote label type, print method, and application as separate line items.
- Check whether the barcode needs to survive reuse, not just first receipt.
- Confirm that the print surface matches the bag fabric texture and finish.
Fabric weight and structure change barcode reliability
Barcode placement on a document zipper bag works best when the fabric supports a flat reading area. A bag made from 300D to 600D polyester usually gives enough body for a smooth application zone. If you want a more premium or reusable look, 12 oz to 16 oz canvas can work well, but only when the panel is reinforced and not overwashed, overfolded, or stitched too tightly around the label area.
Soft or very lightweight fabric creates problems. Thin 210D material can pucker under label pressure, and loosely woven canvas can create a textured surface that distorts smaller barcodes. If the bag has a lining, foam, or board insert, ask the supplier where the label should sit relative to those layers. A label applied after final shaping often scans better than one placed before the bag is fully formed.
- For stable scan performance, prefer a firm face panel over a soft or stretchy one.
- Ask for the GSM or denier in the RFQ because surface stability depends on it.
- If the bag will be reused many times, test how the label behaves after folding and friction.
What to include in the RFQ so factories quote correctly
The biggest RFQ mistake is asking for a barcode label without defining what the factory is actually making. A useful quote should specify the bag material, fabric weight, size, zipper type, label type, barcode symbology, label size, and exact placement. It should also state whether the barcode is on each bag, only on the carton, or on both. Without that detail, suppliers will quote different assumptions and the comparison will be misleading.
A strong RFQ also separates one-time setup work from repeat production. Ask for artwork proofing, sample label production, label application, and carton marking as separate steps. If your SKU library includes multiple colors or sizes, tell the factory whether every variant needs a unique code. That affects MOQ logic, changeover time, and whether the supplier can combine codes in one production run.
- State the barcode data field exactly as it should appear in the label system.
- Specify label dimensions, material, and application method in writing.
- Include colorway splits and carton pack counts so the quote reflects real handling work.
How to read supplier quotes without missing hidden cost
When you compare quotes, do not look only at the bag unit price. For document zipper bag barcode programs, the real cost also includes label printing, application labor, setup time, barcode artwork proofing, and any additional packing step. A low quote can hide these items by folding them into vague wording like "printing included" or "standard packing," which makes later negotiations difficult.
The cleanest comparison is a line-by-line quote. Ask each supplier to show the bag body price, the barcode label price, the application fee if any, the sample charge, and the pack method. If one factory offers a sewn label and another offers a glued label, compare the durability and labor differences, not just the immediate unit cost. The cheapest label is not the cheapest program if receiving teams need to relabel or reject units later.
- Compare like for like: same fabric, same label type, same pack method, same barcode data.
- Watch for hidden extra charges on label proofs, plate setup, or artwork revision.
- Separate one-time sample costs from recurring unit costs.
Sample approval: what to test before bulk
Your sample should prove three things: the label fits the surface, the barcode scans reliably, and the bag still looks acceptable as a sellable product. Do not approve a sample just because the code is printed. Scan it with the same handheld device or receiving app your team will use in the warehouse. If possible, test more than one sample, because placement can vary slightly from unit to unit.
Also check the bag after real handling. Fold it, zip it, rub it lightly, and inspect whether the barcode edge lifts or the print smears. If the label is adhesive, ask whether the factory used a surface prep method suitable for coated polyester or canvas. If the label is sewn or woven, check that stitch holes do not cut into the barcode area. A good sample passes both visual and functional checks.
- Scan the sample under warehouse lighting, not only in ideal studio light.
- Check that the label still reads after folding, rubbing, and zipper movement.
- Approve the exact SKU and color variant that will go into bulk production.
Packing instructions that keep labels readable
Packing can ruin an otherwise correct barcode program. If units are bundled randomly, labels rub against each other, corners curl, and receiving teams waste time searching for the scan face. The simplest instruction is to keep every unit oriented the same way in inner packs or polybags so the barcode is always facing outward or always facing a consistent side. That consistency matters more than people think when pallets are opened under time pressure.
Master cartons should also carry a clean carton label that matches the unit code structure. If the carton label says one SKU and the unit label says another, buyers will spend time reconciling the mismatch instead of booking inventory. Ask the factory to show the exact pack count, inner quantity, and carton mark format in the sample approval stage, not after the shipment is already booked.
- Keep barcode faces aligned in all inner packs.
- Use a matching carton code structure so receiving teams can verify units quickly.
- Prevent label abrasion by separating rough surfaces or using a protective polybag.
Common mistakes that create receiving delays
The most common mistake is placing the barcode too close to the bag seam because it looks visually balanced on a flat art proof. Once the bag is sewn and packed, that same location can warp or crease. Another common error is choosing a glossy label on a shiny fabric; the code may look fine, but scanners can struggle with glare in a warehouse. Buyers also sometimes approve a logo-first layout and forget that the barcode still needs a clear scan window.
A second group of mistakes comes from poor data control. Different barcodes for the same bag color, missing quiet zone margins, or a label that does not match the carton code can create delayed receipt or even chargebacks. If your company has multiple distributors or retail accounts, lock the barcode structure early and give the factory a single source of truth for SKU naming. The less the supplier has to guess, the fewer downstream errors you will face.
- Do not place the code on a fold, curve, or seam intersection.
- Do not use a shiny label face if your warehouse lighting creates glare.
- Do not allow different SKU naming on the bag label and carton label.
Use clear acceptance criteria before shipment release
Your final approval should not be vague. Define what counts as an acceptable barcode label placement on the document zipper bag: exact panel, exact zone, readable scan result, and no interference with zipper operation or branding. If the bag is a retail item, also define what the buyer should see first when the package is opened. This avoids arguments later about whether the label looks "too low" or "too visible" even though it functions correctly.
A strong handoff package includes the approved artwork, barcode data list, sample photo with measurement marks, pack method, and carton mark. When all five align, the production team has a clear target and your procurement team has something objective to compare at receiving. That is the difference between a clean shipment and a batch of units that need relabeling after arrival.
- Confirm exact placement, exact scan result, and exact pack orientation before release.
- Keep a signed sample photo and barcode file in the project record.
- Require the factory to flag any change in label material, position, or carton code before bulk.
Specification comparison for buyers
| Spec decision | Recommended option | When it fits | Buyer risk to check |
|---|---|---|---|
| Barcode label position | Back panel, lower-right, on the flattest area above the hem | Best for receiving scans, retail handling, and bag counting | Do not let the label cross a seam, gusset fold, or zipper tape |
| Label construction | Matte synthetic label with thermal-transfer print | Good for unit-level SKU, UPC, or Code 128 labels | Check smear resistance, adhesive hold, and scan contrast |
| Permanent product ID | Woven or sewn side label with small barcode text if needed | Useful for reusable business bags and branded programs | Confirm the barcode still scans after rubbing and folding |
| Fabric structure | 300D to 600D polyester or 12 oz to 16 oz canvas with a stable backing | Best when the label must sit flat and scan consistently | Too soft or too textured a face can wrinkle the label area |
| Packing orientation | Face all barcodes the same direction in polybags or inner bundles | Helps warehouse teams scan quickly on receipt | Mixed orientation slows receiving and can trigger count errors |
Buyer checklist before sampling
- Confirm the barcode type, data field, and whether the label is for unit scanning, carton scanning, or both.
- Mark the exact label location on a bag artwork mockup and specify the clearance from seams, zipper tape, and folds.
- State the fabric weight, face finish, and backing so the factory can judge whether the label will sit flat.
- Approve the label size, contrast, and quiet zone before bulk production.
- Request a pre-production sample with the real barcode data, not placeholder art.
- Ask for a scanner test on the sample under normal receiving conditions.
- Define how each unit is packed and how the barcode faces inside the master carton.
- Confirm whether the factory quote includes label printing, application, and carton marking.
Factory quote questions to send
- Which barcode symbology are you quoting for this bag, and can you print our exact SKU data?
- Where exactly will you place the label on the bag, and what clearance will you keep from seams and zippers?
- Is the barcode a separate adhesive label, a sewn label, or a woven label, and what is the unit cost difference?
- What fabric weight and backing do you recommend so the label surface stays flat after packing?
- Can you supply a sample with our real barcode and a handheld scanner test result?
- What is your MOQ for the bag body, the barcode labels, and any label artwork setup?
- How will units be packed, and will the barcode face the same direction in each inner pack or carton?
- What extra lead time should we allow for label proofing, first sample, and bulk application?
Quality-control points to confirm
- Barcode scans cleanly on the first pass with a handheld scanner at normal receiving distance.
- Label sits on a flat area with no seam overlap, puckering, or zipper tape interference.
- Barcode contrast is strong enough for low-light warehouse reading and does not glare under direct light.
- The label survives rub, fold, and light tape pull testing without peeling or smudging.
- Printed data matches the approved SKU, size, color, and carton code exactly.
- All packed units face the same direction so receiving staff can scan without unpacking extra layers.
- Carton labels and unit labels do not conflict or duplicate the wrong item code.
- The label area remains readable after final trimming, binding, or edge sealing.