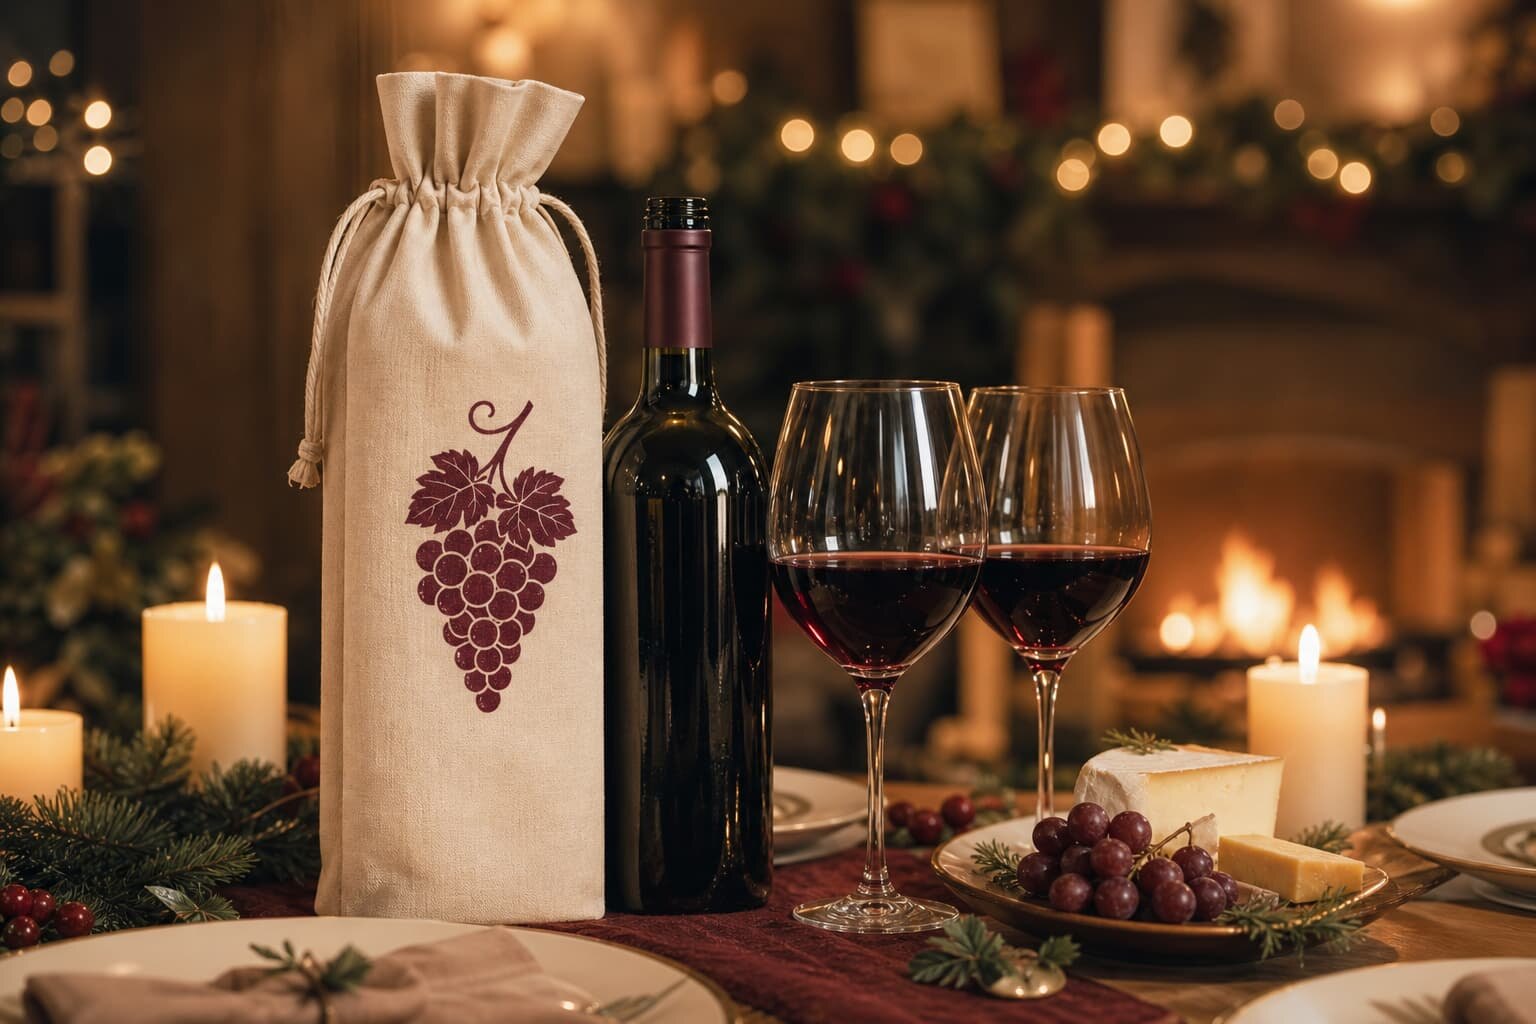
Start With the Bottle, Not the Artwork
The most common mistake in a custom wine bag bulk order is starting with the logo and ending with the bottle. A bag can look correct in a flat artwork file and still fail in real use because the bottle is taller than expected, the shoulder is wider, or the neck sits too high once the bag is closed. For procurement teams, the right first step is to define the product the bag must carry, then work backward into size, fabric, and decoration.
Channel matters just as much as bottle size. A tasting room bag has different expectations than a retail gift bag or a subscription insert. If the bag is a secondary package, you may want a simpler structure and lower GSM. If it is part of the gift itself, the fabric, finish, and stitching have to carry more of the brand value. That is why the RFQ should define the use case in plain language before any supplier starts quoting.
- Measure bottle height, base diameter, shoulder width, and any special label or capsule that affects fit.
- State whether the bag is for a single bottle, two bottles, or a magnum format.
- Define whether the bottle should be fully covered, partly visible, or presented through an open-top style.
- Tell the factory where the bag will be used: retail shelf, tasting room, gifting, or shipping insert.
Choose the Fabric and GSM Before You Choose the Print
Fabric weight decides how the bag feels in the hand, how it drapes around a bottle, and how well it holds up after packing and transport. For many custom wine bags, cotton canvas in the 250-320 gsm range, or roughly 8-10 oz, is a practical starting point because it gives enough body without turning the bag into a rigid pouch. Lighter cotton can work for promotional use, but it may slump, wrinkle, or reveal the bottle outline too clearly.
The right material also depends on the buyer's market position. Natural cotton and canvas support a reusable, giftable look and are usually easier to justify in retail. Jute can create a rustic premium feel, but it prints differently and may shed fibers. Nonwoven can help on low-cost programs, but it rarely gives the same perceived value as woven or sewn construction. If the brand promise is premium, do not let the quote steer you into a lighter material that works on paper but looks thin in hand.
- Use 250-320 gsm cotton canvas for a stable single-bottle presentation in most B2B orders.
- Ask whether the fabric is pre-shrunk or untreated, because shrinkage can change finished size after steam or wash exposure.
- Check whether the color is natural, dyed, or bleached, since each option changes hand feel and color consistency.
- Confirm whether the fabric weight is the outer shell only or includes lining and inserts if those are part of the build.
Lock the Closure, Handle, and Reinforcement Details
Many quote disputes come from details that seem minor until the order is in production. A drawstring channel that is too narrow, a cord that is too thin, or a hem that is too short can change the finished look and the pull strength. The same is true for handle loops, base construction, and side seam reinforcement. If you leave these items open, factories will usually default to their standard pattern, which may not match your buyer expectation.
For wine bags, the simplest construction is often the safest. A reinforced top hem with a cotton drawstring is enough for most gift and retail programs, and it keeps sewing cost under control. If the bottle is heavier, the route is long, or the customer will reuse the bag often, ask for bar-tacks at stress points and a clean bottom seam. If the bag needs to stand up on a shelf, include a bottom insert or ask the factory how they will stabilize the base without making the price jump unexpectedly.
- Specify drawstring material, thickness, and finished length instead of saying only "with cord."
- State the top hem width and whether the channel is folded, stitched, or bound.
- Ask for bar-tack reinforcement at the top corners and stress points if the bag will be reused.
- If a rigid look matters, request a bottom insert or a construction note that explains how the bag will stand.
Pick the Print Method That Matches the Order Size
Decoration choice should follow quantity, artwork complexity, and durability needs. Screen print is usually the most practical option for simple logos, one- or two-color art, and repeat bulk orders because it gives clean coverage and reasonable setup economics. Woven labels are useful when the design needs sharp small text or a durable stitched look. Embroidery can feel more premium, but it adds density and can distort on thinner fabric if the logo is too detailed. Heat transfer has a place for short runs or multi-color art, but it needs a clear durability check before you approve it for a retail program.
Do not approve print from a flat mockup alone. A bag print that looks centered on cut fabric can shift once the seams are sewn and the bottle fills the body. Ask the factory to show placement on the finished product, not just on a layout file. You should also define the ink color standard, print area, and acceptable misalignment in writing, because those are the points where production teams and buyers usually disagree after the first delivery.
- Use screen print for solid logos, simple art, and better repeat-run efficiency.
- Use a woven side label when you want a durable brand mark with small text or fine detail.
- Use embroidery only when the artwork can survive stitch density without looking overbuilt.
- Ask for a print strike-off or finished sample if color match and placement are critical.
Build the Quote Around MOQ, Setup, and Hidden Cost Lines
A useful bulk quote separates real product cost from setup cost. You need to know what is being charged for fabric, cutting, sewing, printing, labels, packaging, and carton packing, because a low unit price often hides a higher setup bill somewhere else. If the supplier gives you only one line item, you cannot compare offers cleanly, and it becomes impossible to tell whether the quote is efficient or simply incomplete.
MOQ is not just a factory number; it is the consequence of material width, color changes, print screens, label sourcing, and sewing time. A one-color natural bag may have a lower MOQ than a custom-dyed bag with multiple labels and an insert. If your order is small, simplify the structure first and then build up only if the brand benefit is worth the extra sourcing cost. That is the fastest way to keep the quote readable and keep the production risk under control.
- Ask whether the unit price includes printing, labeling, folding, and packing or only sewing.
- Request the setup charge for screens, plates, embroidery digitizing, or label tooling if applicable.
- Confirm whether the MOQ changes by color, artwork, or fabric type.
- Ask for price breaks at higher quantity so you can see where the cost curve improves.
Request Samples That Prove Fit, Color, and Construction
A bulk sample should prove function, not just appearance. The bag has to accept the actual bottle cleanly, close without strain, and feel balanced in the hand. If the product is meant for retail resale or corporate gifting, the sample should also show the final surface texture, fold quality, label position, and overall finish under normal light. A sample that looks acceptable on a desk but performs badly when filled is not a production reference; it is only a decoration proof.
The best approval process uses more than one sample point. If possible, ask for a blank pre-production sample, a print strike-off or logo proof, and a final finished sample. That gives you a clearer view of each risk area before bulk cutting starts. If the factory can only supply one sample, make sure the approved version is marked with measurements, fabric weight, print location, and any special construction notes so the production team can reproduce it without guessing.
- Check the bag with the actual bottle, not a generic placeholder bottle.
- Measure finished size after sewing, not only cut-panel size before assembly.
- Inspect logo placement, color tone, and edge sharpness in daylight.
- Tug the cord, inspect the seam ends, and look for twisting or uneven tension.
Specify Packing That Survives Export and Warehouse Handling
Packing is where a small wine bag order can become a big logistics problem. If the inner pack is loose, the bags arrive wrinkled or dusty. If the carton is too tight, the bags can flatten unevenly and the fold marks become hard to remove. If the carton count does not match the packing list, your warehouse team wastes time counting and recounting. These are not cosmetic issues; they affect freight, receiving accuracy, and the condition of the product when the customer opens the box.
Ask the factory to quote the inner packing method, the master carton count, the carton dimensions, and the gross weight. If your channel is retail, also specify whether hangtags, barcodes, or inserts need to be applied before packing. For importers, the goal is to make packing predictable enough that the warehouse can receive the order without opening every carton for rework. That is especially important when multiple SKUs are being shipped together or when the goods will sit in transit for a long time.
- Decide whether each bag needs a polybag, tissue wrap, or no inner pack.
- Ask for carton dimensions and gross weight so freight planning is accurate.
- Confirm outer carton marks, SKU labels, and barcode placement before bulk starts.
- If moisture is a concern, ask about desiccant or carton liner options.
Plan Lead Time From Approval, Not From Inquiry Date
Lead time is only useful if the clock starts at the right moment. In custom wine bag sourcing, the real timeline usually begins after the factory has confirmed the spec, approved the sample, and locked the artwork. If you count from the first inquiry, you will underestimate the calendar because material sourcing, print setup, and sample review are all open-ended until you sign off. Procurement teams should push for a phase-by-phase timeline instead of accepting one vague delivery promise.
A sensible production schedule breaks the order into sample making, material procurement, printing, cutting, sewing, finishing, quality inspection, packing, and dispatch. If any supplier gives the same lead time for a simple one-color cotton bag and a more complex multi-component build, the quote is probably too rough to rely on. Ask what happens if sample approval slips, whether holidays affect the line, and when the factory will notify you if raw material or carton supply becomes a bottleneck.
- Request lead time by step so you can see where the real critical path sits.
- Ask whether artwork approval, sample approval, and PO approval all need to happen before material purchase.
- Confirm how holiday shutdowns or peak-season congestion affect the schedule.
- Ask for a weekly update cadence if the order is large or tied to a launch date.
Write Acceptance Criteria So the PO Can Stand on Its Own
A strong purchase order does more than repeat the product name. It tells the factory what counts as acceptable and what does not. That means size tolerance, print placement, seam quality, cord length, carton count, and defect limits should all be written down before production starts. Without those details, the receiving team will judge the shipment by memory, and the factory will judge it by its own internal standard. Those two standards are often not the same.
The simplest acceptance criteria are the ones that can be checked quickly at receiving. You do not need a long technical spec sheet to reduce dispute risk. You need a clear reference sample, a few measurable limits, and a list of visible defects that are not allowed. If the sample, PO, and final shipment all point to the same standard, the supplier can self-check before loading and your buyer team can approve faster with fewer rounds of email.
- Write size tolerance in the PO instead of assuming the factory standard is enough.
- State the allowed placement variance for the logo or woven label.
- List disallowed defects such as stains, broken stitches, loose threads, odor, or missing carton marks.
- Attach the approved sample reference or photo set to the order file.
Send One Clean RFQ Data Pack Instead of Long Email Threads
The fastest way to get a clean quote is to give the factory a complete data pack. Include bottle dimensions, target use case, material preference, GSM, color, print method, quantity by SKU, packing requirement, destination market, and the level of finish you expect. If you send only a logo and a rough size note, each supplier will fill in the missing details differently, and you will spend the next round comparing apples to oranges.
A strong RFQ also tells the supplier what not to quote. If you know the bag does not need a lining, or you do not want extra accessories, say so clearly. If you want the price based on one approved design only, say that too. Buyers often think they are saving time by leaving options open, but the result is usually slower quoting, more assumptions, and more revisions. A complete RFQ is not extra work; it is the shortest route to a usable factory comparison.
- Include bottle sample dimensions or a measured spec sheet for the product the bag will carry.
- State the exact quantity split by color, size, and artwork version.
- Upload the final logo file and note the required print area or label size.
- Tell suppliers whether you want FOB, EXW, or another trade term quoted so the comparison is clean.
Specification comparison for buyers
| Spec decision | Recommended option | When it fits | Buyer risk to check |
|---|---|---|---|
| Fabric weight / GSM | 8-10 oz cotton canvas or about 250-320 gsm | Standard reusable single-bottle bags and gift packaging | Too light can slump, show bottle edges, and crease after packing |
| Decoration method | 1-2 color screen print or woven side label | Clean logo work, repeat orders, and higher-volume runs | Check registration, ink coverage, and whether the art stays sharp on a filled bag |
| Closure style | Cotton drawstring with reinforced channel | Gift bags, retail display, and e-commerce inserts | Confirm cord diameter, pull strength, and top hem width before approval |
| Structure | Single layer with optional bottom insert | Budget to mid-market wine promotions | Check whether the bag slouches, twists, or shows the bottle shape too much |
| Packing method | Inner polybag plus export carton with count mark | Cross-border bulk shipments and warehouse receiving | Verify carton size, moisture control, gross weight, and mixed-SKU count accuracy |
Buyer checklist before sampling
- Measure the actual bottle or bottle set, including height, base diameter, shoulder width, and any neck label or capsule that affects fit.
- Confirm whether the bag is for retail sale, gift packaging, tasting-room use, corporate gifting, or shipping inserts, because each use case changes construction.
- Lock the fabric, GSM, color, and shrinkage expectation before asking for a price.
- Choose one print method and define the print area, color count, and artwork file format the factory should use.
- Ask for finished size, seam allowance, cord length, and reinforcement details in the quote.
- Request a blank pre-production sample or a finished approval sample before bulk cutting starts.
- Confirm packing count per inner bag, per carton, and per SKU, plus outer carton marks.
- Ask the factory to state what is included in the unit price and what is billed separately.
- Attach one reference sample, if available, so the supplier can compare hand feel and construction.
- Write acceptance criteria into the PO, including size tolerance, placement tolerance, and allowable defects.
Factory quote questions to send
- What fabric, GSM, and finishing are you quoting, and is the material pre-shrunk or untreated?
- What is the MOQ by color, print method, and construction, and can you explain what drives that MOQ?
- Which cost items are included in the unit price, and which items are separate setup or tooling charges?
- Can you confirm the finished size, seam allowance, drawstring length, and reinforcement points you will build to?
- Can you show the expected logo placement on a finished, filled sample rather than only on a flat cut file?
- What sample types can you provide before bulk, and is there a charge for a print strike-off or full sample?
- What is the standard packing count per bag and per carton, and can you quote carton dimensions and gross weight?
- What is the realistic production lead time after sample approval, and what steps are on the critical path?
- How do you handle replacement or rework if the bulk order misses the approved sample or written spec?
Quality-control points to confirm
- Finished size matches the approved spec within the agreed tolerance.
- Bottle fits smoothly and the bag closes without strain, twisting, or exposed neck issues.
- Stitching is even, bar-tacks are secure, and seam ends are trimmed cleanly.
- Logo placement, color, and edge sharpness match the approved sample or strike-off.
- No broken stitches, loose threads, stains, odor, or visible fabric defects on the outer face.
- Cord length, pull feel, and top channel width are consistent from bag to bag.
- Labels, hangtags, and carton marks match the PO and artwork file.
- Carton count, inner pack count, and gross weight match the packing list before shipment.