Why pouch size is the first cost decision
When buyers ask for a custom pouch, size looks like a simple line item, but it drives almost every other cost choice. Fabric consumption rises with length and width, sewing time changes with gusset depth and channel length, print area changes with panel size, and carton efficiency changes once the pouch gets bulky. If the RFQ only says 'custom pouch', suppliers will fill in their own assumptions and you end up comparing different products instead of different quotes.
The right size starts with the end item, not the logo or the target unit price. A pouch for a jewelry set, a cosmetic kit, and a travel bundle may all look similar in a spreadsheet, but they need different clearance, different closure behavior, and different packaging logic. Buyers should decide what must fit, how much extra room is acceptable, and whether the pouch needs to look full, stay flat, or stand up in retail packaging.
- Define the exact use case: protection, gifting, retail display, or transport.
- List the largest item, total stack thickness, and any hard edges or corners.
- Confirm whether the pouch must close flush or allow some bulge.
- State if the pouch will be used once, reused often, or sold as a retail item.
Start from the item, then add real clearance
The safest way to size a pouch is to measure the object or kit that will go inside it. Record the longest dimension, the widest point, and the thickest point after everything is packed together. Then add practical clearance for loading and closure. Soft goods may need only a small allowance, while rigid items, boxed sets, or mixed kits need more space so the pouch does not fight the product when the drawcord is pulled shut.
For procurement teams, the mistake to avoid is asking for a pouch size that looks good on paper but ignores the actual stack height. A flat pouch that fits one item may fail once a card insert, pouch filler, or second component is added. If the product has a shoulder, cap, hinge, or other raised point, measure from the widest loading point rather than the marketing dimension on the product page. The pouch should fit the real shipment, not the idealized drawing.
- Use the loaded item dimensions, not only the product catalog dimensions.
- Add allowance for loading, drawstring closure, and any internal insert.
- For mixed kits, measure the thickest version that will ship in bulk.
- If the product is rigid, plan more width instead of only more height.
Finished size, cut size, and gusset depth are not the same
Many quote problems start because the buyer and the factory are measuring different things. Some suppliers quote cut size, some quote finished size after sewing, and some quote a nominal size that leaves the seam allowance hidden in the background. On a drawstring pouch, the channel, top hem, and side seams all reduce usable space. If you do not specify the measurement point, a 15 x 20 cm pouch in one factory may fit very differently from a 15 x 20 cm pouch in another.
Gusset depth needs the same discipline. A flat pouch is easy to compare because the body is essentially two panels, but once the pouch has a bottom gusset or side gusset, the depth becomes part of the useful volume and part of the cost. Ask the factory to show where they measure width, height, and gusset after sewing. For bulk purchasing, that one clarification prevents a lot of back-and-forth on samples, especially when buyers need repeat orders across multiple seasons.
- State whether size means cut size, finished size, or internal usable size.
- Ask for a marked sketch or photo showing the measurement points.
- Quote gusset depth separately from the flat body dimensions.
- Confirm the tolerance the factory will hold in production.
Choose the size band by use case, not by guesswork
A useful buying approach is to group pouches by the type of item they must hold. Small accessory pouches work for jewelry, USB items, sample parts, and compact gift inserts. Medium pouches usually cover cosmetics, personal care kits, candles, and bundled stationery. Larger pouches are better for apparel packs, travel sets, or multipiece kits that need more volume and a cleaner retail look. The right band depends on the item stack, not just on what looks standard in the market.
One size rarely works for every SKU if the product mix is broad. A pouch that fits the thinnest item may look empty and cheap, while a pouch sized for the bulkiest item may swallow the smaller kit and waste fabric. For brands with multiple SKUs, it is often better to define two size bands and keep the decoration consistent than to force one universal pouch size. That approach helps when you compare supplier quotes, because the units, fabric usage, and carton counts stay more predictable.
- Use a smaller size band for thin accessories and a larger one for bundled kits.
- Create separate specs if the product family has very different thicknesses.
- Avoid oversized pouches that make a small item look lost inside the bag.
- Avoid undersized pouches that require force to pack or close.
How fabric weight and structure change usable size
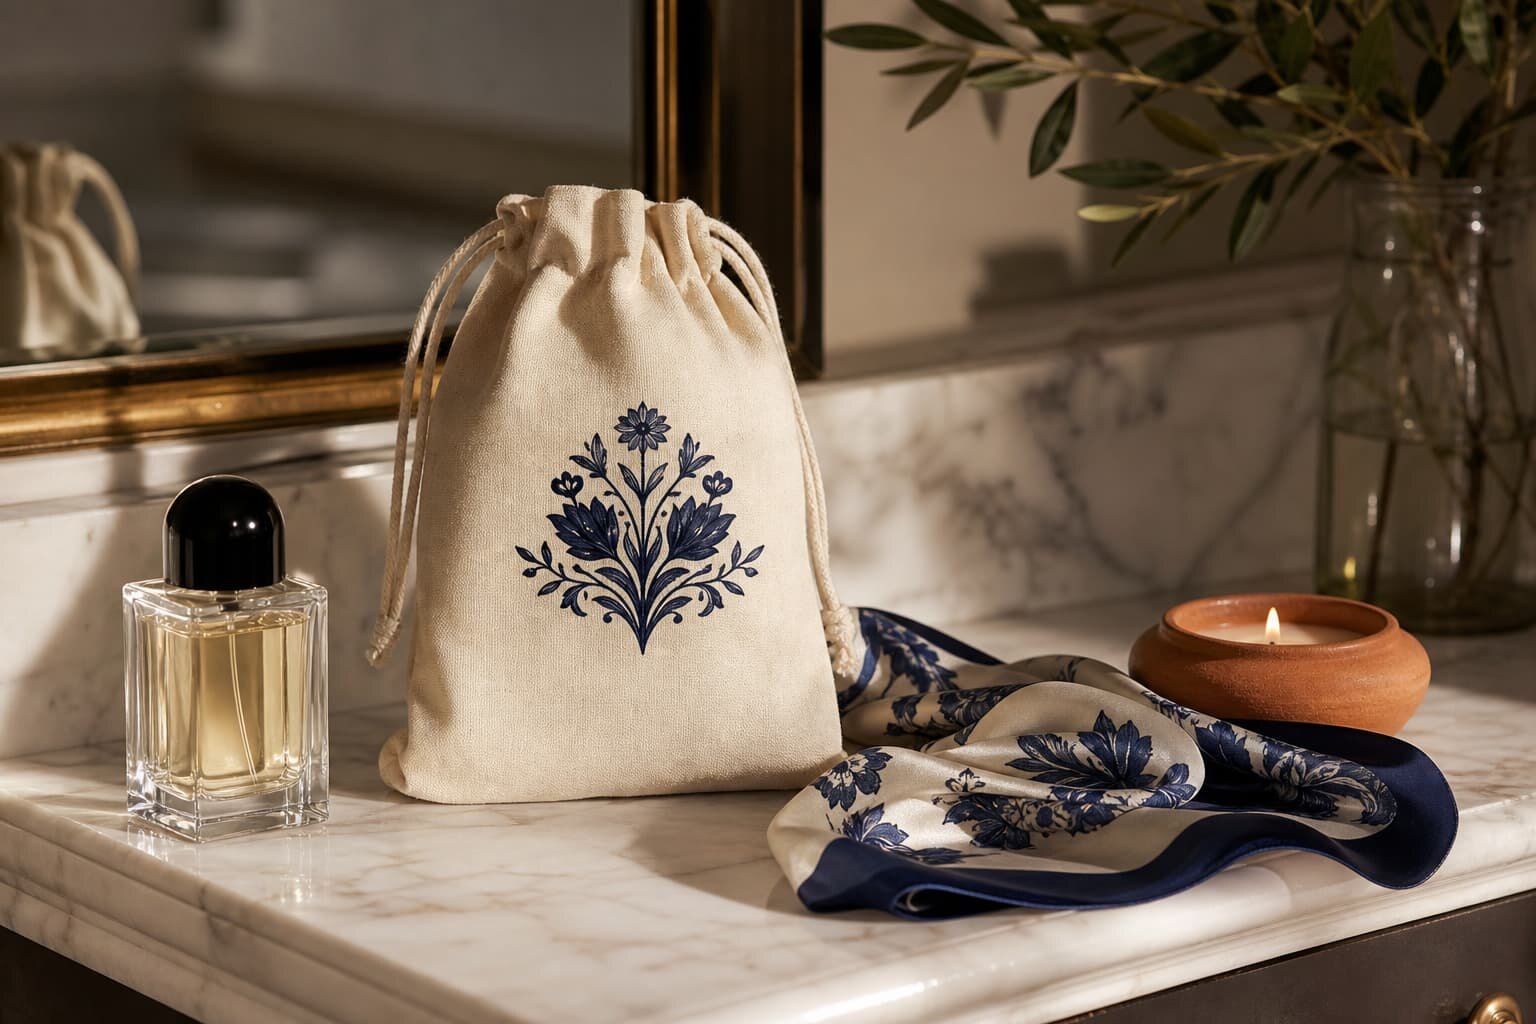
Fabric weight affects more than hand feel. A 100 to 120 GSM cotton pouch is usually enough for lighter retail use, but a 140 to 180 GSM pouch gives a firmer body, less collapse, and a more premium feel. The tradeoff is that heavier fabric can slightly reduce internal volume and make a small pouch feel tighter inside. That matters when the item already fills the body and the buyer wants a clean closure without strain on the seams.
Lining, reinforcement, and cord design also change the way the pouch behaves at the same nominal size. A lined pouch opens more cleanly and protects printed items better, but it adds thickness and may reduce the inner space. A wide cord channel improves strength, but it also takes away usable height at the top. If the product is a premium gift pouch, it is usually worth paying attention to these details early in sourcing rather than discovering them after the first sample arrives.
- Use lighter GSM for simple inserts and heavier GSM for shape retention.
- Ask whether the pouch is unlined, fully lined, or partially reinforced.
- Match cord thickness to the pouch opening so the top does not bunch.
- If the pouch must hold its shape, ask the factory how they reinforce the top edge.
Pick a print method that matches the available panel size
Decoration should follow the size, not the other way around. A bold one-color screen print works well on cotton drawstring pouches because it stays economical and readable on a small panel. If the artwork has fine lines, gradients, or several colors, a heat transfer or woven side label may be safer. Embroidery can look premium, but on small pouches it may distort the fabric, crowd the logo, or make the pouch feel stiff in hand.
The print window matters as much as the print method. Logos placed too close to the seam, channel, or gusset may warp once the pouch is filled, and a design that looks centered on a flat sample may shift visually when the pouch is closed. Buyers should ask for an artwork template based on the finished size and confirm the maximum print area before approving the artwork. If the pouch is small, it is usually better to simplify the branding than to force a detailed logo into a tight panel.
- Keep decoration below the drawstring channel and away from seams.
- Use screen print for simple logos and woven or side labels for small complex artwork.
- Check how the logo looks on a filled sample, not only a flat blank pouch.
- If the branding must stay sharp after repeated use, confirm the method with the factory.
What MOQ and sample logic tells you about the size spec
Size decisions affect MOQ more than many buyers expect. If you order one pouch size, one fabric, and one artwork version, the factory can usually plan cutting and printing more efficiently. Once you add another size or another colorway, the program becomes more complex because each size needs its own pattern control, measurement check, and packing logic. That does not always mean a dramatic MOQ jump, but it does mean the quote should separate the minimum by size instead of hiding everything under one line.
Sampling should cover the smallest and the largest size in the line. The smallest version will expose print crowding, narrow channel issues, and closure problems. The largest version will show whether the seams hold shape and whether the pouch sags under load. If the supplier only sends one universal sample, you are still guessing on the other size band. For bulk buyers, a small sample fee is cheaper than fixing a whole production run that is one size off.
- Ask if MOQ applies per size, per color, or per artwork version.
- Request separate sample approvals for the smallest and largest pouch sizes.
- Confirm whether tooling, screens, or labels can be shared across sizes.
- Do not assume a single sample proves all sizes in a multi-size program.
Build an RFQ that lets factories quote the same thing
If you want a clean quote comparison, the RFQ has to define the pouch in the same language a factory uses on the floor. Send finished size, gusset depth, fabric type, GSM, cord type, lining requirement, print method, artwork size, quantity split, pack style, and target ship window. Also state whether the dimensions are outer finished size or internal usable size. That single note removes a lot of hidden assumptions and helps the factory price the right materials and labor from the start.
It also helps to tell the factory what the pouch must do in the supply chain. A pouch that sits in a retail box, hangs on a hook, or ships loose in a carton may need different fold rules and different packing counts. If you need itemized pricing, ask for raw material, sewing, printing, packaging, and setup charges to be shown separately. That makes it easier to compare quotes from different suppliers and see whether a low price is actually lower, or just missing some cost that will appear later.
- Give one spec sheet instead of scattered email comments.
- Include a measured sketch or reference photo for the pouch size.
- Request itemized pricing for material, sewing, printing, and packing.
- State the delivery window and any split shipment requirement.
Treat the sample as a size test, not only an appearance check
A good pouch sample should prove fit, closure, and decoration all at once. Measure the sample in the same way you will inspect bulk: width, height, gusset depth, opening, and cord behavior. Then test it with the actual item that will go inside. A pouch can look fine when empty and still fail once the product is inserted because the opening narrows, the print shifts, or the top seam twists under load. That is why a filled sample is more useful than a flat approval sheet.
Before you release bulk production, decide what acceptable variation means for your program. If the pouch is for retail presentation, the tolerance on print placement and the straightness of the top edge may matter more than a small difference in body width. If the pouch is for packing components, the fit and closure may matter more than cosmetic alignment. Buyers should document the approved sample, take measurements, and keep one reference unit on file so bulk inspection has a clear standard.
- Test the sample with the real product, not a substitute filler.
- Measure the sample after it is filled and closed.
- Check that print placement still looks centered once the pouch is loaded.
- Keep one golden sample to compare against bulk output.
Packing, carton fit, and the mistakes that create rework
Packing is part of size planning, not an afterthought. A pouch that packs flat in bulk can ship efficiently, but a retail-ready pouch may need individual polybags, folded cords, or insert cards, all of which change carton size and labor. Larger pouches also reduce carton density quickly, which affects freight and warehouse handling. If your buying team only looks at unit price, you can miss the downstream cost of a size that is awkward to fold, overfills a carton, or arrives with a wrinkled presentation.
The most common sizing mistakes are easy to avoid once you know where they happen. Buyers often specify only the external size and forget the item thickness, approve artwork before the final sample, or assume the factory will treat all measurements the same way. Some also ignore the packing count and then discover that the carton only holds half the expected volume. A clear size spec, a filled sample, and a simple packing note solve most of those problems before they reach production.
- Do not approve a pouch size without a filled sample test.
- Do not mix cut size language with finished size language.
- Do not ignore fold method if the pouch will ship retail-ready.
- Do not skip carton count and packing density in the RFQ.
Specification comparison for buyers
| Spec decision | Recommended option | When it fits | Buyer risk to check |
|---|---|---|---|
| Finished size definition | Quote the post-sewn outer size and ask for tolerance | When several suppliers are bidding the same pouch | Cut size and finished size are often confused, which changes the final fit |
| Flat pouch or gusseted pouch | Use flat for thin items; add a 3-5 cm gusset for bulky kits | Cosmetics, gift sets, travel kits, accessory bundles | Gusset depth must be quoted separately or the pouch will be too tight |
| Fabric weight | Use 100-120 GSM for light promo use and 140-180 GSM for more structure | Retail packs, premium gifts, reusable everyday pouches | Heavier fabric can reduce usable volume and change how the pouch closes |
| Print method | Screen print for simple logos; woven or side label for tiny detailed branding | Small panels, repeated handling, or artwork with fine detail | Logo size may be too large for the available print window |
| MOQ structure | Ask for MOQ per size, per color, and per print version | Multi-size programs or multiple artwork versions | Shared tooling does not always mean a shared minimum order |
| Sampling acceptance | Approve a filled sample, not only an empty one | Any order where fit, closure, or print position matters | An empty sample can hide fit problems that appear after loading |
Buyer checklist before sampling
- Measure the exact item or kit that must fit, including thickness and closure height.
- State whether the size is finished outer size, internal usable size, or both.
- Choose flat or gusseted construction before asking for quotes.
- Specify fabric type, GSM, lining, and cord style in the RFQ.
- Confirm the print method and the maximum print window on the pouch.
- Ask for MOQ by size, color, and artwork version.
- Request a pre-production sample with real fill items, not only a flat blank sample.
- Confirm packing method, carton count, and folding rule for retail or shipment.
Factory quote questions to send
- Is your quotation based on finished size, cut size, or internal usable size?
- What fabric GSM and seam allowance are included in the price?
- Is gusset depth included, and if so, how is it measured after sewing?
- What is the MOQ per size, per color, and per print method?
- Which print method are you pricing, and how many colors or passes are included?
- What sample cost and sample lead time should we expect for each size?
- How will the pouches be packed, and how many units per carton?
- What size tolerance and print placement tolerance can you hold in bulk?
- Are any setup charges separate for screens, labels, or cord changes?
Quality-control points to confirm
- Measure finished width, height, and gusset depth after sewing, not before.
- Check that the pouch closes smoothly with a real product inside.
- Verify drawstring symmetry, cord length, and knot or tip finish.
- Inspect print position on a filled sample, not only on an empty pouch.
- Confirm stitch quality at the channel, side seams, and bottom corners.
- Compare approved fabric GSM and hand feel against the bulk roll or swatch.
- Check pack count, fold method, and carton dimensions against the shipping plan.
- Hold one approved golden sample for bulk comparison.