Why logo placement becomes a buying problem on canvas messenger bags
Natural grocers usually want a bag that looks practical, low-waste, and brand-consistent rather than fashion-driven. That sounds simple until the messenger bag design adds a flap, gusset, webbing strap, pockets, snaps, and topstitching. On a flat grocery tote, logo placement is mostly a front-panel print question. On a messenger bag, the visible area changes depending on whether the flap is closed, whether the bag is filled, and whether the body panel pulls around the side gusset.
For buyers, the main mistake is sending artwork without defining the visible branding zone. A factory may center the logo on the cut panel, but after seams, flap overlap, and reinforcement are added, the logo can sit too high, too low, or partially hidden. This creates a quote that looked correct on paper but fails once the sample is assembled. The article focuses on preventing that specific problem: turning logo placement into a measurable production spec instead of a subjective design comment.
- Messenger bags have more moving construction parts than standard totes.
- The visible branding area changes when the bag is loaded with groceries or documents.
- Hardware, flap shape, and seam allowances can shift artwork from the expected center.
- A clear placement drawing reduces re-sampling and makes supplier quotes more comparable.
Start with the bag architecture before discussing artwork
A supplier cannot give reliable logo guidance without the base bag structure. For natural grocers, many messenger bags are used for staff kits, membership programs, reusable shopping, local delivery, or branded merchandise. The body may be 34 x 28 x 10 cm, 38 x 30 x 12 cm, or larger. Some use a straight flap, others a curved flap, and some have no flap but still use a messenger-style crossbody strap. Each version changes the printable area and the tolerance risk.
The most stable logo zone is usually the flat outer body panel below the flap seam or below the top opening seam on flapless styles. If the brand insists on placing the logo on the flap, construction details matter more: flap turn-in width, foam or interlining, snap positions, and edge piping all influence print registration. Buyers should lock the body size, flap style, gusset width, and pocket layout before asking multiple factories to quote. Otherwise each supplier is pricing a different bag while pretending to quote the same item.
- Useful RFQ dimensions: body width x body height x gusset depth in cm
- Strap specification: cotton webbing width, adjustable length range, attachment method
- Flap specification: straight, curved, pointed, full coverage, half coverage
- Pocket layout: front slip pocket, inside zipper pocket, bottle divider, no pocket
- Closure type: magnetic snap, hook-and-loop, zipper under flap, open top
Choose fabric weight for print clarity, handling, and freight balance
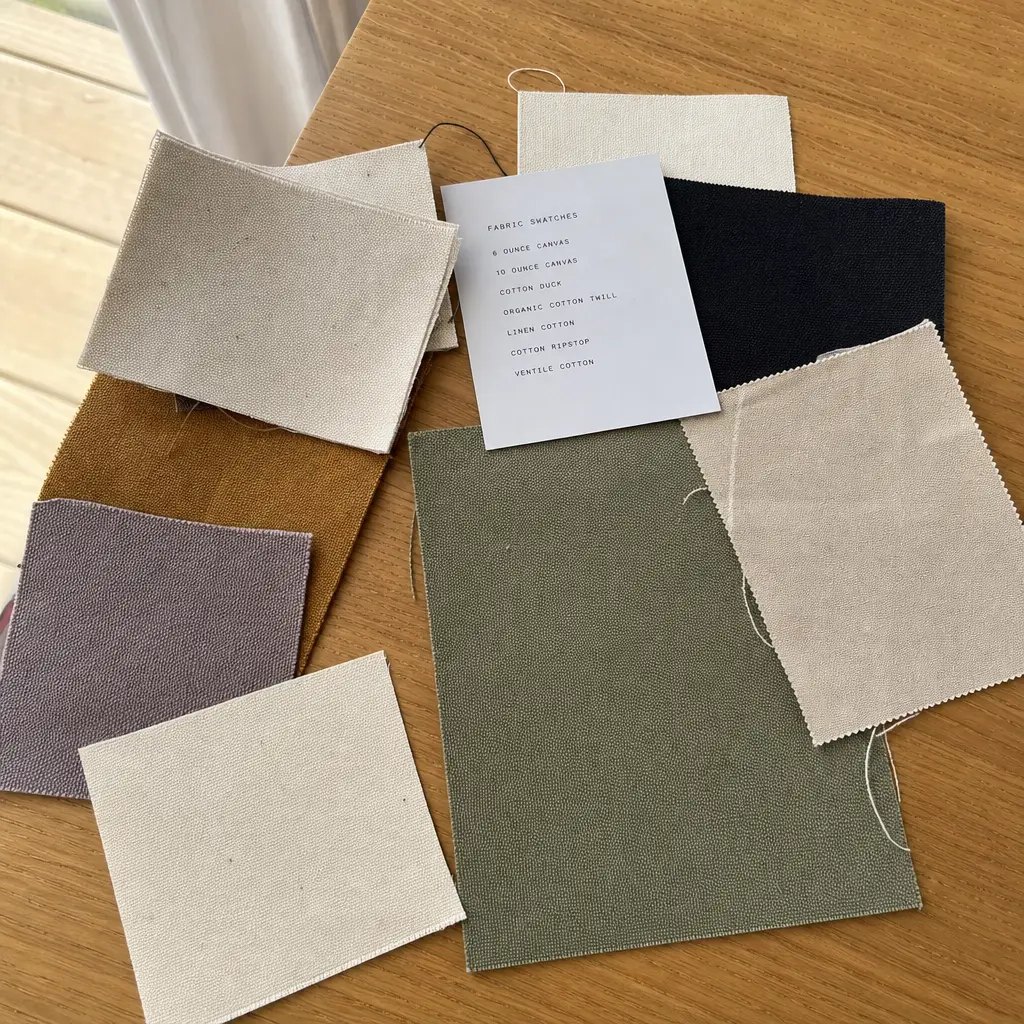
For custom canvas messenger bags, natural grocers usually land in the 10 oz to 12 oz range, roughly 280 to 340 GSM. This gives enough body for a clean screen print without making the bag too stiff or expensive to ship. Around 8 oz to 9 oz, some bags can still work if the design is simple and the bag is unstructured, but lighter fabric tends to wrinkle more around a front logo and may show shadowing from pockets or seam allowance underneath. If the bag carries glass bottles or heavier grocery items, the body panel can also distort under load, making the print look less centered in use.
Heavier options such as 14 oz canvas, around 400 GSM or above, improve shape retention and feel premium, but they raise both unit cost and carton weight. They also require stronger needle setup and more sewing pressure around multiple folded layers, which can affect flap edge neatness and hardware reinforcement. For most retail and promotion programs at natural grocers, 280, 310, or 340 GSM natural canvas is the practical range to request first. That lets you compare quotes on a common basis.
- 280 GSM: better for cost-sensitive programs, lighter freight, simpler one-color print
- 310 GSM: balanced for everyday messenger construction and front-panel branding
- 340 GSM: stronger body and cleaner visual shape, but higher material and shipping cost
- If using dyed canvas, request print test because darker shades may need an underbase or alternate method
- If using recycled canvas blends, ask for fabric surface consistency because slub and speckle can affect fine logo detail
Pick the branding method based on logo detail and expected wear
For natural grocer branding, water-based or pigment screen print is usually the most commercial option on natural canvas messenger bags. It suits low-gloss, earthy branding and scales well once the screen charge is absorbed over production volume. It also sits flatter than embroidery, which matters on flap edges and fold zones. Most one-color or two-color co-op logos print cleanly in the 180 to 240 mm width range on a 10 oz to 12 oz canvas body panel.
Embroidery can work for small marks, especially near the top corner or on a flap, but large stitched areas can pucker medium-weight canvas and create backside thread exposure unless there is a lining or backing patch. Heat transfer gives better detail for small text or multi-color graphics, but it can feel less natural and may crease visibly in fold areas. A woven label is useful as a secondary brand marker, especially for private-label programs, but it should not replace the main visibility requirement unless the buyer is intentionally keeping the front clean.
- Screen print: best value for simple logos and medium to high volume
- Embroidery: good for small premium marks, not ideal for large flat artwork on soft canvas
- Heat transfer: useful for detail, but review hand feel and crease performance
- Woven label: good supporting branding detail, usually sewn into side seam or pocket edge
- Debossed patch: possible on leatherette patch, but not always aligned with natural grocer brand style or cost target
Define placement coordinates in millimeters, not visual comments
The single biggest production improvement is replacing comments such as "center the logo on front" with dimensional placement instructions. For example, specify: logo centered on front body panel, 210 mm wide, top of logo positioned 45 mm below flap seam line, left and right centered within plus or minus 5 mm. This is a factory-ready instruction. It allows pattern making, printing, and final inspection to use the same reference points.
Use finished bag reference points, not raw cut-panel estimates. If the logo sits on the body under a flap, reference the seam line after construction, not the top edge of the cut piece before turning. If the bag has an outside pocket, specify whether the logo sits on the pocket, above the pocket, or ignores the pocket entirely. A quote without this precision may look lower because the supplier assumes easier positioning or a smaller print area than another factory.
- Good reference points: top seam line, flap seam line, finished side seam, top edge of pocket
- Avoid reference points that disappear during sewing, such as raw cut edges
- Define horizontal centering and vertical distance separately
- State whether placement tolerance is plus or minus 3 mm, 5 mm, or another threshold
- Request a print layout sheet with ruler marks and construction lines
Understand the cost drivers behind logo placement quotes
Logo placement affects cost in more ways than the print itself. Front-body printing on a flat panel before sewing is usually the most efficient route. Printing after the bag is assembled may be needed for some positions, but it is slower and can reduce consistency because seams and straps obstruct the press bed. A logo on the flap can also add handling steps if the flap is attached late or if both body and flap need separate print stations.
Buyers comparing quotes should isolate the components. Ask for bag cost, print setup cost, print running cost, and accessory cost separately. A low unit price can hide a smaller print size, lighter GSM, or a looser tolerance. For example, one factory may quote 280 GSM natural canvas with a 180 mm one-color print, while another quotes 340 GSM with a 220 mm print and individual polybag. Those are not equivalent offers. A better RFQ forces suppliers to state exactly what is included.
- Main cost drivers: canvas GSM, bag size, flap construction, print size, color count, hardware, pockets, and packing
- Screen setup is spread better over larger MOQs; small runs often show higher unit impact
- Changing artwork while keeping same bag body can be economical if screen sizes stay consistent
- Dark dyed canvas may add underbase, slower drying, or alternate print process cost
- Per-piece polybagging and barcode labeling can be material in labor-heavy programs
Use MOQ logic that fits store rollouts and regional artwork splits
Natural grocers and their distributors often need one common bag structure but several logo versions for different store banners, local partnerships, or event programs. The mistake is treating every art variation like a separate product development project. From a factory view, MOQ becomes more manageable when the base fabric, bag dimensions, hardware, and construction stay constant. Then only the print screens or labels change.
Buyers should therefore request MOQ in two layers: MOQ for the base bag and MOQ per artwork version. This matters because some factories can cut and sew the whole lot together, then separate printed panels by design. Others may insist on a higher minimum per artwork due to screen setup and line planning. If your annual volume is meaningful but each artwork split is small, you may reduce cost by using a common woven side label and a smaller front print field, or by limiting color changes.
- Useful quote format: 3,000 pcs total with 3 artworks x 1,000 pcs each
- Another practical split: 5,000 pcs total with 5 artworks x 1,000 pcs each on same base bag
- If each logo version falls below efficient screen volume, consider a single front print plus local hangtag variation
- Ask whether mixed artworks can ship under one booking and one carton spec
Approve samples in stages so placement mistakes are caught early
A digital mockup is not enough for messenger bags because panel curvature, flap overlap, and strap attachment change what the eye sees. A useful sample path usually starts with a layout approval sheet showing logo coordinates, then a blank construction sample to validate body proportions, then a printed pre-production sample on production-like fabric. This sequence separates structural issues from print issues. If both are reviewed at once, the team often approves one problem while focusing on another.
For the printed sample, ask the factory to photograph the bag flat, standing, flap closed, flap open, and folded for packing. Many logo complaints only appear after folding because a hard crease runs directly through the brand mark. If the natural grocer program needs resale-ready presentation, you may also want a sample with barcode sticker, care label, country-of-origin marking, and final carton assortment. That avoids the common gap between sample-room approval and warehouse reality.
- Stage 1: artwork placement sheet with measurements in mm
- Stage 2: blank sewn sample to review shape and visible print area
- Stage 3: printed pre-production sample on target GSM fabric
- Stage 4: top sample from bulk material if the program is large or timing is tight
- Sample photo set should include ruler reference and side views
Set QC thresholds for print, measurement, and packing damage
Quality control needs objective thresholds, especially when the key requirement is brand visibility. For logo placement, define tolerance in millimeters from approved reference points. For print appearance, define what counts as major defects: misregistration, unreadable text, pinholes in large solid area, blurred edges, or inconsistent opacity. For canvas shade, approve against actual fabric because natural cotton can vary from creamy to slightly darker beige. That fabric tone changes the visual result even if the ink formula stays the same.
Packing can damage otherwise acceptable print work. Messenger bags are often folded with the flap pressed across the front panel. If the logo is large and centered, that fold may run straight through the printed area. Tight compression can also create offset rubbing if the print is not cured properly. For that reason, final inspection should include at least some pieces taken from the middle of sealed cartons and unfolded after transit-like compression. Buyers who skip this may only discover print blocking when goods reach the importer warehouse.
- Example placement tolerance: plus or minus 5 mm from approved centerline and top reference
- Example measurement tolerance: body width and height plus or minus 1 cm; strap length plus or minus 1.5 cm depending on design
- Reject if logo touches seam allowance or disappears under closed flap beyond approved view line
- Reject if print cracks, transfers, or smears after normal fold and rub test
- Inspect mixed carton locations, not just top-layer samples
Packing, lead time, and landed-cost details that change the real buying decision
A messenger bag with a front logo often needs a smarter packing plan than a simple tote. If packed too tightly, the flap edge may emboss into the print, hardware may mark adjacent panels, and webbing straps may crease the face side. For clean retail presentation, some buyers request each bag stuffed lightly with recycled paper and packed in a polybag. That improves appearance but increases material, labor, and carton volume. For distributor channels, a simpler flat fold may be acceptable if the logo sits away from fold lines and the print is fully cured.
Lead time should be broken down by activity. Typical planning may include several days for artwork and layout approval, one to two weeks for sample revisions, fabric booking time depending on whether stock canvas is available, printing preparation, sewing line scheduling, and final inspection before export booking. The shortest quote is not always the safest quote if it assumes stock fabric that does not match your approved GSM or color. Landed cost also changes with carton efficiency: heavier 340 GSM canvas with protective packing can reduce pieces per carton, increasing freight per unit even if factory price remains competitive.
- Ask for carton dimensions, gross weight, net weight, and pieces per carton in the quote
- State if polybag ventilation holes, suffocation warning, or recycled material requirement applies
- If bags are for resale, ask whether hangtags are attached or packed loose
- Review whether individual inner cartons are needed for store allocation
- Compare supplier offers on FOB basis with packing spec normalized before making landed-cost judgment
Specification comparison for buyers
| Spec decision | Recommended option | When it fits | Buyer risk to check |
|---|---|---|---|
| Front logo position | Centered on flat front body panel, at least 35-50 mm below top seam or flap stitch line | Best for simple brand marks that must stay visible on shelf or in-store use | Artwork can drift upward into seam allowance or disappear under flap if panel height is measured before sewing deductions |
| Flap logo vs body logo | Logo on body panel instead of flap for higher repeatability | Best when the flap shape is curved, topstitched, or has magnetic snap hardware | Flap distortion during sewing can skew logo alignment and make left-right positioning inconsistent carton to carton |
| Print size | 180-240 mm wide for most adult-size messenger bags | Works for grocery co-op branding that needs readable logo from 1-2 meters | Oversized art on narrow bags can wrap into side seam and crack faster on folded edges |
| Canvas weight | 10 oz to 12 oz canvas, about 280-340 GSM | Balanced option for natural grocers needing structure for print clarity without heavy freight weight | Lighter fabric may show print bleed-through and panel waviness; heavier fabric raises carton weight and print setup pressure |
| Print method | Water-based screen print for solid one- or two-color logos | Best for organic, low-gloss brand look on natural canvas | Very fine lines may fill in; exact Pantone match varies on unbleached fabric tone unless underbase or pigment adjustment is approved |
| Alternative branding method | Woven side label plus small front print | Good when the brand wants retail-looking detail without large front coverage | Woven label color and edge folding need separate approval; incorrect placement can interfere with side seam or bartack area |
| MOQ logic | Keep one base bag spec and vary print artwork only | Useful for chain rollouts, seasonal promotions, and distributor splits | Multiple bag sizes or fabric colors can push MOQ per SKU beyond economical print breakpoints |
| Packing format | Individual polybag only if needed for cleanliness, then 20-40 pcs per export carton depending on size | Fits retail distribution where bags must arrive clean and logos unscratched | Tight compression can transfer fresh ink, create flap creases across logo area, or distort measurement checks on arrival |
Buyer checklist before sampling
- State whether the logo must be visible with flap closed, flap open, or both; this changes panel choice and print coordinates.
- Specify body size, flap shape, gusset width, and strap attachment style before requesting logo placement recommendations.
- Give artwork width and height in millimeters, not only a PDF file name or visual reference.
- Define the base fabric as natural canvas, dyed canvas, recycled cotton canvas, or cotton-poly canvas because print behavior differs.
- List target fabric weight range such as 280 GSM, 310 GSM, or 340 GSM and whether weight tolerance is acceptable.
- Name the print method preference if any: screen print, heat transfer, embroidery, debossed patch, or woven label.
- Request a marked-up artwork placement sheet showing distances from seams, flap edges, pockets, and hardware.
- Approve print color against actual fabric swatch, not digital screen color only, especially on unbleached canvas.
- Include sample fold test requirements so the logo area is reviewed after bag packing, not only when laid flat.
- State packing need clearly: loose bulk pack, individual polybag, barcode label, carton assortment, or store-ready inner packs.
Factory quote questions to send
- What finished panel dimensions are used to calculate logo coordinates after seam allowance and flap turn-in are deducted?
- Which print method do you recommend for this logo on 10 oz, 12 oz, and 14 oz canvas, and what are the tradeoffs in cost and edge sharpness?
- Can you provide a placement drawing with distance from top seam, side seam, flap edge, and pocket seam in millimeters?
- What is the MOQ if the bag body stays the same but artwork changes across multiple store regions or private-label programs?
- Is the quoted print based on one-color screen print on natural canvas, and what surcharge applies for dark fabric, underbase, or extra colors?
- What print size is included in the quote, and what price break applies if the artwork width increases beyond your standard screen size?
- How do you protect printed panels from ink offset or abrasion during packing and shipment?
- What sample stages are available: digital layout, blank construction sample, pre-production printed sample, or top sample from bulk materials?
- What lead time is needed for lab dip, fabric booking, printing, sewing, inspection, and export booking separately?
- What are your acceptance tolerances for logo placement shift, print shade variation, bag measurement variance, and strap length variance?
Quality-control points to confirm
- Logo placement tolerance should be defined, for example within plus or minus 5 mm horizontally and vertically from approved reference point.
- Print must not run into seam allowance, flap fold line, magnetic snap reinforcement, or bartack area.
- Screen print edges should appear solid and readable with no major pinholes, ghosting, double image, or heavy ink buildup.
- Logo color should be approved on actual production fabric because natural canvas tone can warm the final shade.
- Finished bag measurements should be checked after construction and light settling, not from cut panel dimensions.
- Strap attachment strength and bartack area must not distort nearby logo panels or pull graphics out of square.
- If a woven side label is used, seam insertion depth and label exposure length should match approved sample.
- Carton packing should prevent hard fold lines through large printed areas and prevent fresh print transfer between bags.
- Random units from top, middle, and bottom of carton should be opened during final inspection to verify print rubbing and compression marks.
- Pre-shipment inspection should compare production pieces to approved sample photos with visible rulers at logo coordinates.