1. What buyers usually get wrong with canvas zipper portfolios
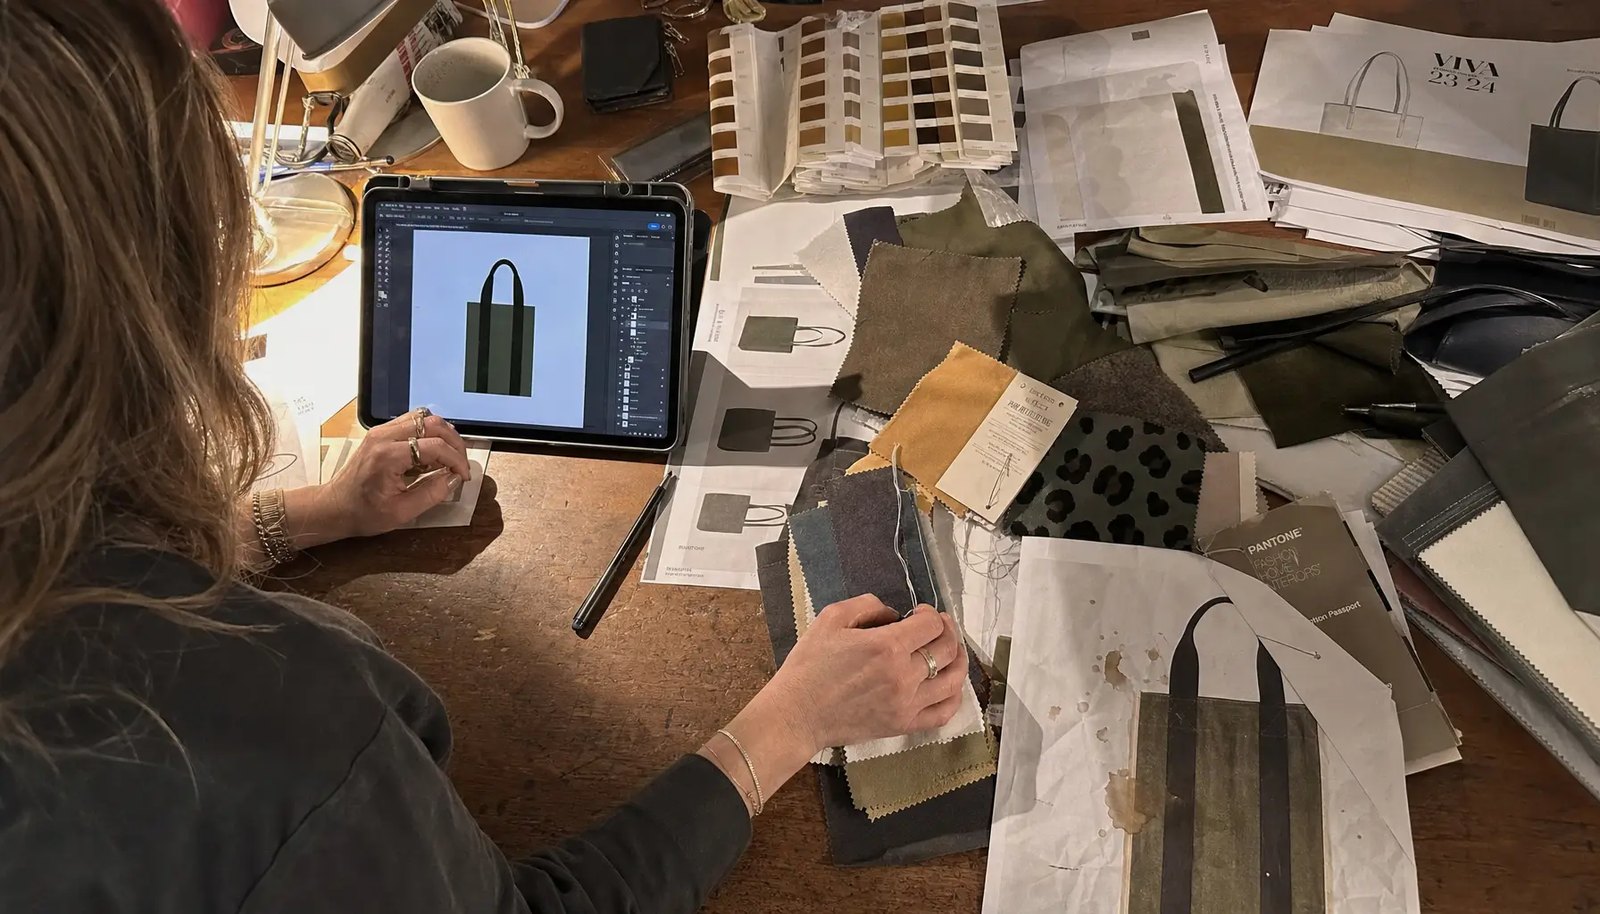
The most common mistake is treating a canvas zipper portfolio like a simple flat pouch. In reality, it combines textile construction, zipper hardware, print placement, seam strength, and packing behavior. One weak assumption can damage the entire order. For tech startups, these portfolios often land in onboarding kits, event handouts, investor meeting packs, sales presentations, or internal launch sets, so they need to look organized as well as function well. If the portfolio feels uneven, the brand can look less disciplined even when the rest of the kit is strong.
Another mistake is comparing suppliers on sample appearance instead of production discipline. A clean sample photo does not prove that the supplier can hold stitch density, zipper alignment, print registration, and packing accuracy in bulk. For procurement, the question is not only whether the sample looks good; it is whether the same build can be repeated at scale with controlled defects and repeatable dimensions. A polished sample room with weak process control still creates receiving problems.
A third mistake is approving the style before the use case is clear. A startup team may ask for a simple canvas zipper portfolio and stop there, but the real need may be document storage, tablet carry, a slim charger pocket, or a premium client handoff item. Once the use case is clear, inspection becomes easier: tie fabric weight, zipper opening, internal size, pocket layout, and packing format to the job the product must do. That is the fastest way to reduce quote confusion and sample revisions.
The practical rule is simple: treat the portfolio as a controlled specification, not a fashion accessory. Write down what must fit inside, how the zipper should function, where the logo should sit, and how the product should arrive. If those points are not controlled in writing, the supplier will fill the blanks with their own assumptions.
- Treat size, zipper run, print position, and pocket layout as controlled specs.
- Judge the sample in natural light and under warehouse receiving conditions.
- Use one approved reference sample for all future bulk checks.
- Ask the supplier to explain the biggest production risk before award.
2. Define the product spec before you ask for quotes
A quote is only comparable when every supplier reads the same brief. For canvas zipper portfolios, procurement should define use case, size, material target, decoration method, zipper type, and packing scope before requesting pricing. Otherwise, one supplier may quote a lighter fabric, another a smaller print area, and a third may exclude packaging or labeling. The numbers can look close until production starts and the hidden assumptions become change orders or defects.
Start with the physical role of the item. Will it hold A4 documents, legal-size papers, a tablet, or a small set of accessories? Does it need a flat presentation feel or a little thickness for protection? Is it meant for a low-cost event handout, a sales presentation kit, or a more durable client handoff piece? The answers change almost every sourcing decision: canvas weight, body structure, pocket count, zipper opening, and reinforcement points all shift with intended use.
When you build the RFQ, use measurable language. Instead of saying premium canvas or good zipper, specify the finished GSM, outer dimensions, internal clear size, print area in millimeters, zipper type, and pack count per carton. Add the approved artwork version, color reference, and target delivery date if available. That gives suppliers a real manufacturing brief rather than a vague buying request, and it gives procurement a better way to compare offers line by line. A strong RFQ also reduces the risk that one supplier quotes a stock item while another quotes a custom build.
Split the brief into mandatory and optional items. Mandatory items are the things that define fit and function, such as dimensions, zipper performance, and logo placement. Optional items are the extras, such as woven labels, custom zipper pulls, insert cards, or special packing. Separating those items keeps the quote readable and helps you see where the price changes are coming from.
- Define the portfolio’s job first: documents, tablet carry, sales kit, or event pack.
- State finished dimensions, not only approximate size.
- Include approved artwork files, color references, and pack-out expectations in the RFQ.
- Separate must-have specs from nice-to-have upgrades so quotes stay comparable.
3. Choose the right canvas weight and body construction
For most canvas zipper portfolios, a finished canvas range of about 12 oz to 14 oz is the practical starting point. That range usually balances structure, print quality, and unit cost. Lighter material can reduce freight and price, but it often loses body once the portfolio is filled with papers or accessories. Heavier canvas improves shape retention and gives a more premium hand feel, yet it can raise sewing difficulty and make the item feel too stiff for event use. The right choice depends on how the product will be used, packed, and handled after delivery.
Do not rely only on raw cloth weight if the fabric is washed, dyed, coated, or otherwise finished after weaving. What matters to the buyer is the finished fabric condition that reaches the sewing line. Finished GSM, shrinkage behavior, and surface treatment all affect seam behavior, logo sharpness, and whether the portfolio lies flat or curls at the edges. Ask for the mill or factory fabric spec and ask whether the canvas is natural, bleached, dyed, enzyme washed, or lightly coated. If the supplier cannot explain the finishing sequence, the quoted weight is not enough to evaluate quality.
Body construction also affects QC. A single-layer body with clean seam tape may be enough for a document folder style, while a lightly lined body can give a smoother interior and help hide stitch marks. The trade-off is cost and sewing complexity. If the item includes a tablet pocket or heavier contents, consider reinforcement at stress points rather than making the whole body unnecessarily stiff. Reinforcement should go where the load is applied, not everywhere by default. The most useful inspection question is not is it thick, but does the structure protect the contents without creating sewing distortion?
For production control, ask for the acceptable dimensional tolerance in finished form. A practical buyer brief usually states the target outer size plus or minus a small tolerance, then separately defines the usable opening. That avoids the common problem where the bag measures correctly on the outside but the interior opening is too tight for the intended documents or device.
- 12 oz is often suitable for lighter presentation use and lower freight cost.
- 14 oz usually gives a more premium feel and better flatness at the zipper line.
- Light lining or seam reinforcement is useful when the portfolio must feel cleaner inside.
- Ask for finished GSM and shrinkage behavior, not only raw fabric weight.
4. Lock the logo and print method before comparing suppliers
Logo treatment is one of the easiest places for a quote to become misleading. Screen printing is often the best value for simple logos, text, and one-to-three color graphics because it scales well and is relatively stable on canvas. If the artwork is a minimal brand mark or a short wordmark, screen print is usually the first method procurement should evaluate. For tech startups ordering repeat batches, the repeatability of screen print is often more valuable than the visual novelty of a more expensive finish.
Embroidery can look premium, but it brings extra variables: stitch density, thread direction, stabilizer choice, and the risk of puckering on lighter canvas. It is a good fit when the brand wants a stitched, tactile identity and accepts the extra cost and process sensitivity. Heat transfer can support fine detail or gradients, but it may crack, lift at the edges, or show wear sooner if the portfolio is handled constantly or stored tightly in cartons. For a product that will be opened and closed frequently, the durability test matters more than the initial look.
The key procurement control is to freeze the artwork spec before pricing. State the logo dimensions, placement reference points, color count, and allowable shift. Ask the supplier whether the print sits relative to the zipper seam, pocket edge, or centerline, and define the acceptable tolerance in millimeters. If the artwork is small or close to a seam, even a minor shift can make the portfolio look off-center or unbalanced. The quote should also state whether a strike-off or sample print on actual canvas is included. If it is not included, the buyer should know whether a custom sample fee applies.
Match decoration method to artwork complexity. Simple logos and solid shapes usually belong to screen print. Texture-driven branding may justify embroidery. Fine detail or variable color effects may require transfer or another method, but only if the expected wear rate is acceptable. The best procurement outcome is not the most impressive decoration method; it is the method that can be repeated with consistent placement and low rework risk.
- Use screen print for durable, repeatable flat logos.
- Use embroidery only when the brand wants texture and accepts higher cost.
- Avoid mixing print methods across one SKU unless the artwork truly requires it.
- Write the logo position in millimeters, not only centered or aligned.
5. Compare supplier routes before you settle on price
For procurement teams, the real decision is not only supplier A versus supplier B. It is direct factory, trading company, or sourcing agent. Direct factory sourcing usually gives the best visibility into cutting, printing, stitching, and final inspection, especially if the factory truly owns the line. That matters for portfolio quality because defects often come from handoffs between processes: fabric tension in cutting, print registration in decoration, or zipper alignment in sewing. The more direct the production path, the easier it is to trace problems and correct them before bulk shipment.
Trading companies can be useful when you need to combine several products into one shipment or manage a broader sourcing program. The trade-off is that you must verify who actually makes the portfolio and where the sample was developed. If the commercial contact cannot show the workshop, sample room, or inspection process, you may be buying coordination rather than manufacturing control. That can be acceptable for some sourcing models, but it should be a conscious choice, not a surprise when the order changes hands after approval.
Sourcing agents can help with communication, price comparison, and shipment consolidation, especially for small teams without a large sourcing department. But even then, the supplier chain needs to be visible. Ask for workshop photos, sample-room photos, and a line-by-line ownership breakdown showing who handles cutting, printing, stitching, QC, and packing. For a tech startup that needs predictable branding, process visibility usually matters as much as unit price. If a supplier cannot explain the production path clearly, the risk is usually being shifted to the buyer.
A strong sourcing comparison also asks the same operational questions of every candidate: who owns the pattern, who confirms the golden sample, who signs off the first production lot, and who handles rework if the carton arrives with defects. Those answers are often more valuable than a small difference in piece price.
- Direct factory: best for repeat orders, stable specs, and stronger QC traceability.
- Trading company: useful for mixed-category consolidation, but verify the actual maker.
- Sourcing agent: helpful for coordination, but require line-by-line accountability.
- Confirm whether the quote includes the same factory that made the sample.
6. Use this buyer comparison when reading quotations
A proper comparison table should help you see what each supplier is really selling. The cheapest quote may hide thinner canvas, a weaker zipper, fewer stitch reinforcements, or a lower packaging standard. A more expensive quote may include better fabric, the correct puller, proper inner packing, and a defined inspection standard. Procurement should compare all of those details before any purchase order is issued. If the quote does not state those details, the price is incomplete, not competitive.
Normalize all quotes around the same spec set. Ask every supplier to quote the same fabric weight, same zipper type, same artwork size, same packing format, and same delivery target. Then ask them to mark optional items separately, such as barcode stickers, insert cards, custom hangtags, or custom zipper pulls. This approach prevents one supplier from looking cheaper simply because they omitted items another supplier already included. It also makes it easier to negotiate on real cost drivers instead of guesswork.
For tech startups, the sweet spot is usually a supplier that can show finished GSM, a consistent zipper spec, a clean pre-production sample process, and carton packing that survives distribution. If the portfolio is being handed out at a launch event, shipped to employees, or sent to conference attendees, field damage and presentation issues can matter more than a small unit-price gap. The right comparison is therefore total program quality, not only purchase price. Think in terms of landed usable goods, not just ex-factory line items.
Before awarding the order, ask the supplier to restate the offer in a clean line sheet: product name, size, fabric, zipper, decoration method, packing, sample stages, lead time, and any excluded costs. That one-page restatement often exposes hidden assumptions faster than any sales call.
- Compare quote content, not just landed unit price.
- Normalize size, fabric weight, print positions, and packing scope.
- Ask suppliers to itemize all optional extras separately.
- Keep quotation, sample approval, and inspection notes tied to the same spec version.
7. Sample approval workflow that prevents bulk surprises
The sample stage should answer three questions: does it look right, does it function right, and can it be repeated without hidden changes? Start with the physical sample, not only a photo. Measure it after pressing, because canvas can shift slightly once stitched and finished. Check whether the portfolio lies flat the way you expected, whether the zipper travels smoothly, and whether the pocket openings are wide enough for the intended contents. A sample that is slightly off in the sample room often becomes more noticeably off in the production run.
Evaluate the sample visually against the approved fabric swatch and artwork file. Check logo placement, centering, edge crispness, color match, and any distortion caused by the weave. Canvas texture can make small details look rough if the print method is not matched correctly. If the logo has thin lines, tiny text, or fine corners, ask whether the supplier can maintain the same result during bulk printing. If the answer is not confident, simplify the artwork before approving the order. That is usually cheaper than trying to rescue a fragile design after production starts.
Test function with real contents. Put in the actual document pack, notebook, tablet, charger, or stationery set that the portfolio is meant to hold. Open and close the zipper several times, load and unload the pockets, and inspect the stress points afterward. If the sample twists, catches, or warps under real contents, that is a design issue, not a minor defect. The approval should only happen after the buyer and supplier agree on the final reference sample, often called the golden sample. Keep that signed sample tied to the PO so both sides use the same acceptance reference.
For launch-sensitive programs, request a pre-production sample from the exact material and decoration route that will be used in bulk. A stock sample from another material family is not enough if the bulk order uses a different canvas finish, zipper source, or print method.
- Measure key dimensions after pressing, not before.
- Load the sample with real contents to test zipper stress and pocket fit.
- Approve artwork, fabric, zipper, and packing together as one reference standard.
- Keep one signed golden sample in procurement, one in production, and one in QC.
8. QC thresholds to write into the PO
A purchase order should state acceptance criteria in plain language. Avoid broad phrases such as export standard or good quality. For canvas zipper portfolios, define the tolerance on length, height, depth, logo placement, and zipper alignment. Also define defects that are unacceptable, such as stained fabric, split stitches, visible glue, broken needle marks, or a zipper that fails to close smoothly. If the supplier knows the pass-fail line before production starts, they can set their line inspection to match it.
The highest-risk defects are often repeatable rather than random. A zipper sewn a few millimeters off-center, a pocket stitched unevenly, or a logo printed slightly low on every piece usually points to a process setup issue. Those problems are cheaper to catch in the first inspection than after the full shipment arrives. That is why procurement should require in-line QC photos or first-piece confirmation on the first production run, especially if the order is tied to a launch date or event schedule.
Define a simple defect hierarchy. Separate cosmetic issues from function failures and from carton-level errors. A loose thread may be a minor repair item; a jammed zipper or wrong label is a major reject. If the team knows which defects can be reworked and which require replacement, receiving becomes much faster and more consistent. This is especially important for distributed startup teams that cannot spend days sorting cartons by hand.
The most useful PO language includes measurable checks: outside size tolerance, zipper run condition, print placement tolerance, stitch appearance standard, carton count accuracy, and label match. If a buyer cannot measure the condition at receiving, the standard is not strong enough to control a bulk order.
- Set size tolerance for length, height, and depth in writing.
- Set a minimum zipper cycle expectation on the sample.
- Specify no visible stain, no skipped stitch, and no mixed labels in packed cartons.
- Classify defects as cosmetic, functional, or carton-level before mass production starts.
9. Packing, labeling, and carton layout affect damage rates
Canvas zipper portfolios are sturdy, but they are still easy to mark in transport. Folded prints can crease, zipper pulls can scuff adjacent pieces, and tight carton packing can distort the panel shape. If the product is being shipped to a warehouse, conference venue, retail distributor, or international office, the packing format needs to protect the face of the product as well as the zipper hardware. Weak packing makes inspection harder and can turn a clean product into a damaged one before it reaches the buyer.
Ask whether each unit goes into a polybag, whether a size sticker or barcode label is applied, and whether cartons are packed by color, artwork version, or mixed SKUs. If the startup uses a warehouse receiving process, barcode accuracy becomes part of quality control. The carton mark, PO number, quantity breakdown, and SKU label all need to match the commercial documents. A labeling error often costs more to fix at destination than at origin, especially when the shipment is split across offices or event locations. The buyer should also verify whether the label stays on during handling and whether the outer carton mark is placed on two adjacent sides for easier receiving.
Check the carton build itself. The supplier should state master carton size, pack count, inner bag count, and whether moisture protection is used. If the portfolios will travel by sea or sit in a humid storage area, the pack structure should help protect the canvas from dust and moisture. For long-distance freight, a strong outer carton and proper fill logic matter as much as the quality of the sewing line. If the product arrives with a great sample but crushed cartons, the user experience is still damaged.
For larger orders, ask for a carton packing diagram or pack layout. That diagram should show how many units per inner bag, how many inner bags per master carton, and whether the zipper pull faces inward or outward. Small choices like that affect scuffing and speed at warehouse receiving.
- Use polybags and size stickers when cartons will travel through multiple handling points.
- Separate colors or artwork variants if warehouse receiving needs clean sorting.
- Require an outer carton sample or carton spec before bulk packing starts.
- Match carton labels, PO data, and SKU codes before dispatch.
10. Lead time and MOQ logic for a realistic purchase order
MOQ should come from setup cost and line efficiency, not from a random number. For a custom canvas zipper portfolio with one print location and one zipper spec, the minimum order is usually driven by fabric availability, print screen setup, and how efficiently the sewing line can run. If the supplier is using stock canvas and a simple logo, the MOQ can often be lower. If the order needs special dyeing, custom zipper parts, multiple pockets, or several artwork versions, the MOQ should rise because each variable adds handling and risk.
Lead time should be broken into stages, not given as one vague number. Ask for sample timing, artwork approval timing, material booking timing, cutting, sewing, inspection, packing, and final shipment prep. This helps procurement understand where delay is likely to happen. A supplier that only gives a single total lead-time number may be hiding bottlenecks such as fabric booking, zipper sourcing, or print setup. For launch-critical orders, a stage-by-stage timeline is far more useful than a calendar estimate.
If your startup team has multiple buying windows, ask the supplier whether partial material booking is possible before final art approval. Some factories can reserve fabric or zipper components once the sample direction is stable. Others require everything to be fully confirmed before any booking begins. That difference matters when you are managing a campaign date, a sales event, or an internal onboarding deadline. MOQ and lead time should support the schedule, not just the price.
A realistic buyer also checks whether the factory can scale the same spec on repeat orders. If the first order is 500 pieces and the next is 2,000 pieces, ask whether the same fabric lot, zipper source, and print method can be maintained. Repeatability often matters more than the first price because it protects brand consistency across programs.
The right procurement question is: what does it take to repeat this order without changing the approved sample? If the supplier cannot answer that clearly, the quote is not ready for award.
- Lower MOQ is usually linked to stock fabric and a simple print spec.
- Special dye, custom zipper parts, or multiple SKU colors push MOQ upward.
- Request a stage-by-stage timeline, not just one flat lead-time number.
- Confirm whether material booking can start before final bulk approval.
Specification comparison for buyers
| Spec decision | Recommended option | When it fits | Buyer risk to check |
|---|---|---|---|
| Fabric weight | Finished canvas at 12 oz to 14 oz, with measured GSM after finishing and a stated tolerance | Onboarding kits, investor handouts, sales presentation packs, and conference document carriers | Raw cloth weight can be misleading; ask for finished GSM, color tolerance, and shrinkage after finishing |
| Body structure | Single-layer canvas with seam tape or a light lining plus reinforcement at stress points | When the buyer wants lower cost, less bulk, and a clean flat profile | Unlined bodies can show stitch shadow, print distortion, or corner puckering if the pattern is not balanced |
| Print method | Screen print for simple logos and limited colors; embroidery only when the brand wants texture | When the artwork is stable, repeat orders are likely, and registration needs are moderate | Thin text, tight line art, or small marks can fill in or shift; require a strike-off on the actual fabric |
| Zipper spec | Nylon coil zipper with matched slider, top stop, and puller finish; metal only if the structure supports it | When smooth opening, low breakage risk, and controlled cost are priorities | Weak tape, poor end stops, and loose zipper stitching cause snagging and wave deformation |
| Pocket layout | One main compartment with one document pocket and one accessory slot | For document carry, tablet sleeves, and lightweight tech kits | Too many pockets increase sewing variance; verify internal clear opening, not just outer dimensions |
| Supplier route | Direct factory with sample-room evidence and inline QC photos | When repeat orders, traceability, and defect control matter | Trading layers can hide the real maker; confirm who cuts, prints, stitches, inspects, and packs |
| MOQ logic | Base MOQ 300 to 500 pcs per color/style for custom production, lower only with stock fabric and standard decoration | When you need a controlled custom order without excess inventory risk | Very low MOQ can mean manual handling, limited setup control, and inconsistent packing |
| Packing standard | Polybag with size sticker, then export carton with carton mark and quantity breakdown | When goods go to warehouse receiving, field distribution, or retail fulfillment | Loose stacking can scratch prints and bend zipper pulls; confirm carton count and moisture protection |
| Approval method | Pre-production sample plus a signed golden sample tied to the PO | When presentation quality or launch timing is critical | Without a signed reference sample, the buyer and factory may use different acceptance standards |
Buyer checklist before sampling
- Confirm finished fabric GSM, weave density, hand feel, and color standard against an approved physical swatch.
- Request a fabric build note that states raw cloth weight, finishing process, shrinkage expectation, and whether the canvas is bleached, dyed, washed, or coated.
- Approve zipper type, coil size, slider style, top stop, and puller finish on the actual production sample, not just in a catalog.
- Measure outside size, usable inside clearance, pocket depth, and zipper opening width to confirm the intended document, tablet, or accessory fit.
- Lock artwork file, print size, print position, and tolerance for registration or placement drift before mass production.
- Review seam allowance, bar-tack placement, corner reinforcement, and handle or loop stitching strength.
- Check interior cleanliness: no loose threads, excess glue, broken needle marks, oil stains, or fabric dust inside the portfolio.
- Sign off the pre-production sample, packing mockup, carton marks, barcode labels, and outer carton count before bulk cutting starts.
- Request production photos for cutting, printing, stitching, finishing, and final packing on the first run.
- Set defect limits for loose threads, skipped stitches, zipper jams, stain marks, wrong labels, and mixed variants in cartons.
Factory quote questions to send
- What is the finished canvas GSM after washing, dyeing, or finishing, and what tolerance do you hold in bulk?
- What is the weave count, fiber composition, and finishing method for this canvas zipper portfolio?
- Which zipper brand, coil size, slider type, top stop, and puller finish are included in the quote?
- Does the quote include one-color print, multi-color print, embroidery, woven label, or heat transfer, and what is the setup fee for each?
- What is the MOQ per color and per artwork version, and can mixed colors share one production run?
- What sample stage is included: existing sample, customized pre-production sample, or couriered golden sample?
- What packing is included in the unit price, and are polybags, inserts, barcode stickers, or master cartons extra?
- What is the lead time for sample approval, bulk production, and booking space after deposit?
- What inspection standard do you follow for loose threads, zipper function, print alignment, carton shortage, and AQL acceptance?
- Who is responsible for cutting, printing, stitching, final inspection, and export packing if the order moves through more than one facility?
Quality-control points to confirm
- Verify fabric weight on a finished basis, with the agreed tolerance stated on the spec sheet and purchase order.
- Check canvas weave for even density, no thin lanes, no major slubs in the logo area, no weak selvedge edges, and no visible shade mismatch between panels.
- Confirm print registration is within the agreed tolerance, with no obvious cracking, pinholes, smearing, edge lift, or color drop-off.
- Run the zipper through repeated opening and closing cycles on the sample to check for snagging, split teeth, end-stop failure, or slider wobble.
- Inspect stitching for consistent SPI, no skipped stitches, and no loose thread tails at stress points, zipper ends, and corner turns.
- Check bar-tacks and reinforcement points at the actual load areas, not drifting into the visible face area.
- Measure dimensions after final pressing and packing, because canvas can tighten, stretch, or distort after finishing.
- Inspect the interior for raw edges, thread nests, oil stains, and untrimmed seam ends.
- Match cartons to pack count, inner bag count, and shipping marks, with no label mix-up or SKU mixing.
- Record first-piece approval and in-line checks if the run is tied to a launch date or event deadline.