Why a simple portfolio order still needs a tight spec
Canvas zipper portfolios for farmers market vendors look uncomplicated at first glance: two canvas panels, a zipper, perhaps a lining, and a logo. That simplicity can be misleading. When buyers under-specify the product, the factory has to fill in the blanks. One workshop may choose lighter canvas to protect margin. Another may use a cheaper slider. A third may move the logo because the operator prints from a cut panel rather than a finished edge. None of those decisions may be obvious in a single quotation, but they can show up quickly in bulk production.
Farmers market vendors use these portfolios in active, sometimes messy conditions. They may keep market permits, food handling documents, price lists, laminated menu cards, order forms, receipt books, cash envelopes, card-reader accessories, seed packets, tasting notes, or a small tablet inside. The portfolio may be opened during booth setup, checkout, customer conversations, restocking, and end-of-day packing. If the zipper catches, the logo is crooked, or the canvas arrives dirty, the item feels cheap even if the base material was acceptable.
Procurement teams should treat the approved sample as a benchmark, not as the whole quality plan. A useful sourcing file includes a written product specification, supplier quote questions, photo records, sample comments, packing rules, and a canvas zipper portfolios for farmers market vendors quality inspection checklist that the factory and inspector can both follow. Words like durable, strong, premium, and good workmanship are not enough. For bulk production, those words need measurements, material names, tolerances, and defect categories.
- Use the approved sample as a physical reference, then support it with a written spec sheet.
- Check the failures vendors notice first: zipper snag, warped top edge, loose seams, print drift, and dirty packing.
- Set acceptance criteria before issuing the purchase order so final inspection is not reduced to opinion.
Define the product before asking for price
A quote is only useful when every supplier is pricing the same product. If one supplier quotes 12 oz cotton canvas with a #5 nylon coil zipper and another quotes thick canvas with a metal zipper, the lower price does not tell you much. The products are different. Before comparing suppliers, write the core specification: finished size, canvas weight, canvas color, finish, lining choice, zipper size, slider type, puller shape, print method, logo size, artwork placement, stitch density, reinforcement points, packing method, and carton requirements.
Finished size should be stated in millimeters or inches with a tolerance. For example, a buyer may specify 330 x 240 mm for common document use, with a finished tolerance of plus or minus 5 mm after sewing. If the portfolio must hold A4 sheets, letter-size forms, laminated signs, menu boards, compliance paperwork, or a specific tablet, test those contents before sample approval. A portfolio that fits loose sheets may feel too tight once a vendor adds a receipt book or several laminated cards.
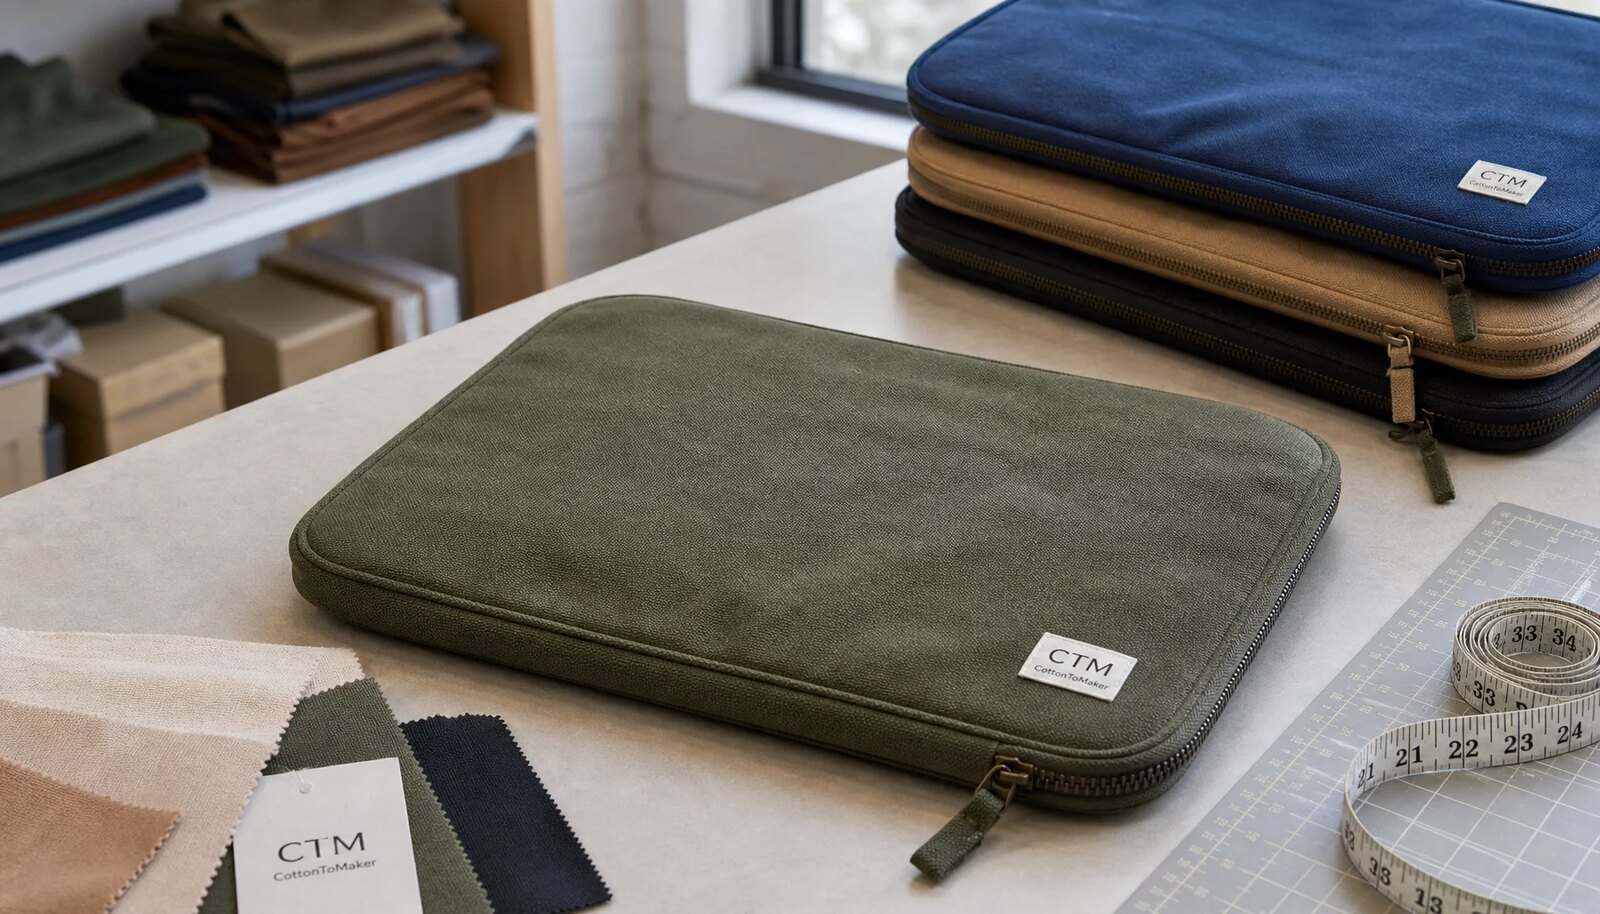
The visible style also needs control. Natural cotton canvas, dyed black, olive, navy, and brand-matched colors each carry different risks. Natural canvas can show slubs and shade variation. Dark dyed canvas may reveal lint or dye inconsistency. Light canvas can stain during cutting, sewing, or packing. Decide whether the zipper should match the body, contrast with it, or coordinate with a brand palette. Decide whether the logo belongs in the center, lower corner, on a woven side label, or on a zipper pull. These choices affect MOQ, setup cost, sample timing, and inspection work.
A strong request for quotation does not need to be fancy. It needs to remove ambiguity. When every supplier prices the same size, fabric, zipper, print, lining, and packing method, unit cost becomes meaningful. Without that alignment, procurement may accidentally reward the supplier who assumed the cheapest construction.
- State finished size, tolerance, and intended contents before sample development.
- Specify canvas in oz or GSM instead of using general words such as heavy or premium.
- Define zipper size, tape color, slider type, puller shape, and end finishing in the quote request.
- Attach artwork with print size, color target, and measured placement from finished edges.
Match canvas, lining, and structure to vendor use
Canvas weight drives cost, hand feel, structure, sewing efficiency, and freight. A 12 oz canvas is often suitable for budget programs, association giveaways, onboarding kits, or vendor welcome packs where the portfolio mainly holds papers. It gives a practical balance between price and function. For a more structured retail item or a portfolio expected to work through a full market season, 14 oz to 16 oz canvas can feel sturdier and hold shape better.
Heavier fabric is not automatically the better procurement decision. Very heavy canvas can create bulky corners, slow sewing output, increase needle breakage, and raise freight cost. It may also make the zipper opening feel stiff, especially on a flat portfolio with a narrow radius near the ends. Ask for the sample in the exact fabric weight quoted for bulk. Then test it with the actual contents, not just by touching the empty sample on a desk.
Lining is another choice that changes both product quality and inspection complexity. An unlined portfolio is lower cost and often enough for basic document storage. A light polyester lining can make the interior cleaner, reduce show-through on lighter canvas, and help papers slide in more easily. But lining adds another material that can shrink, pucker, twist, or feed differently from the canvas during sewing. If lining is included, the inspection checklist should cover trapped lining, raw seams, loose threads, zipper tape finish, and interior debris.
Construction should stay close to the real use case. If the portfolio is meant to sit in a vendor kit or hold documents in a stall, extra hardware may not add value. If vendors need to carry it from a vehicle to a booth, a short webbing wrist loop can help. When a loop or handle is added, require reinforcement and bartacks. The prettiest handle in a product photo is still a defect if it pulls out after a few weeks of normal use.
- Use 12 oz canvas for budget or light-use programs; consider 14-16 oz when structure and hand feel matter more.
- Test the chosen canvas weight with real paperwork, laminated cards, and any small device the vendor may carry.
- Choose lining only when the cleaner interior justifies the added material, sewing, and inspection work.
- Specify reinforcement at wrist loops, zipper ends, corners, and any other stress point.
Control the zipper like a functional component
The zipper is the part vendors touch every time they use the portfolio. It is also where many bulk complaints begin. A customer may ignore a tiny thread tail, but a rough slider or catching zipper is noticed immediately. For standard document portfolios, a #5 nylon coil zipper is usually a practical choice because it is flexible, smooth, and easier to sew around canvas edges. For wider openings, heavier canvas, or higher-use programs, a #8 zipper may provide a stronger feel.
Metal zippers can look more premium, but they are not always the best choice for this product. They can be heavier, less flexible, and more likely to leave pressure marks during packing if the portfolios are stacked tightly. If the design calls for a metal zipper, ask for finished samples packed in the intended carton method, then inspect whether the teeth or pullers mark the canvas or printed logo.
The quotation should name the zipper size, tape material, tape color, slider material, puller shape, puller finish, top stop, end stop, and zipper direction. If a branded puller is required, check MOQ, tooling cost, and added lead time early. Custom hardware can be worthwhile for a retail program, but it introduces another approval stage. For many B2B orders, a clean standard puller is the better schedule and cost decision.
Final inspection should test both the zipper component and the sewn installation. The zipper should open and close smoothly across the full length, without catching near the seam ends or zipper garage. The tape should sit evenly with consistent seam allowance. The top edge should not wave, twist, or pull inward. The slider should not separate from the tape, and the puller should not bend or detach under normal handling. Ask the inspector to cycle sampled zippers several times, not just once.
- Require zipper cycling on sampled units during final inspection.
- Reject rough sliders, missing stops, separated tape, sharp exposed ends, and visibly wavy zipper lines.
- Inspect the sewn zipper installation as carefully as the zipper component itself.
- Keep an approved zipper photo set or physical sample for reorders.
Make branding measurable, not subjective
For many buyers, the logo is the reason the portfolio exists. It may represent a farmers market association, a produce brand, a community-supported agriculture program, a sponsor, a food business incubator, or a vendor services company. That makes print quality a commercial issue, not a decorative afterthought. A crooked logo or weak ink finish can make the full order look careless even when the stitching passes.
Screen printing is often the most practical branding method for simple one- or two-color artwork. It can be cost-effective and durable when the factory controls ink deposit, curing, mesh, and registration. Heat transfer or digital print may be better for detailed artwork, gradients, or small color runs, but those methods require tighter approval. Transfers can peel at the edges if heat, pressure, or dwell time is inconsistent. Digital print can vary in color and hand feel depending on canvas texture and pretreatment.
Artwork approval should include print size, color target, distance from finished top edge, distance from side edge, acceptable skew, and whether the logo aligns to the zipper or the body panel. A practical placement tolerance may be a few millimeters on a soft-goods item, but the buyer should choose the number based on brand requirements and product size. For a centered logo, define the center point. For a lower-corner logo, measure from finished seams after sewing, not only from the cut panel before assembly.
Labels need the same discipline. Woven labels, printed labels, side tabs, care labels, hangtags, barcode stickers, and carton labels can all create errors. If the portfolios enter distributor, retail, or kit-assembly channels, a wrong barcode can cause more operational pain than a small cosmetic defect. Include every branding element in the sample approval file and the final inspection checklist.
- Approve a print strike-off when color, ink hand, or fine detail matters.
- Specify logo placement from finished edges with an agreed skew tolerance.
- Inspect for ghosting, pinholes, ink bleed, color shift, cracking, peeling, and poor curing.
- Treat woven labels, barcode labels, hangtags, and carton marks as controlled components.
Approve samples with evidence and rejection rules
Sample approval should produce a record that another person can follow later. Informal comments such as make the zipper smoother or move the logo down are easy to misunderstand. Replace them with measurements, photos, marked-up images, and clear pass or reject notes. If the zipper needs improvement, define the expected function. If the logo must move, state the new distance in millimeters. If the canvas shade is approved, keep the physical sample or a controlled color reference.
Most new programs benefit from three sample checkpoints. A prototype sample confirms shape, size, and construction. A print strike-off confirms logo method, color, placement, and ink behavior. A pre-production sample confirms the final product using bulk materials and the intended production process. A low-risk reorder may not need all three, but a new supplier, new canvas weight, new zipper, new print method, or customer-facing retail channel should usually include a pre-production sample.
Handle the sample the way a vendor will handle the finished product. Insert the actual paperwork and accessories. Open and close the zipper repeatedly. Lay the portfolio on a table and see whether it stays flat. Hold it by the wrist loop if one is included. Inspect the inside for raw edges, trapped lining, zipper tape, and thread tails. Rub the print with a dry cloth and, where relevant, a damp cloth. Look for dye transfer, staining, or surface marks after normal handling.
Some sample issues should stop the process rather than move to bulk with comments. Wrong materials, wrong size, weak zipper function, a badly distorted top edge, an open seam, a poor print method, or unacceptable fabric defects are not small refinements. If the factory cannot make one controlled sample correctly, procurement should ask for a corrected sample and clearer process evidence before releasing production.
- Keep a signed sample approval record with measurements, photos, material notes, and change history.
- Reject samples with wrong canvas, wrong size, crooked zipper installation, weak zipper operation, or poor print execution.
- Require a pre-production sample when the supplier, material, zipper, print method, or label source changes.
- Test the sample with real contents and repeated handling before approving bulk.
Use defect categories that fit soft goods
A useful inspection plan separates defects by severity. For canvas zipper portfolios, critical defects are issues that make the product unsafe, unusable, legally wrong, or commercially unacceptable. Examples include broken zippers, sharp exposed metal, severe contamination, mold, wrong logo, missing required label, mixed SKU cartons, or a finished size that prevents the intended documents from fitting. Critical defects normally require rejection, containment, or buyer approval before shipment.
Major defects are issues that a vendor, distributor, or retail customer would likely notice and complain about. These include zipper snagging, visibly crooked print, open seams, broken bartacks, large stains, wrong thread color, wrong zipper color, severe puckering, distorted shape, mismatched panels, and incorrect retail packaging. A single major defect may affect one unit, but repeated major defects indicate the line is not under control.
Minor defects are smaller workmanship issues that do not affect function and are less visible in normal use. A short loose thread, a tiny print speck outside the main logo area, a small canvas slub consistent with the approved sample, or slight shade movement within tolerance may fall into this category. Minor defects still matter when they appear often. A lot filled with minor issues can point to rushed trimming, weak line inspection, or poor material handling.
The purchase order or quality file should state the AQL level, inspection level, sample size method, defect categories, and pass or fail rules before production starts. Many buyers follow their internal quality policy or the guidance of a third-party inspection provider. The important point is consistency. The factory should know how defects will be judged, and the inspection report should show sampled quantity, defect counts, defect type, photos, and carton references.
- Classify defects as critical, major, or minor before final inspection.
- List broken zipper, severe contamination, wrong artwork, missing required label, and unusable size as critical defects.
- Treat zipper snag, crooked logo, open seam, broken bartack, and distorted shape as major defects.
- Require inspection photos for both acceptable workmanship and discovered defects.
Inspect bulk production across function, size, and appearance
Final inspection should confirm that the bulk lot matches the approved sample and written specification. Start with the shipment basics: total quantity, carton count, units per carton, SKU mix, carton markings, barcode labels, and polybag requirements. Then inspect the product itself: front panel, back panel, zipper edge, corners, seams, logo, labels, and interior. Samples should be pulled across cartons, colors, and production dates when possible, not only from cartons selected by the factory.
Dimensional inspection should cover finished width, finished height, zipper opening length, gusset or depth if applicable, strap length if included, and logo placement. Measurements should be taken on finished portfolios in a relaxed state. Stretching a soft product flat to force it into tolerance does not reflect how the vendor will use it. If the portfolio is too small for the intended documents, it has failed its purpose even if the sewing looks tidy.
Functional inspection should focus on the zipper and any carry feature. Cycle the zipper several times on sampled units and record catching, roughness, separation, weak stops, or puller issues. If there is a wrist loop or handle, inspect bartacks, reinforcement, stitch density, and seam tension. If the product is lined, turn attention to the inside: trapped lining, raw seam exposure, loose threads, debris, and sharp zipper ends can all create complaints.
Appearance inspection should include canvas surface quality, shade consistency, print accuracy, seam alignment, thread trimming, product shape, and pressing. Packing inspection should confirm that goods are protected from dirt, moisture, crushing, zipper impressions, and count errors. The final report should not simply say pass or fail. It should show the inspection scope, defect list, photos, measurements, and the exact shipment-release status.
- Check carton quantity, SKU mix, barcodes, carton marks, and packing method before opening product samples.
- Measure width, height, zipper opening, strap length, and logo placement on sampled finished units.
- Cycle zippers repeatedly and record roughness, catching, separation, or weak pullers.
- Inspect across multiple cartons instead of relying on top cartons or factory-selected units.
- Require a photo-based report with defect counts and clear shipment-release status.
Specify packing before cartons are filled
Packing is where a well-made portfolio can become a receiving problem. Canvas can pick up dust, absorb odors, wrinkle, or show pressure marks if cartons are overfilled. Zipper sliders can press into adjacent units. Light canvas can arrive visibly dirty if polybags are missing or too thin. Farmers market vendor portfolios may be distributed in kits, shipped to associations, sold through a retail channel, or stored before a seasonal launch. The packing plan should match that route.
A basic protective method may be enough: one piece per clear polybag, zipper closed, portfolio laid flat, and master cartons packed to a count that does not crush corners. For a more premium item, an insert board can help preserve shape and prevent bending. If the logo is printed, packing should prevent ink-to-zipper contact and heavy pressure on the artwork. If goods move through humid routes or long storage, carton strength and moisture control deserve more attention.
Procurement should specify inner polybag type, insert board if used, master carton dimensions, units per carton, maximum carton weight, shipping marks, barcode label position, and pallet requirements if relevant. Destination warehouses often care about label placement and carton consistency as much as product quality. A carton with the wrong SKU mark can create receiving delays, relabeling costs, or chargeback exposure depending on the buyer's system.
Review carton optimization before mass packing begins. A supplier may choose tight packing to reduce freight cost, but over-compressed portfolios can arrive warped. Oversized cartons create the opposite problem: higher freight cost and more movement during transit. The right carton protects shape, keeps canvas clean, supports warehouse handling, and avoids wasted shipping space.
- Specify polybag, insert board, carton count, carton dimensions, and carton weight limit.
- Protect printed areas and zipper sliders from pressure marks during packing.
- Confirm barcode and carton-label position against warehouse requirements.
- Reject wet, crushed, dirty, mislabeled, or count-inaccurate cartons before shipment release.
Manage MOQ, lead time, and reorders with fewer surprises
Minimum order quantity is rarely driven by only one item. For canvas zipper portfolios, MOQ may come from the fabric mill, dye lot, zipper tape color, slider finish, custom puller, print setup, woven label, polybag, barcode label, or carton. A supplier may advertise a low MOQ and then add setup charges that make the landed unit cost unattractive. Ask what drives each minimum so the order can be simplified intelligently.
For a trial order, the cleanest structure is usually one canvas color, one zipper color, one logo method, one label type, and one packing specification. Multiple colorways, multiple artwork versions, and custom hardware may make sense for a mature program, but they complicate a first buy. When the goal is to test demand, keep variables low and focus inspection effort on the fundamentals: zipper function, finished size, logo placement, stitching, and packing.
Lead time should be broken into stages. Sample development, print strike-off, pre-production sample, material booking, cutting, sewing, printing, finishing, packing, inspection, and export readiness may not happen under one clock. A quoted production time may begin only after deposit, artwork approval, material arrival, and sample sign-off. Custom labels and zipper pulls are common schedule bottlenecks because they must be approved and produced before final assembly.
Reorders need active control. Buyers sometimes assume a second shipment will match the first one automatically. It may not. Fabric dye lots can shift, zipper suppliers can change, sewing operators can rotate, and packing materials may be substituted. Keep the approved sample, specification sheet, artwork file, zipper reference, packing standard, and quality inspection checklist on file. Before each reorder, ask the supplier to confirm whether any component, factory, or process has changed.
- Ask what creates the MOQ: fabric, zipper, print, label, hardware, packing, or carton requirements.
- Simplify trial orders to reduce setup cost and quality variables.
- Separate sample, material, production, packing, inspection, and shipping lead times.
- Reconfirm materials, production source, and packing method on every reorder.
Specification comparison for buyers
| Spec decision | Recommended option | When it fits | Buyer risk to check |
|---|---|---|---|
| Fabric weight | 12 oz canvas for value programs; 14-16 oz for premium or heavier daily-use portfolios | You need a balance of hand feel, structure, print clarity, and enough body to protect order sheets, menus, licenses, and small tablets | Thin canvas can wrinkle, collapse, or show contents; very heavy canvas can increase freight cost, slow sewing output, and make corners bulky |
| Canvas finish | Washed cotton canvas for softer hand feel; greige or dyed canvas with controlled shrinkage for cleaner bulk consistency | You want a natural market-ready look without large shade variation between lots | Uncontrolled shrinkage or unstable dye lots can cause size drift, color mismatch, and twisting after pressing or packing |
| Zipper type | Nylon coil zipper, size #5 for standard document size; #8 for wider openings or heavier use | You want smooth operation, lower jam risk, and easier sewing around soft canvas edges | Low-grade sliders fail before the tape; inspect slider pull strength, top stops, zipper tape alignment, and end finishing |
| Thread and stitching | Polyester thread with 7-9 stitches per inch on main seams, adjusted to fabric weight | You need stable seams, neat appearance, and better resistance to repeated opening and handling | Loose tension, skipped stitches, and short bartacks create early complaints even when the fabric looks acceptable |
| Print method | Screen print for simple one- or two-color art; heat transfer or digital print for detailed artwork with tighter approval controls | Your artwork has limited colors, or you need consistent logo placement on medium-volume orders | Ink bleed, cracking, poor curing, and color shift can turn an approved sample into a rejected bulk lot |
| Lining | Unlined for low-cost document sleeves; light polyester lining for cleaner interiors and more structure | You need easier item insertion, less show-through, or a more finished retail feel | Lining can shrink or feed differently than canvas and cause twisting, puckering, or uneven zipper edges |
| Closure detail | Full zipper with zipper garage, end cover, or clean folded tape finish | You want less snagging on paper edges and a more professional top edge | Poorly finished zipper ends can scratch contents, loosen under use, or reveal weak sewing control |
| Handle or wrist strap | Simple cotton or polyester webbing loop only when end use requires hand carry | Your buyer wants portability without converting the portfolio into a full tote or shoulder bag | Extra hardware adds cost, assembly time, and failure points if bartacks and reinforcements are not specified |
| Supplier route | Direct factory for repeat bulk orders; trader only for mixed SKUs, trial quantities, or bundled procurement | You already know the target spec and need control over cost, evidence, and repeatability | Trading quotes can hide the actual factory, and samples may be made by a different workshop than bulk goods |
Buyer checklist before sampling
- Confirm finished width, height, gusset or depth, seam allowance, and acceptable tolerance in writing before sample approval.
- Specify canvas weight in oz or GSM, plus color standard, finish, and whether the fabric is pre-shrunk or washed.
- Lock the zipper spec: size, color, tape material, slider type, puller shape, top stop, end stop, and zipper direction.
- Approve artwork placement with measured from-edge distances, print size in mm, color target, and acceptable skew tolerance.
- Define whether the product is unlined or lined and how the interior seam and zipper tape should be finished.
- State acceptable stitch density, thread color, seam allowance, bartack points, and reinforcement areas around stress points.
- Ask for pre-production sample photos of the exact canvas roll, zipper, thread, label, print strike-off, and packing materials.
- Require carton pack counts, inner polybag spec, barcode label location, master carton dimensions, and carton drop or compression expectations if relevant.
- Set the inspection method: AQL level, sample size, defect categories, critical defects, and pass or fail rules before production starts.
- Request zipper cycling, print rub, dimension, and carton count checks in the final inspection report.
Factory quote questions to send
- What exact finished size, fabric weight, canvas finish, lining choice, and zipper spec are included in this quotation?
- Is the quotation based on your own factory production, a partner factory, or a trading or agent source?
- What is the MOQ per canvas color, zipper color, print design, label type, and packing method?
- What sample fee applies for prototype sample, print strike-off, and pre-production sample, and is any fee refundable after bulk confirmation?
- What lead time applies to lab sample, artwork confirmation, material booking, pre-production sample, bulk production, packing, and inspection readiness?
- Which print method is included, and what added cost applies for extra colors, larger print area, second-side logo, woven label, or embroidery?
- What zipper brand or grade are you quoting, and can you provide photos or samples of the slider, puller, top stop, and zipper tape?
- What inspection standard do you accept, and can you share your internal defect criteria for zipper function, stitching, print, and packing?
- What carton pack count, polybag spec, insert board, barcode label, and outer carton dimensions are included in the quoted price?
- What spare parts, replacement units, or overage allowance do you include for zipper pulls, labels, misprints, or damaged units?
Quality-control points to confirm
- Fabric weight should be checked against the approved spec, with a written tolerance and evidence from the production lot, not only from the sample.
- Canvas weave should be even, with no obvious slubs, thin spots, weaving defects, oil stains, dye streaks, or shade differences on visible face panels.
- Cut panels should follow grain direction so the portfolio does not twist, skew, or pull diagonally after sewing and pressing.
- Zipper runs should open and close smoothly through repeated cycles without catching at seam ends, top stops, or zipper garages.
- Zipper tape should be centered and sewn with even seam allowance, with no wave, twist, broken needle marks, or exposed raw edges.
- Print placement should match the signed-off artwork position, with no skew, ghosting, pinholes, ink bleed, color shift, or cracking beyond agreed tolerance.
- Stitching should be consistent in density and tension, with no loose threads, skipped stitches, nesting, open seams, or broken bartacks.
- Dimensional checks should confirm width, height, gusset, zipper opening length, and strap length within the buyer's approved tolerance.
- Interior finish should be checked for loose threads, raw seam exposure, trapped lining, sharp zipper ends, and debris inside the portfolio.
- Packing should protect product shape, keep canvas clean and dry, prevent zipper impressions, and maintain correct piece count per carton.