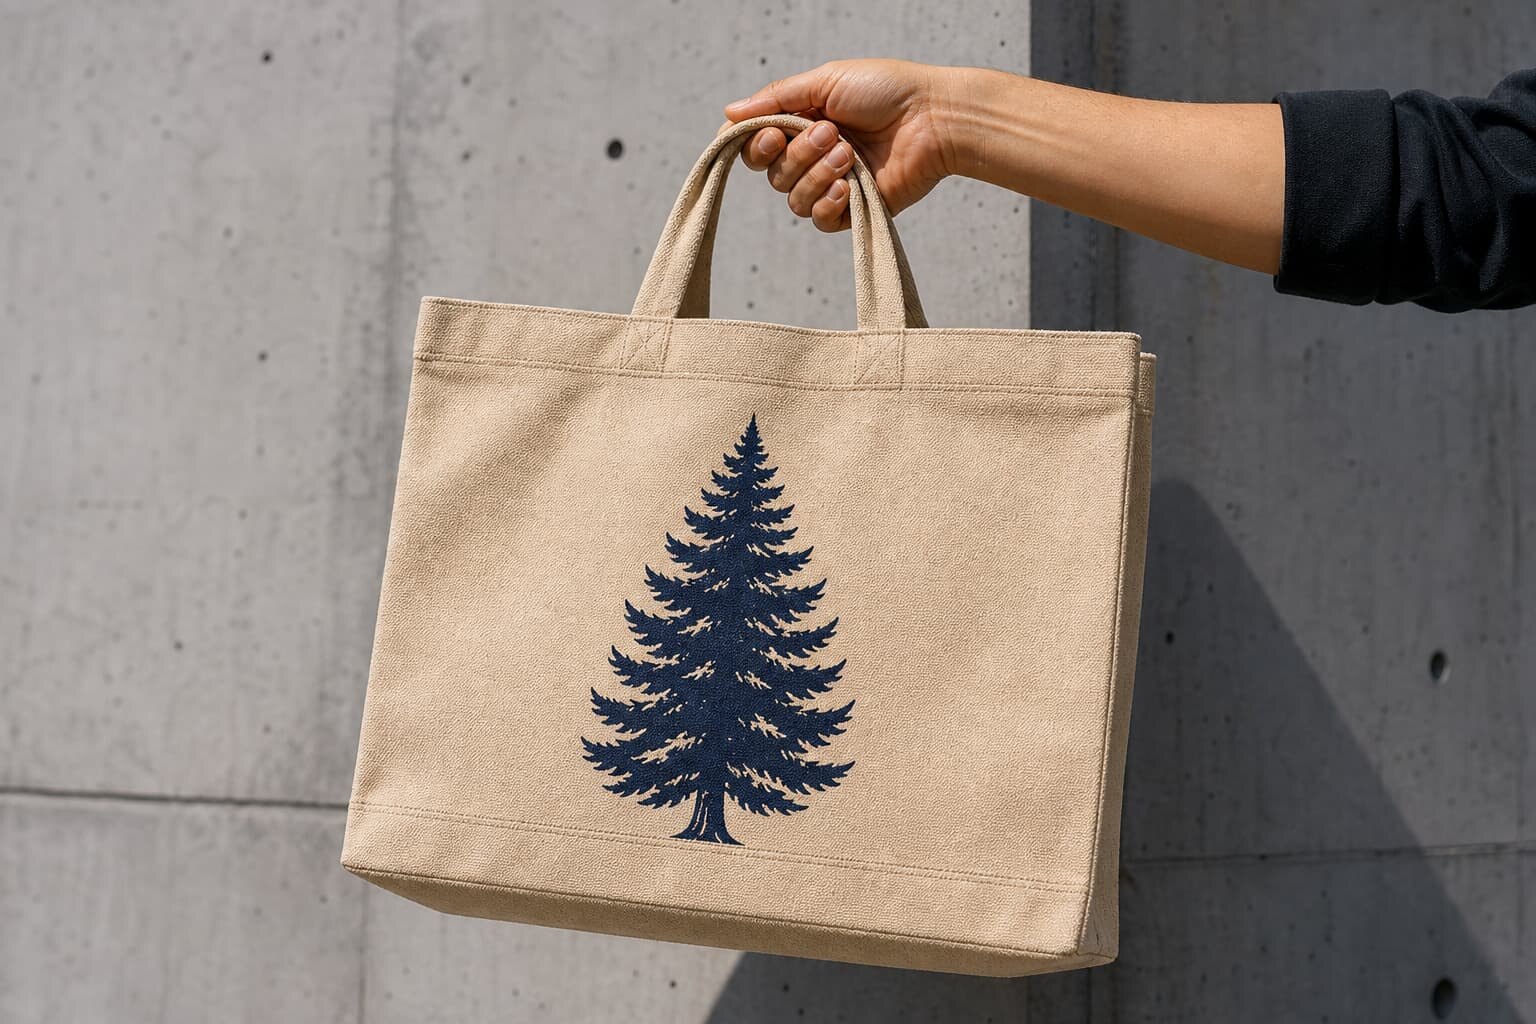
Why side seam inspection matters in a canvas tote bag
The side seam is not just a sewing line. It controls how the tote holds shape, how much weight it can carry, how the print sits on the panel, and how the bag looks when it reaches retail or the end customer. A weak or uneven side seam can make an otherwise good canvas tote feel cheap, twist the opening, or create an early failure at the top corner. For buyers, this is one of the fastest ways to separate a quote that is technically cheap from one that is actually usable.
If you buy for promotions, retail, or distribution, side seam problems show up in three places: sample approval, production consistency, and transit damage. The sample may look fine when empty, but the seam can open up after load testing, folding, or carton compression. That is why a canvas tote bag side seam inspection checklist should be written around real use, not just visual appearance. You are not only checking stitches; you are checking whether the construction matches the intended margin, print area, and carrying load.
- A good side seam keeps the bag square and improves shelf presentation.
- A bad side seam can shift the whole print layout and reduce usable capacity.
- The seam spec should match the canvas weight, handle type, and target load.
Define the seam before you request quotes
A lot of quote confusion starts because buyers ask for a canvas tote bag without defining the seam method. One factory may price a simple overlock side seam, another may assume a reinforced double-needle seam, and a third may build a bound seam that adds labor and cost. If the RFQ only says 'good quality side seam,' the quote will not be comparable. The factory will fill in the blanks based on its own standard, not yours.
In the RFQ, specify the canvas weight in GSM or oz, the bag size, the seam allowance, the stitch density, the thread type, and where the seam sits relative to the print. If you are comparing suppliers, ask each one to quote the same construction and the same finishing steps. That includes whether the seam is serged, turned, bound, or flat-felled, and whether reinforcement is added at the handle join or the top corner. Clear seam language saves time later because it reduces sample revision and prevents quote drift.
- State fabric weight: for example 8 oz, 10 oz, 12 oz, or 16 oz canvas.
- State seam construction: overlock, double-needle, flat-felled, or bound.
- State stitch density, seam allowance, and reinforcement points in mm or stitches per inch.
What to check on the approved sample
The sample is where you lock the seam standard. Do not approve a tote just because it looks clean from a distance. Open it, measure it, load it, fold it, and check it under light. Measure both side seams against the spec and confirm that the left and right panels are symmetrical. If the bag has print near the seam, confirm that the design does not drift into the stitch line when the bag is filled or pressed flat.
A useful sample check includes visual, dimensional, and functional items. Visually, look for straight stitching, neat backtacks, and no loose thread ends. Dimensionally, check seam allowance, opening width, bottom width, and the distance from print to seam. Functionally, fill the tote with realistic weight and see whether the seam pulls, ripples, or twists. If the sample cannot survive the test with a stable shape, the bulk order will only repeat the same weakness at scale.
- Measure seam allowance at top, middle, and bottom of both side seams.
- Check stitch count and thread tension on the first approved sample.
- Load-test the sample with the buyer's expected fill weight, not a light demo load.
- Confirm print alignment after the bag is folded and reopened.
Use fabric weight and print method to set the seam tolerance
Canvas weight changes how the seam behaves. A lighter 8-10 oz bag may need a cleaner seam finish and tighter control on fabric feed because the material shifts more easily. A heavier 12-16 oz canvas can carry more load, but it also creates thicker seam bulk and more needle resistance. If the factory uses the wrong stitch setting for the weight, you can get skipped stitches, broken thread, or a seam that looks wavy after pressing.
Print method matters too. Screen print, heat transfer, and embroidery all interact differently with the seam. A print close to the edge may crack if the panel folds around a tight seam allowance, while embroidery near the seam can add stiffness and distort the panel shape. Buyers should ask the factory to confirm how the print sits relative to the seam and whether seam bulk changes the print window. If the artwork is small and close to the edge, a simple side seam can become a registration problem, not just a sewing problem.
- 8-10 oz canvas: watch for fabric stretch and seam waviness.
- 12-16 oz canvas: watch for bulk, needle holes, and thick corner stacking.
- Screen print near seam: check for cracking, misalignment, and fold stress.
- Embroidery near seam: check for panel stiffness and stitch pull.
Side seam acceptance criteria that buyers can actually use
A useful acceptance standard is specific enough for the factory to quote and for QC to enforce. Write down the minimum seam allowance, the maximum visible deviation, the required stitch density, and the acceptable defect types. For example, you may decide that open seams, skipped stitches, broken thread, and visible seam twist are major defects, while a short loose thread tail is a minor defect if it is trimmed and not affecting strength. The point is not to make the standard harsh; it is to make it measurable.
You also want to define what happens when the seam is technically strong but visually poor. Some tote bags pass a pull test but fail because the side seam wanders into the print or creates an uneven opening. For retail programs, appearance can be as important as strength. State whether the seam must be centered within a tolerance band, whether the top edge must be level, and whether the seam finish must be hidden or exposed. If you do not define visual acceptance, each inspector will use a different standard.
- Set seam allowance tolerance in mm, not in vague terms like 'normal'.
- Define major defects: open seam, skipped stitch, broken seam line, severe twist.
- Define cosmetic defects: loose thread, slight waviness, small trim marks.
- Tie the acceptance criteria to the bag's end use: promo, retail, or heavy carry.
Comparison of common side seam constructions
Not every canvas tote needs the same seam style. A basic overlock seam keeps cost down and works for simple promotional programs, but it may not give the cleanest interior finish. A double-needle reinforced seam costs more in sewing time but usually gives a stronger, more stable result for heavier canvas or retail use. Flat-felled and bound seams are cleaner and more durable, but they add labor, material, and sometimes more carton bulk. The right choice depends on the order value, the expected load, and how close the seam sits to the customer-facing print area.
Buyers often overpay for a premium seam they do not need, or under-spec a seam that fails in use. The table below is a practical way to align construction with the actual buying problem. Use it when you compare supplier quotes, because the same bag size can produce very different prices once seam method and reinforcement are fixed.
How to compare supplier quotes without comparing the wrong bag
When suppliers price the same canvas tote bag, the side seam can hide a major cost difference. One factory may quote a simple sewing route with low labor content, while another includes reinforcement, tighter stitch control, or a better finish at the top corner. That is why a quote comparison should not stop at unit price. Ask what exactly is included: seam type, seam allowance, thread quality, print registration control, sample rounds, and pack-out standard. If those items are not transparent, the cheapest quote may be the most expensive after rework.
A better quote comparison also looks at MOQ logic. Some factories require a higher MOQ if you want a reinforced or bound seam because the sewing line needs setup time and more operator skill. Others can keep MOQ flat but add a surcharge for sample changes or custom thread. Ask for cost separation if possible: base bag, seam upgrade, print, reinforcement, packaging, and testing. That makes it easier to decide whether to reduce cost in the seam, the print, or the packaging instead of sacrificing all three.
- Compare like-for-like seam method, not just bag size and fabric weight.
- Separate base cost from seam upgrades, print, and packaging.
- Check whether a better seam increases lead time or MOQ.
- Ask if a sample fee is waived or credited after bulk confirmation.
Packing and transit checks can damage a good seam
A tote bag can leave sewing in good condition and still arrive with seam issues if packing is careless. Excessive folding pressure, over-compressed cartons, and poor stacking can crease the side seam or flatten the top corner enough to make the bag look deformed. If the side seam runs near a printed area, carton pressure can also create visible rubbing or edge stress. For that reason, the packing method should be part of the inspection checklist, not an afterthought.
Ask the factory to show you how the bags are folded, whether tissue or inner inserts are used, and how many units go into each carton. If the bags are shipped flat, confirm the fold line does not sit directly on the seam in a way that leaves a permanent bend. If they are shipped stacked, ask whether corner protectors or dividers are used. Packing that is good for carton efficiency is not always good for seam appearance, so the buyer should decide which matters more for the program.
- Review folding direction and confirm it does not stress the seam line.
- Check carton fill rate against visible seam deformation risk.
- Ask for a packed sample before bulk approval.
- Confirm outer carton strength if the bags are heavy or tightly stacked.
A practical buyer workflow from sample to bulk release
For a clean sourcing process, treat the side seam as a gated approval item. First, agree the seam spec in the RFQ. Second, approve a sewn sample that uses the same canvas weight, thread, print method, and reinforcement plan as bulk. Third, inspect the pre-production sample or first bulk units against the same checklist. Fourth, lock the inspection photos and measurement sheet so the factory knows what 'pass' looks like. This reduces back-and-forth because the quality target is visible, not implied.
The workflow should also include a realistic lead time discussion. A more complex seam may require longer sampling, more setup, or a slower sewing speed. If the buyer changes the seam after sample approval, the whole lead time can move. That is why a simple change log is valuable. Keep a record of any change to fabric weight, seam allowance, print placement, or packing method, and ask the supplier to confirm whether it affects cost or delivery. Good procurement teams manage the seam the same way they manage the artwork: version by version, not guess by guess.
- Lock one approved sample before bulk cutting starts.
- Keep a change log for fabric, seam, print, and packing revisions.
- Use the same inspection sheet for sample, pre-production, and final QC.
- Do not release bulk until the factory confirms all seam-related changes in writing.
The defects that cause the most expensive rework
The most costly side seam defects are usually not dramatic at first glance. A slightly twisted seam can become a bag that does not sit flat on shelf. A narrow seam allowance can look acceptable in sample but fail after load or trimming. A stitch line that drifts too close to the edge may break open after repeated use. These issues are expensive because they are hard to spot in a quick visual scan and often appear only after packing or distribution. By the time they are discovered, rework or replacement is the only option.
Some defects are tied to process rather than operator skill. A blunt needle on heavy canvas can create broken fibers and inconsistent stitches. Incorrect tension can pucker the seam. A rushed folding process can crush the top corner. The buyer does not need to micromanage the sewing line, but the buyer should know which process risks matter most. If you can point to the defect by cause, the factory can correct it more quickly than if you only say the bag looks bad.
- Open seam after load testing is a major failure.
- Seam twist and opening-width imbalance hurt shelf presentation.
- Puckering often points to tension or feed problems, not just poor workmanship.
- Loose threads are minor only if they do not affect strength or appearance.
Specification comparison for buyers
| Spec decision | Recommended option | When it fits | Buyer risk to check |
|---|---|---|---|
| Side seam construction | Single-needle seam with edge overlock | Standard promotional totes and lighter 8-10 oz canvas | Watch for seam slippage, loose overlock, and visible seam waviness |
| Side seam construction | Double-needle reinforced seam | Retail totes, heavier 12-16 oz canvas, higher load demand | Check stitch balance, needle holes, and whether the seam distorts printed panels |
| Side seam construction | Flat-felled or bound seam | Premium bags, higher abrasion, cleaner interior finish | Confirm added cost, extra labor time, and whether seam bulk affects folding or packing |
| Reinforcement at stress points | Bartack or bar-tack at top seam junctions | Bags with long handles, heavier fills, or repeated carry use | Check stitch density and whether bartacks sit cleanly without puckering |
| Inspection focus | Measure seam allowance, stitch density, and alignment against print | Any order with logo placement near the side panel | Risk of logo distortion, uneven margins, and inconsistent bag opening width |
Buyer checklist before sampling
- Confirm the canvas weight in GSM or oz, and tie it to the expected load and seam construction.
- Approve one sewn sample with the exact side seam construction, not a generic tote sample.
- Measure seam allowance, stitch density, and bag opening width on the approved sample.
- Check whether the print method sits safely away from the seam or needs seam-adjacent registration control.
- Ask the factory where reinforcement is added at the top corner, handle join, and bottom seam junction.
- Review thread type, thread color, and whether the thread ticket matches the canvas weight and wash requirement.
- Verify trimming: no loose threads, no skipped stitches, and no seam tunneling after pressing.
- Request a carton-packed sample to see whether folding or compression damages the seam line.
- Set an AQL or defect threshold for open seams, broken stitches, and uneven seam allowance.
- Lock the QC photo reference for acceptable seam appearance before bulk production starts.
Factory quote questions to send
- What side seam construction are you quoting, and what is the seam allowance in mm?
- What canvas weight did you price for: GSM, oz, or both, and does the quote change if the fabric is heavier?
- How many stitches per inch or stitches per cm will you run on the side seam?
- Will you add bartacks, backstitching, or a reinforcement patch at the top stress point?
- Where will the print sit relative to the side seam, and what tolerance can you hold for registration?
- What is the MOQ for the quoted seam construction, and does a different seam method change the MOQ?
- How many sample rounds are included before bulk, and what sample cost applies to seam revisions?
- What is the expected lead time after sample approval, and does seam complexity add days to cutting or sewing?
- How will you pack the bags for export so the side seam does not crease, crack print, or deform in carton?
- What defect standard will you apply for open seams, skipped stitches, seam twist, and uneven top edge alignment?
Quality-control points to confirm
- Seam allowance matches the approved spec and stays consistent from top to bottom.
- Stitch line is straight, even, and not wandering into the print area or edge binding.
- No skipped stitches, broken thread, or loose thread tails at the side seam start and end.
- No seam puckering, tunneling, seam twist, or fabric rippling after pressing.
- Top corners are reinforced cleanly and do not gap when the bag is loaded.
- Side panels align visually, with both seams mirrored and the opening width within tolerance.
- Print does not crack, offset, or distort where it approaches the seam line.
- Fabric edge is fully enclosed or neatly finished, with no raw edge exposure beyond the spec.
- Carton-packed samples show no crushing damage, seam flattening, or corner collapse.
- Final packed units match the approved sample for seam appearance, shape, and strength.