Why shrinkage matters on canvas tote bags
Shrinkage is one of the easiest canvas tote bag problems to underestimate because the bag still looks acceptable on a desk sample, then comes back from a wash test with a shorter body, twisted handles, or a logo that no longer sits where the buyer approved it. For procurement teams, the issue is not only aesthetic. A few percent of shrinkage can change carton packing count, retail shelf fit, insert size, and the way a tote hangs when loaded. If the bag is going into a fashion program, premium gift set, or repeat-use retail line, shrinkage should be treated as a spec item, not a footnote.
The highest risk appears when buyers compare suppliers only by price or fabric ounce claim. Canvas may be described as 8 oz, 10 oz, or 12 oz, but the real question is how that fabric behaves after cutting, sewing, and finishing. A raw cotton canvas tote can shrink differently from a pre-shrunk or enzyme-washed version, and the same fabric can react differently depending on dyeing, printing, and drying temperature. If your RFQ does not define the shrinkage expectation, the factory will quote to its own assumption, and the result is usually a dispute later.
- Treat shrinkage as a finished-bag spec, not just a fabric issue.
- Use it to protect size, logo placement, and carton efficiency.
- Ask the factory how the tote behaves after sewing and washing, not only at fabric roll stage.
Know the canvas structure before you test
Not every canvas tote bag shrinks the same way. A plain cotton canvas, especially in a heavier GSM range like 280 to 340 GSM, usually has more visible body movement after washing than a lighter but tighter weave. A recycled cotton or blended canvas may behave differently again, because fiber mix, spinning consistency, and finishing all affect dimensional stability. Even the same nominal weight can feel stable in one mill and loose in another, so GSM alone is not enough to judge shrinkage risk.
For buyer planning, the useful question is how the fabric was prepared before sewing. Raw canvas often shrinks more during the first wash, while pre-shrunk, sanforized, or properly relaxed fabric is usually more stable. If your program uses screen print, embroidery, heat-transfer graphics, or a sewn-on side label, the fabric treatment matters because shrinkage can distort the decoration. For a promo bag with loose size tolerance, the risk is lower. For a retail tote with a fixed finished dimension, the risk is commercial.
- Request both fabric GSM and finish status in the quote.
- Ask whether the fabric is raw, pre-shrunk, or enzyme washed.
- For retail programs, ask for warp and weft shrinkage data rather than a single percentage.
Define the test before you ask for results
A useful shrinkage test starts with a finished sample, not a loose fabric swatch. The sample should be sewn to the actual production pattern, with the same seams, handle length, top hem, lining if any, and decoration if the logo position is critical. Then the factory should record the original dimensions, run the agreed wash and dry cycle, and measure again after the bag is fully dry and conditioned. If the factory only tests fabric before cutting, the data will not tell you how the tote will behave as a product.
The wash method must be written into the RFQ. A cold home wash, a 30 C wash, and a hotter industrial wash can produce very different results. The same is true for drying. Air drying is not the same as tumble drying, and a buyer that does not define the drying method may receive a pass/fail result that is technically true but commercially useless. The point is to create a test that matches how the bag will actually be used, sold, or inspected.
- State water temperature, wash cycle, and drying method in the RFQ.
- Use the same sample construction as bulk production.
- Measure before wash, after wash, and after full drying, then keep the records with the golden sample.
What shrinkage numbers are useful in sourcing
For most canvas tote bag programs, buyers should think in bands rather than a single absolute number. A well-controlled pre-shrunk tote may show low dimensional change after the first wash, while a raw canvas tote can show a more noticeable drop in width or height. The key is not to chase zero shrinkage at all costs; it is to understand the level your project can tolerate. A promotional tote with generous margins may accept more movement than a premium retail style with a narrow opening and printed edge-to-edge artwork.
Useful quote data includes the expected percentage change in body length, body width, gusset depth, and handle drop. If the factory cannot provide separate data for these points, ask them to measure the sample and note the direction of shrinkage. Buyers often miss that a bag can shrink unevenly: the body may contract one way while the seam line pulls another. That is where handles become skewed, the top edge waves, or the opening no longer sits flat on a shelf. Those are small numbers on paper and big problems in retail.
- Ask for separate shrinkage data for length, width, gusset, and handle drop.
- Accept a range only if it matches your shelf, carton, and print tolerances.
- Watch for uneven shrinkage, not only total percentage change.
Use the right comparison when reviewing factory quotes
A good quote comparison should show more than unit price. One supplier may quote a lower bag price because they use raw 8 oz canvas and standard packing, while another quotes more because they pre-shrink, control dimensional tolerance, and test the decoration after washing. Those are not equivalent offers. If you compare only the FOB number, you will likely choose the cheaper quote and then pay back the difference through rework, artwork adjustment, or late packing changes.
The right comparison table includes fabric spec, shrink test method, decoration method, MOQ, lead time, and packing detail. For example, a screen-printed tote with a sewn label and a pre-shrunk body is not the same sourcing problem as a blank raw canvas tote. The first may need tighter sample approval and a longer lead time. The second may tolerate more variation but create more risk in retail sizing. Ask the factory to state what is included, what is assumed, and what is excluded.
- Compare quotes on spec completeness, not just unit cost.
- Make the factory separate fabric treatment cost from print and packing cost.
- Check whether the quoted MOQ changes when pre-shrunk fabric or special washing is required.
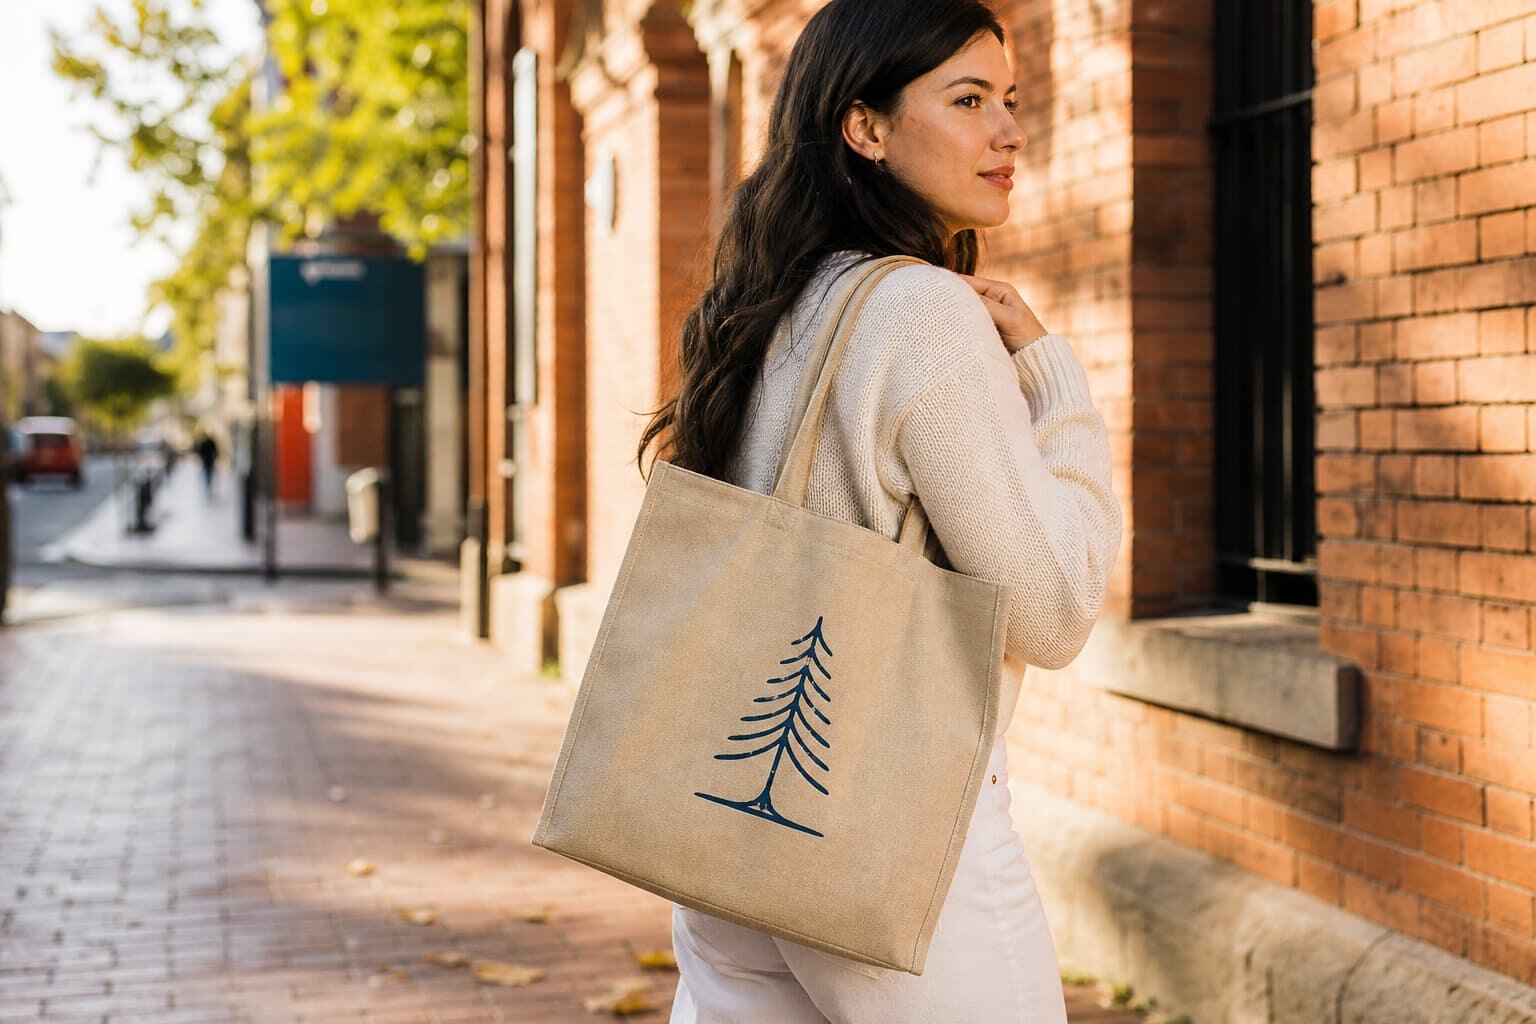
How print and branding respond to shrinkage
Shrinkage can change where a logo lands, even when the print itself is technically fine. Screen print is usually the most common decoration for canvas tote bags, but it still depends on stable fabric. If the bag shrinks after curing or washing, a carefully centered logo can move closer to a seam or top hem. Embroidery can also pucker if the fabric tightens after wash, especially on medium-weight canvas with a dense stitch count. Woven labels and side labels are less likely to crack, but they still need proper placement and allowance.
This is why buyers should not approve artwork only on a flat digital proof. Ask the supplier to show the finished sample after the shrink test, including the decorated front panel, side seam, and handle attachment area. If the logo sits near the center line, ask for the center point before and after the test. If the design is edge-sensitive, confirm that the print margin still works after the expected fabric movement. For premium projects, this is where a small extra sampling step saves a lot of trouble later.
- Recheck logo placement after the wash test, not only before production.
- Use screen print for flat graphics, embroidery for premium texture, and woven labels when wash stability matters.
- Avoid placing critical artwork too close to seams or the top fold unless the shrink allowance is already locked.
Sample checks that prevent bulk disputes
The best time to catch shrinkage problems is during sample approval. Start with a pre-production sample made from the actual bulk fabric, not a generic stock sample. Measure the bag flat and also under realistic loading if the tote will carry books, retail goods, or gifts. Then run the agreed wash test and record the result. If the factory only sends a photo after testing, ask for the measurement sheet as well. Photographs are useful, but they do not replace numbers.
A practical sample checklist should also cover seam quality, handle symmetry, top hem recovery, and label position. One often-missed item is how the bag sits after drying. A tote can meet the written dimensions but still twist slightly because the seams pulled unevenly during shrinkage. That may be acceptable for a promo handout, but not for a retail line with a clean, structured look. If the sample is borderline, stop and revise before bulk. Fixing a shrink issue after 10,000 pieces is expensive in labor, freight, and reputation.
- Approve a golden sample only after the wash test and measurement review.
- Keep a signed record of the approved sample dimensions and logo position.
- Do not release bulk until the factory confirms the same fabric lot and construction method.
Packing, moisture, and transit can distort your reading
Some buyers think a tote has shrunk when the real issue is packing compression or moisture exposure in transit. Canvas bags packed too tightly can arrive wrinkled and flattened, which makes them look smaller than they are. If cartons sit in humid warehousing or under a leaky container roof, natural cotton can also absorb moisture and then relax differently after unpacking. That is why shrinkage review should be done after the bag has stabilized in the destination environment, not only on the day it leaves the factory.
Packing details matter in the quote because they affect both appearance and dimensional consistency. Ask whether the bags are polybagged, how many pieces go in each carton, whether cartons are lined against moisture, and what stack height the factory uses in palletization. If the tote has a printed surface, rough compression can also create surface marks that look like wash damage. Buyers who plan this up front avoid false failures during receiving inspection.
- Ask for packing photos and carton build details in the sample stage.
- Check whether the bags should rest before final inspection after long transit.
- Keep moisture control in mind if the destination is humid or the shipping lane is long.
Set acceptance criteria buyers and factories can both use
A shrinkage test only helps when both sides agree on what passes and what fails. Write the acceptance criteria into the PO or quality spec before bulk production starts. Many buyers use a simple structure: the finished tote must stay within an agreed dimension range after the chosen wash cycle, the logo must remain within a defined placement tolerance, and the bag must show no seam failure, severe pucker, or visual distortion. If your program includes a lining, pocket, or zipper, those parts should be checked too because they can affect the way the bag pulls during washing.
The ideal acceptance standard is specific enough to remove interpretation but realistic enough for the factory to control. For example, if you demand near-zero shrinkage on raw cotton canvas, expect a higher cost, tighter process control, and likely a more conservative MOQ. If your market can accept some movement, state the acceptable range and tie it to the final retail use. The stronger your acceptance criteria, the easier it becomes to compare suppliers, avoid blame, and keep the line moving.
- Write pass/fail limits for dimensions, logo position, and visual distortion.
- Tie the standard to the actual wash and dry method the bag will face.
- Make sure the same criteria appear in the RFQ, sample approval, and PO.
A practical RFQ workflow for better quotes
The cleanest way to buy canvas tote bags with shrinkage under control is to build the requirement into the RFQ from the start. First, specify the fabric, GSM, finish status, decoration, and finished dimensions. Second, ask for a shrink test on a production-like sample with measured results. Third, request quote lines that separate base bag cost, decoration cost, packing cost, and any extra process such as pre-shrinking or washing. This lets procurement compare suppliers on equal terms.
After you receive the quotes, sort them by risk, not only by price. A slightly higher quote may be the better option if the supplier gives clear test data, stable samples, and a realistic lead time. A lower quote that avoids the shrink question usually hides future problems. For most import programs, the real cost of shrinkage is not the fabric itself. It is the lost time spent re-approving artwork, changing carton counts, and handling customer complaints after receipt.
- Build shrinkage requirements into the RFQ, not after sample approval.
- Ask suppliers to quote base cost, special finishing, and testing separately.
- Choose the quote with the lowest total risk, not only the lowest unit price.
Specification comparison for buyers
| Spec decision | Recommended option | When it fits | Buyer risk to check |
|---|---|---|---|
| Fabric basis weight | 8 oz to 12 oz canvas, stated in GSM and yarn count | Retail totes, promo bags, and general carry bags where structure matters | Vague ounce claims without GSM can hide a lighter weave or uneven shrink behavior |
| Pre-wash status | Request pre-shrunk or sanforized fabric only if size stability matters | Printed totes, stitched logo bags, and programs with tight finished dimensions | Pre-shrunk claims are meaningless unless the factory states test method and shrink allowance |
| Shrink test method | Wash, dry, and re-measure a production-like sample before bulk approval | Any order with sewn labels, screen print, embroidery, or tight opening size | Testing only raw fabric does not reflect the finished tote after sewing and packing |
| Decoration method | Screen print for flat graphics, embroidery or woven label for premium use | When the bag will be washed lightly, handled often, or sold at retail | Heat transfer and thick ink can crack or distort if the bag shrinks after cure |
| Packing method | Flat-packed with moisture control and carton compression limits | Large export orders and long transit routes | Over-compressed cartons can cause false wrinkling and make shrinkage look worse on arrival |
| Sampling rule | Approve a pre-production sample and a shrink-tested golden sample | When size tolerance, logo position, and handle symmetry are important | If the approved sample is not measured after wash, bulk rejections become subjective |
Buyer checklist before sampling
- Confirm fabric composition, weave, and GSM in the RFQ, not just the word canvas.
- Ask the factory to state expected shrinkage percentage for body, handles, and any lining.
- Request a shrink test on a finished sample, not only on loose fabric.
- Specify wash method, water temperature, drying method, and whether ironing is allowed.
- Lock the finished dimensions after wash if the tote must fit a retail shelf or insert.
- Check how shrinkage affects print placement, embroidery density, and label position.
- Ask for measurements before wash, after wash, and after drying with photo proof.
- Confirm whether the factory uses pre-shrunk fabric, enzyme wash, or raw canvas.
- Review carton packing, polybag moisture control, and stacking pressure for transit.
- Get written acceptance criteria for dimensional change, seam twist, and visual defects.
Factory quote questions to send
- What is the exact fabric spec: composition, weave, GSM, yarn count, and finish?
- Is the canvas pre-shrunk, sanforized, enzyme washed, or raw? Please state the process.
- What shrinkage percentage do you expect after one wash and after repeated wash cycles?
- Can you test a finished tote sample and share the before/after measurements?
- What wash and dry method did you use for the test: temperature, cycle, and drying time?
- How does shrinkage affect logo placement, handle length, and opening width?
- What is the MOQ for the tested construction, decoration method, and colorway?
- What is the lead time for sample approval, fabric booking, bulk production, and packing?
- How is the order packed to control moisture, creasing, and carton deformation during shipping?
- Which dimensions do you guarantee on the final QC sheet: body size, gusset, handle drop, and label placement?
Quality-control points to confirm
- Measure body width, height, gusset, and handle drop before wash, after wash, and after drying.
- Check shrinkage separately for warp and weft direction when the factory can provide fabric data.
- Confirm seam pucker, corner distortion, and handle twist after the wash cycle.
- Inspect print registration and logo alignment after shrink testing, especially near seams and top hems.
- Verify that woven labels, patches, and embroidery remain flat and centered after drying.
- Check color change, dye bleed, and watermarks on both outer fabric and lining.
- Review carton sample for moisture protection, stack strength, and crushing risk.
- Keep an approved shrink-tested golden sample with the buyer, the factory, and the QC team.