Why rivet placement changes both durability and quote accuracy
Rivets on a canvas tote bag are not just decoration. They can lock handle ends, spread stress across a wider area, and reduce the chance that a loaded bag tears at the mouth opening or at the handle base. When the placement is right, the rivet supports the stitching and the reinforcement patch. When it is wrong, it can sit on weak fabric, create a sharp inside edge, or add cost without improving strength.
For buyers, the placement issue affects more than product look. It changes the sewing sequence, the amount of hidden reinforcement, the hardware type, and the final unit price. If the RFQ does not specify where the rivet belongs and what problem it solves, different factories will quote different constructions and you will compare numbers that are not truly comparable. The result is usually sample confusion, rework, or a production lot that looks similar on paper but behaves differently in use.
- Ask what stress point the rivet is meant to support.
- Confirm whether the factory is quoting a structural rivet or a decorative trim item.
- Make sure the placement is drawn on a tech pack, not left to the sample room.
Start with function, not hardware
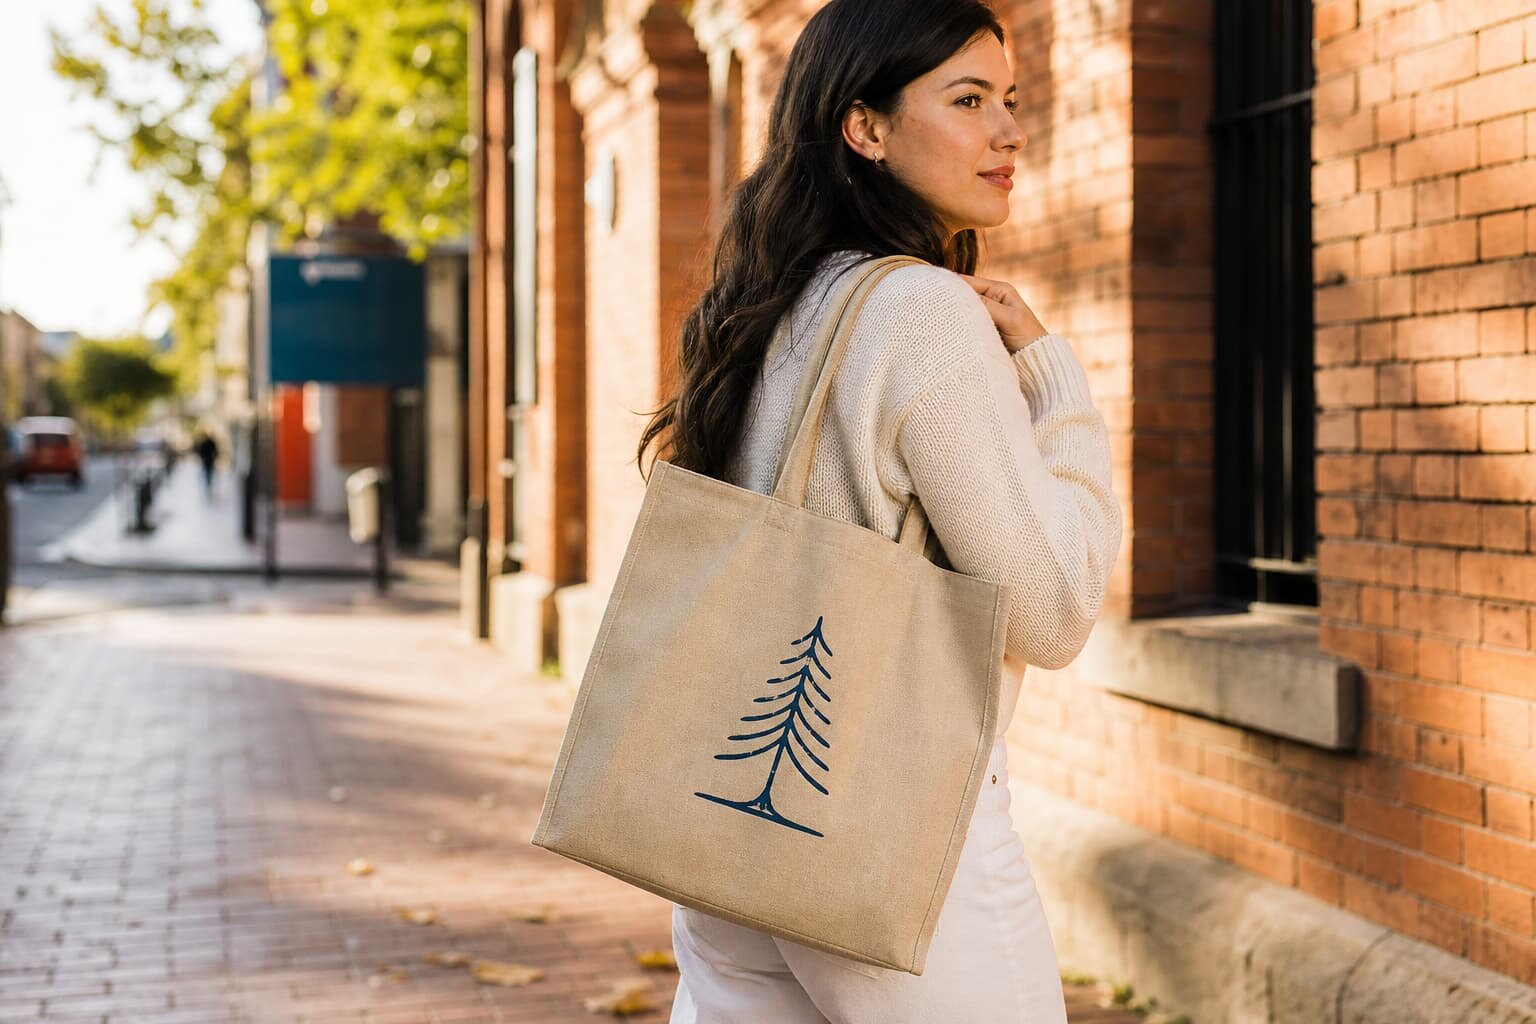
Before you talk about metal finish or rivet color, decide whether the rivet is structural, decorative, or both. A structural rivet should help secure a handle end, a folded top edge, or another stress point that will be pulled repeatedly. A decorative rivet may improve the visual line of the bag, but it should never be the only reason the bag feels strong. If the tote is meant for books, sample books, groceries, or event kits, function should come first.
The canvas weight changes how much support you need. A light 6 to 8 oz canvas, often around 200 to 270 GSM, usually needs a reinforcement patch and careful stitch planning before a rivet can do useful work. A midweight 10 to 12 oz canvas, roughly 340 to 407 GSM, is more forgiving and often works well with visible handle-end rivets. Heavy 14 to 16 oz canvas can sometimes rely more on the fabric body itself, but the hardware still needs clean placement and proper backing.
- Light canvas needs backing more than decoration.
- Midweight canvas is the most flexible zone for visible handle-end rivets.
- Heavy canvas still needs a clean hole, a solid backing cap, and good stitch alignment.
Compare the common rivet locations before you quote
Handle-end rivets are the most common buyer choice because they reinforce the point where the tote is lifted. They usually give the clearest function-to-cost ratio. Top-edge folded-hem rivets work better when the bag has a neat, structured mouth and the brand wants a cleaner premium look. Side or gusset rivets can help stabilize a wide body that twists when full, but they need more attention to symmetry. Decorative front rivets are the easiest to spec and the easiest to misuse because they can look strong without carrying much load.
The right location depends on how the bag will be used. A promotional tote for brochures and samples may only need one stress point reinforced. A retail tote that carries boxed goods might need two handle-end rivets plus a patch. A fashion tote may prioritize appearance and accept a lighter construction, but the buyer still needs to check whether the visible hardware clashes with print or lining. Ask the factory what defect the rivet is meant to solve, then decide if that answer matches your use case.
- Use handle-end rivets for the clearest durability gain.
- Use top-edge or gusset rivets only when the bag structure supports them.
- Treat decorative front rivets as style details unless testing proves otherwise.
Spec the materials around the rivet, not just the rivet itself
A strong rivet does not rescue a weak bag body. The RFQ should state the fabric weight, weave style, and whether the tote uses self-fabric handles, cotton webbing, or folded canvas handles. It should also call out any reinforcement patch behind the rivet. A common mistake is approving a metal rivet on a light canvas body with no backing patch, which creates a pull-through risk and can make the hole look oversized after the first use.
Finish matters too. Ask for the rivet material and finish, such as brass, antique brass, nickel, gunmetal, or painted coating. If your brand needs consistent color across lots, the factory should identify the exact hardware code or at least the same supplier line. Also confirm cap diameter and post length, because a nice finish will not matter if the post is too short for the layered canvas and reinforcement patch or too long and leaves a loose internal edge.
- State fabric weight in GSM or oz so the factory can size the backing correctly.
- Confirm whether the reinforcement patch is canvas, twill, nonwoven, or another substrate.
- Ask for the exact rivet cap size and post length, not just the finish name.
Keep rivets away from print, embroidery, and labels
Print layout and rivet placement should be designed together. A front logo printed too close to a rivet can crack at the edge, look off-center when the bag is filled, or be partially hidden by the hardware head. Screen print, heat transfer, embroidery, woven labels, and debossed branding each need a different clearance zone. If the factory only receives artwork without placement rules, the sample room will make a best guess and the result may be acceptable visually but poor in production consistency.
On a sample, check the bag flat and then check it loaded. Rivets that look aligned on a flat pattern can shift visually once the tote has side volume, a gusset, or a stiff lining. If you are using embroidery near the handle or top corner, make sure the needle path and the rivet position do not fight each other. If a side label sits near the same area, define minimum spacing so the operator does not crowd too many components into one corner.
- Set a no-go zone around the print edge and around embroidery stitches.
- Confirm the rivet does not cover part of the logo when the tote is full.
- Reserve enough distance for side labels, top stitching, and seam allowance.
Use the sample stage to prove placement, not just appearance
Ask for a preproduction sample with the actual rivet, not a substitute button or hand-held mock build. The sample should show the real rivet position relative to fixed points such as the top edge, side seam, and centerline. Good samples are mirrored left to right, with no puckering, no torn fibers, and no visible burr on the inside. If the factory cannot produce the placement cleanly at sample stage, it will rarely improve after the order is released.
Do not stop at visual approval. Fill the bag to its planned load, lift it by the handles, set it down repeatedly, and inspect whether the rivet shifts, presses into the fabric, or creates abrasion on the lining. Also check whether the mouth opening changes shape after loading. A tote can look perfect on a table and still fail in use if the rivet sits too close to a seam or if the backing patch is too small.
- Measure the sample from fixed points, not from the edge of a photo.
- Check inside and outside surfaces after a load test.
- Approve only after the sample survives both visual and functional review.
Ask for quote data that breaks out the hardware cost
A useful quote should show more than one unit price. Ask whether the rivet is included in the sewing price, counted as a hardware line item, or charged through a separate trim package. If the factory adds a reinforcement patch, a custom die, or a special plating step, those costs should be visible. Otherwise you cannot tell whether the low quote is actually cheaper or simply hiding a construction change that will show up later in production.
For quote comparison, request the same data from every supplier. That should include fabric GSM or oz, handle build, print method, rivet material and finish, packing method, sample lead time, bulk lead time, and MOQ. If one factory includes two rivets per handle and another includes one, the prices are not comparable. The buyer should also ask whether the factory expects extra time for custom logo hardware or nonstandard finish matching.
- Separate fabric, sewing, hardware, print, and packing in the quote.
- Ask if the factory has stock hardware or must source it for your order.
- Confirm whether sample charges will be deducted from bulk, if applicable to your sourcing process.
Treat MOQ and lead time as a construction decision
Rivet specs can increase MOQ faster than many buyers expect. If you choose multiple finishes, mixed placements, or a logo-embossed rivet, the factory may need a separate hardware run or additional setup. That can push the order into a higher minimum even if the bag body itself is simple. If the order size is modest, stock finishes and standard placement are usually safer than a custom plated or branded option.
Lead time depends on approval speed, hardware availability, and whether the factory already stocks the right rivet size. A revised sample can move quickly when the hardware is already on hand, but bulk can slip if the factory must reorder trim. Packing should also be part of the discussion. Rivets can scratch adjacent bags in a carton if the unit is packed too loosely, so ask for a polybag, tissue, divider, or carton layout that prevents metal-to-fabric rubbing.
- Use stock hardware when MOQ is tight.
- Treat custom plating or logo embossing as a separate lead-time risk.
- Ask for carton packing that prevents contact damage between bags.
Set acceptance criteria before the first bulk lot
Put measurable acceptance rules into the RFQ and the purchase order. Examples include rivet position tolerance, no visible rust, no loose cap, no sharp edge, no fabric tearing around the hole, and no exposed burr on the inside. If the buyer only says approved or not approved, inspection becomes subjective and the factory has room to argue after shipment. Clear acceptance criteria are especially important when multiple suppliers are bidding on the same style.
Build the QC plan around both appearance and stress. Check symmetry, handle pull behavior, and the contact between the rivet and the reinforcement patch. Inspect under daylight, not only under warehouse lights, because plating flaws and scratches are easier to see in natural light. In bulk, sample bags from the top, middle, and bottom of cartons, since abrasion and press marks often appear where bags rub together during transit.
- Set a position tolerance for the rivet before production starts.
- Require no rust, no burrs, and no loose backing hardware.
- Use your normal AQL plus a functional handle check on the first carton.
Avoid the mistakes that create returns and rework
The biggest mistake is using a rivet as a design accent when the bag really needs a reinforcement patch. The second is placing hardware too close to print, binding, or top stitching. The third is approving a sample from one factory and assuming another factory will copy the same placement without a technical drawing. Small differences in seam allowance, handle width, or fold depth can move the rivet enough to change the finished look and the stress path.
A clean sourcing workflow reduces that risk. First define the bag use case. Then choose the canvas weight and handle build. Next mark the rivet location on a drawing, confirm print and label no-go zones, approve a measured sample, and lock the standard in the PO. That sequence is slower than a loose quote, but it gives procurement a real basis for comparing suppliers and prevents surprise defects after the order is already in cutting or sewing.
- Do not let the rivet replace proper reinforcement.
- Do not approve placement without a measured drawing.
- Do not compare factory prices until hardware and placement are locked.
Specification comparison for buyers
| Spec decision | Recommended option | When it fits | Buyer risk to check |
|---|---|---|---|
| Handle-end rivet | Use two rivets per handle end with a reinforcement patch behind the canvas | Best default for retail, promotional, and trade-show totes that carry real weight | Check post length, inside burrs, and whether the patch is sized to spread load |
| Top-edge folded-hem rivet | Set rivets into a reinforced fold near the mouth opening | Works on structured totes where the top edge needs a clean finish | Confirm print clearance, seam allowance, and that the rivet does not distort the opening |
| Gusset-side rivet | Place rivets near the side or gusset to control twisting | Useful for wider bags that swing or twist when full | Check symmetry, lining interference, and whether placement blocks side branding |
| Decorative front rivet | Use a visible rivet only as an accent, not the main load point | Fits lighter fashion totes or low-load retail styles | Verify the hardware is not being used instead of proper reinforcement stitching |
Buyer checklist before sampling
- State whether the rivet is structural, decorative, or both.
- Specify canvas weight in oz or GSM and whether the bag uses self-fabric handles, webbing, or folded handles.
- Mark exact rivet distances from the top edge, side seam, and centerline on a tech sketch.
- Define print, embroidery, label, and rivet no-go zones before sample approval.
- Confirm rivet material, finish, cap diameter, and post length.
- Ask for a preproduction sample with the actual hardware and reinforcement patch.
- Request separate quote lines for fabric, stitching, rivets, reinforcement, printing, sample cost, and packing.
- Include acceptance criteria for pull strength, symmetry, finish, and surface burrs in the PO.
Factory quote questions to send
- Is the rivet included in the base sewing price or priced as an extra component?
- What exact rivet size, metal, finish, and post length will you use?
- Will you add a reinforcement patch behind the rivet, and what material and size is it?
- Can you show a measured drawing with rivet distances from the top edge and side seam?
- What is the MOQ by rivet finish, color, or logo style?
- What are the sample lead time and bulk lead time, and does hardware availability affect either one?
- How will you pack the bags to prevent rivet scratches, carton marks, or rubbing in transit?
- Which QC checks do you recommend for rivet alignment, pull resistance, and burr control?
Quality-control points to confirm
- Measure left and right rivet positions from the centerline and top edge.
- Check that the rivet head sits flat and the backing cap is seated correctly.
- Inspect the inside of the bag for sharp edges, exposed posts, or loose hardware.
- Confirm the reinforcement patch is present, aligned, and stitched cleanly.
- Look for puckering, tearing, or fabric deformation around the rivet hole.
- Verify that print, embroidery, and labels keep the agreed clearance from the rivet.
- Test the handles under a realistic load and look for shifting or fabric stretch.
- Inspect cartons for abrasion, finish transfer, and bag-to-bag scratching.