Why Approval Fails On Canvas Totes
A canvas tote bag private label approval checklist matters because most failures do not come from the logo file. They come from the gap between what the buyer imagined and what the factory can actually repeat at scale. A nice photo or a quick digital proof does not tell you whether the bag stands upright, whether the handles will twist after sewing, or whether the print will sit too close to a seam. When the order is still in sample stage, those details are cheap to fix. After bulk cutting starts, they become expensive.
For procurement teams, the goal is not to make the product perfect in theory. The goal is to freeze the few decisions that control cost, lead time, and resale risk. That means the approval package should answer three questions clearly: what exactly is being made, what sample is the factory allowed to copy, and what change requires a new sign-off. If those answers are not documented, suppliers will often make silent substitutions to protect margin or speed.
- Treat approval as a production gate, not a design review.
- Use one signed physical sample as the master reference.
- Lock the spec before discussing final price.
- Do not rely on photos alone for color, texture, or structure.
Lock The Base Spec Before You Ask For Price
The base spec drives nearly every commercial decision. For canvas totes, the first thing to lock is fabric weight. A lighter promotional bag may work around 10 oz, while many everyday retail programs sit closer to 12 oz, and heavier premium or carry-focused bags may move toward 14 oz. In gsm terms, that often means roughly the 340 to 500 gsm range, depending on weave and finishing. The exact number matters less than the repeatable range, because two suppliers can both say '12 oz' and still send very different cloth if one is dense and one is loose.
Size and construction are just as important as fabric. Ask for the finished body dimensions, gusset depth, handle length, handle drop, stitch allowance, and corner reinforcement method. If the bag is intended for books, bottles, or grocery carry, the seam build matters more than the logo. Buyers often under-spec the handles and over-spec the print, then discover the bag carries well on day one but fails in use. The approval checklist should force the supplier to confirm body size, fabric weight, and reinforcement details in writing.
- Request gsm, not only ounce weight, whenever possible.
- Confirm finished dimensions and tolerances, not just nominal size.
- Specify handle drop because it affects comfort and shelf presentation.
- Ask whether the bag is self-fabric handle, webbing handle, or mixed construction.
Choose The Private Label Method That Matches The Market
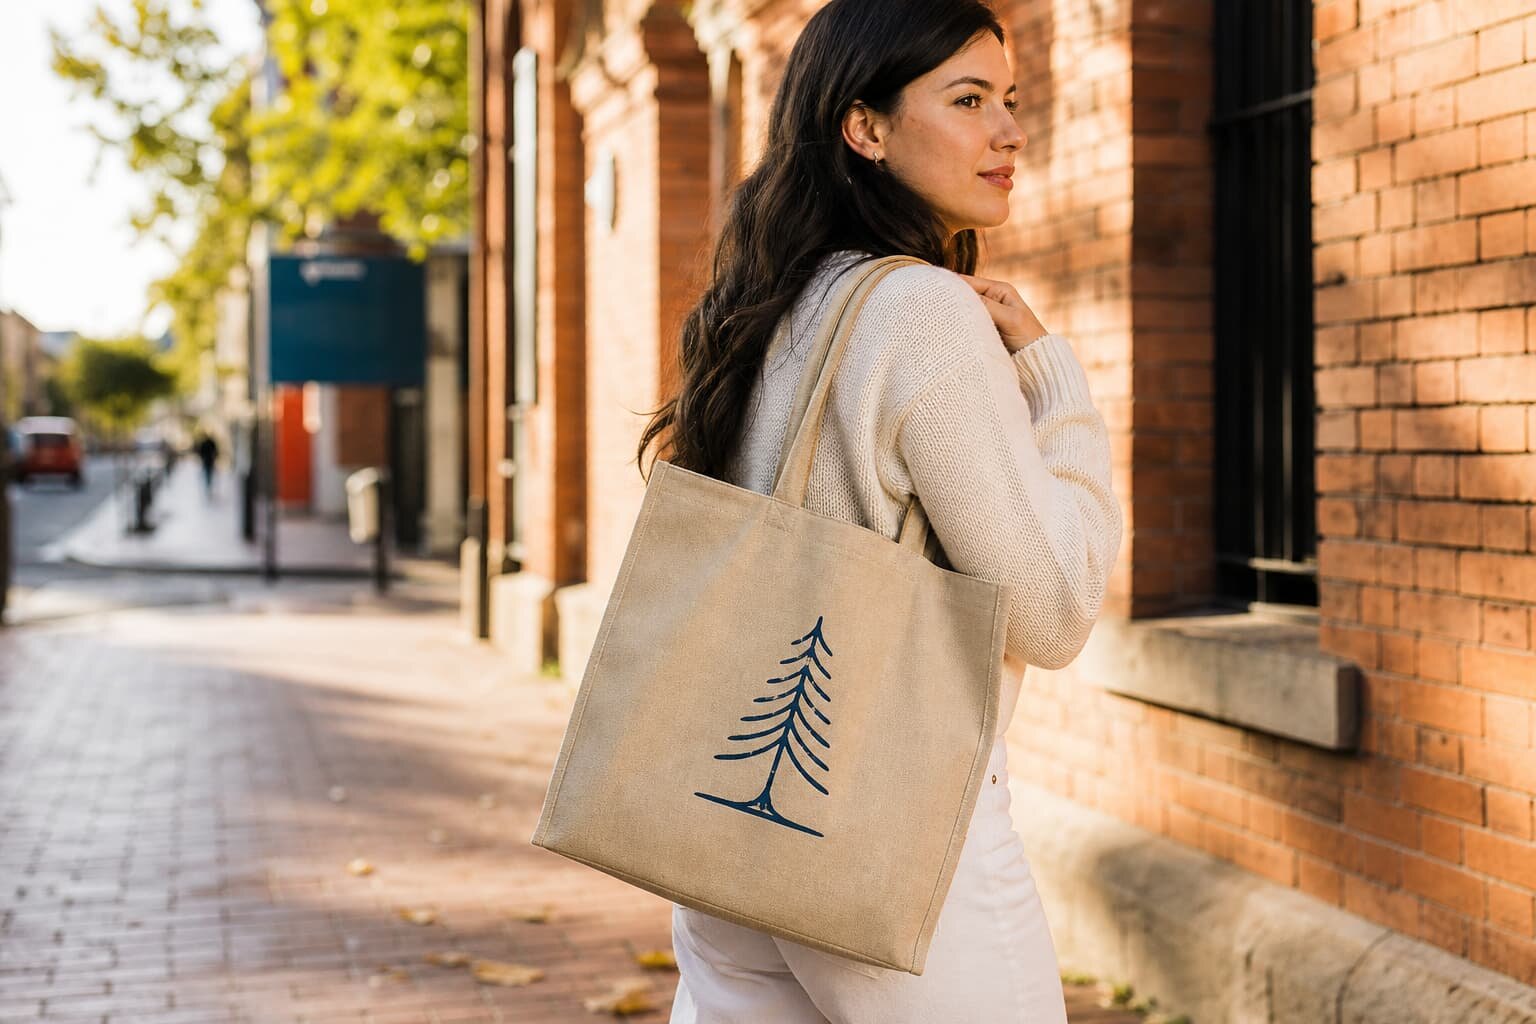
The best private label method is the one that fits the order volume, the retail price point, and the expected wear. For a clean brand look on canvas, a woven side label or a sewn-on woven patch is usually the most durable and most retail-friendly. A direct print is fine when the bag needs a simple logo and a strong unit cost target. Embroidery can look premium, but on lighter canvas it may pull the fabric or make the bag feel stiff in the decorated area. Debossed or stitched patches can also work, but only when the buyer is happy with the look and the extra sewing steps.
Do not choose the label method by appearance alone. Choose it by repeatability and MOQ logic. A woven label may add setup time but can be stable across larger volumes. A printed brand mark can keep MOQ lower if the artwork is simple. A sewn patch may need more labor and can raise the minimum order quantity. If the buyer wants a retail finish, the checklist should ask for the exact label size, stitch method, color count, and where the label sits relative to the side seam or hem.
- Use a woven side label when you want a durable, quiet brand mark.
- Use screen print when the logo is simple and the order is volume-driven.
- Avoid heavy embroidery on thin canvas unless the supplier has proven it before.
- Confirm whether the brand mark is on the bag body, lining, seam, or hanging tag.
Approve Artwork, Color, And Print Placement Like A Factory
Artwork approval is where many tote programs lose money. The buyer may approve a logo on screen, but the factory has to decide ink thickness, cure temperature, print registration, and placement around seams or panels. That is why the checklist should include vector artwork, Pantone references when color matters, and a dimensioned placement drawing. If the logo is large, ask for the maximum print area and the margin from the top hem, bottom fold, and side seam. If the logo is small, ask for a proof that shows how the detail will hold on coarse canvas weave.
Color approval needs the same discipline. Canvas is textured, so a solid color can appear darker or lighter than expected depending on the ink system and base cloth tone. On natural canvas, ink can absorb slightly into the weave. On dyed canvas, the same ink may need an underbase to stay crisp. If the supplier quotes multiple print methods, compare them on opacity, cost, lead time, and wash or rub performance. The right decision is often the simplest method that still reproduces the brand color consistently.
- Provide vector files, not only JPG or PNG artwork.
- Ask for a placement drawing with measurements from seams and edges.
- Confirm whether the supplier is using screen print, heat transfer, or embroidery.
- Request a physical strike-off or print strike before approving bulk ink color.
Use A Sample Ladder, Not A Single Pretty Prototype
A single sample is not enough if the order has real commercial risk. The smarter approach is a sample ladder: first confirm the base structure, then approve the preproduction version with final fabric, final print, and final label, and then keep one sealed approved sample as the production reference. The first sample is for shape, handle length, and stitching logic. The second is for materials, color, and finishing. The final sample is the one the QC team uses if there is a dispute in bulk.
The checklist should also state what the sample must prove. Measure the body size, gusset depth, handle drop, print location, and label position. Check the corners, seam allowance, and reinforcement points. If the tote includes an insert, zipper, pocket, or inner binding, inspect those components separately because they often shift the bag shape. A good sample should not just look right in a photo; it should feel like the product you are willing to receive in bulk.
- Approve at least one physical preproduction sample before bulk release.
- Measure width, height, gusset, and handle drop on the actual sample.
- Keep one sealed master sample for future inspection and dispute control.
- Note any acceptable variation in stitch texture, weave, or natural fiber appearance.
MOQ And Lead Time: What Changes The Order Math
MOQ is rarely driven by one factor. On canvas tote bags, the minimum order quantity usually moves with fabric type, color, print count, label construction, and packing complexity. Stock natural canvas with a simple one-color logo can often support a lower MOQ than custom dyed canvas with multiple print colors and a sewn patch. If the buyer asks for individual polybags, hangtags, barcode labels, retail inserts, and carton markings, the factory has to build more steps into the line, and that usually shows up in both MOQ and lead time.
Lead time should also be broken into stages. A realistic approval flow often includes sample development, sample correction if needed, material booking, bulk cutting and sewing, printing, packing, and final inspection. If the buyer waits to approve packaging or label placement until after the sample is already signed, the schedule slips even when the bag itself is ready. The approval checklist should force the factory to identify which items are on the critical path and which items can still change after sample sign-off without rework.
- Lower MOQ usually comes from stock fabric, one print color, and simple packing.
- Higher MOQ usually comes from custom dye, more decoration, or retail-ready packouts.
- Ask the supplier to split lead time into sample, bulk, and packing stages.
- Do not assume a fast sample timeline means fast bulk delivery.
Quote Data To Request So Suppliers Compare Like For Like
A good quote is not a single unit price. It is a set of line items that shows what the factory is charging for fabric, cutting, sewing, print, label, packing, carton work, and any special handling. If one supplier quotes a low total and another quotes a higher total, the difference is often hidden in whether the logo setup, packaging, or carton requirements are included. Buyers should ask every bidder to price against the same approved sample and the same measurement sheet, otherwise the quote comparison is not meaningful.
You also need the logic behind the price. Ask which items are fixed setup costs and which items move with quantity. Ask whether extra print colors change the price, whether a larger print area changes the unit rate, whether a woven label has a separate mold or loom charge, and whether a smaller carton pack raises freight efficiency. Once the supplier is forced to break the cost down, it becomes easier to compare the real tradeoff between a cheaper-looking quote and a safer production plan.
- Request separate pricing for fabric, sewing, print, label, packing, and cartons.
- Ask which costs are one-time setup charges and which are quantity-based.
- Confirm whether the quote includes sample charges or only bulk production.
- Check the overrun, underrun, and defect replacement policy before accepting the price.
Packing And Retail Readiness Before Bulk Starts
Packing decisions affect shelf presentation, warehouse handling, and freight cost, so they belong in the approval checklist, not as a last-minute afterthought. Confirm the folded size, whether the bag ships flat or stuffed, the type of individual bag protection, and the master carton count. If the tote is for retail, ask where the barcode will sit and whether the label can be scanned without opening the pack. If the tote is for a distributor, confirm carton marks, carton quantity, and pallet logic if palletization matters to your warehouse.
Retail readiness also includes the small things that cause delays. Does the customer need a hangtag, a warning label, a material composition note, or a country-of-origin statement? Is the print on the insert aligned with the brand language? Are the fold lines neat enough for shelf display? None of this is glamorous, but these details decide whether the product lands as a finished item or as a rework project. A clean packaging approval can save more time than a low unit price ever can.
- Confirm flat fold size, individual protection, and master carton count.
- Approve barcode placement and scanability before bulk packing starts.
- Lock carton dimensions if freight or pallet utilization matters.
- Make sure all retail text, inserts, and warning copy are approved in the correct language.
Quality Control Points That Catch The Most Expensive Mistakes
The right QC points are the ones that prevent rejection at receiving. For canvas tote bags, start with fabric weight, dimensions, seam quality, handle attachment, print accuracy, and label placement. Then check bag shape, color consistency, odor, folds, and pack count. If the tote has a complex finish, such as washing or coating, review the surface feel and shade variation against the sealed sample. Buyers should not wait until a full inspection report is written before deciding what matters. Put the acceptance criteria in the approval sheet first, then inspect to that sheet.
Do not make the QC plan too abstract. Ask the factory which defects are acceptable, which are not, and which are repairable. A loose thread at the hem is not the same as an open seam. A slight weave variation in natural canvas is not the same as a shade mismatch from different fabric lots. If the buyer wants print opacity, measure it visually against the approved sample under normal light, not only in a dim sample room. If the buyer wants handle strength, request a pull or load check that matches the use case.
- Set numeric tolerances for size, print position, and label placement.
- Separate cosmetic variation from functional defects in the acceptance sheet.
- Check handle attachment and seam reinforcement on every production lot.
- Review pack count, carton marks, and outer carton condition before shipment release.
Final Sign-Off Workflow And The Errors Buyers Repeat
The final approval workflow should be simple enough that no one can misread it. First lock the spec sheet. Then approve the artwork placement and label position. Then approve the preproduction sample. Then approve packing and carton details. Only after those steps should the factory receive the purchase order or bulk release. If your team approves the bag but leaves label placement, carton markings, or barcode format open, the supplier will keep working, but not necessarily on the version you think you bought.
The same mistakes repeat because buyers try to save time by approving too much at once. They sign off on a prototype before the final fabric arrives. They accept a nice photo and forget to check seam reinforcement. They compare quotes without matching packaging. They assume the factory knows how retail-ready the bag should be. A strong checklist closes those gaps. It gives the merchandiser, buyer, and factory the same reference point, so the order can move from sample to bulk without guesswork.
- Freeze the spec sheet before the PO is issued.
- Keep artwork, placement, label, and packing approvals separate.
- Approve the preproduction sample only after all materials are confirmed.
- Release bulk only when the signed sample and quote match the same version.
Specification comparison for buyers
| Spec decision | Recommended option | When it fits | Buyer risk to check |
|---|---|---|---|
| Fabric weight | 12 oz canvas, about 400-420 gsm | Retail totes, brand merch, and everyday carry | Too light can sag and print show-through; confirm actual gsm, not just ounce claim |
| Print method | Screen print for simple one- to three-color logos | Higher volume orders with flat artwork and strong opacity needs | Check registration, ink cure, and rub resistance before bulk |
| Private label mark | Woven side label or sewn brand patch | Brands that want a durable retail look and repeat use | Confirm label size, stitch count, and placement from the seam edge |
| Handle construction | Cross-box or box-X reinforcement | Totes expected to carry books, groceries, or heavier inserts | Ask for seam pull test results and handle drop measurement |
| Packing format | Flat fold with individual polybag and master carton mark | Retail, distributor, and e-commerce launches | Verify fold size, barcode position, moisture control, and case pack count |
Buyer checklist before sampling
- Define the end use first: giveaway, retail resale, grocery carry, or premium brand merch.
- Lock the canvas weight in gsm and ask the supplier to state the mill source or fabric range.
- Freeze bag dimensions, gusset depth, handle length, and handle drop before sampling.
- Approve artwork in vector format and confirm print size, placement, and Pantone reference.
- Choose the private label method: woven label, sewn patch, printed mark, or hangtag.
- Request one physical approved sample for material, color, sewing, and pack reference.
- Confirm tolerances for size, print position, stitch quality, and acceptable shade variation.
- Get a line-item quote for fabric, cutting, sewing, print, label, packing, and carton work.
- Check MOQ logic by fabric color, print colors, label type, and special packing requests.
- Approve carton marks, barcode placement, and retail insert wording before bulk production.
Factory quote questions to send
- What canvas weight do you recommend for this use case, and what exact gsm range are you quoting?
- Is the fabric stock natural canvas, custom dyed, or a special finish, and how does that affect MOQ?
- Which print method are you pricing, how many colors are included, and what is the setup charge?
- Where exactly will the logo and label sit on the bag, and can you share a placement drawing?
- What are the measurement tolerances for body size, handle length, and gusset depth?
- What sample stages are included before bulk: proto sample, preproduction sample, or sealed approval sample?
- What is the overrun or underrun tolerance on the PO, and how do you handle rejected units?
- How will the bag be packed individually and in master cartons, and what is the case pack count?
- What lead time do you need after artwork approval, material approval, and sample sign-off?
- Which quote items can move the unit price if I change them later, such as print size, label type, or packing?
Quality-control points to confirm
- Fabric weight matches the approved gsm range and the weave feels consistent across the order.
- Bag dimensions stay within the agreed tolerance for width, height, gusset, and handle length.
- Handles are even, securely stitched, and reinforced at the stress points with no skipped stitches.
- Print color, registration, opacity, and edge sharpness match the approved sample under normal light.
- Brand label is centered or positioned exactly as approved, with correct size and orientation.
- Seams are clean with no loose threads, oil marks, open stitches, or puckering at corners and gussets.
- If the bag uses coating, washing, or special finishing, the surface feel and shade stay consistent.
- Packout count, folding method, barcode, carton mark, and insert position match the packing spec.
- Cartons are dry, intact, and labeled correctly for warehouse receiving and retail distribution.
- Any functional test you requested, such as handle pull or seam strength, is documented against the approved criteria.