1. Why logo placement deserves a written specification
A yoga studio canvas tote is often more than a giveaway. It may be sold at reception, packed as a retreat welcome bag, issued to teacher training participants, bundled with apparel, or used as a membership incentive. In those settings, logo placement affects perceived value, retail readiness, and whether the product looks like intentional studio merchandise or a generic promotional bag.
The problem for procurement teams is that “print logo on front” is not a production specification. One factory may center the artwork on the cut panel, another may center it on the finished bag face, and an operator may follow a mockup image without measuring the handle stitch boxes or bottom fold. All can produce different-looking totes while claiming they followed the instruction.
Yoga and wellness brands also tend to use soft colors, fine-line icons, minimalist wordmarks, and small taglines. These details need controlled spacing and a print method suited to canvas texture. Treat placement as a measurable requirement: where the mark sits, how large it is, what it must avoid, and what variation is acceptable.
- Use finished bag measurements, not only a catalog photo or digital mockup.
- Define the logo top edge from the finished top opening and the horizontal center from finished side seams.
- Keep a safe area around handle stitch boxes, top hem bulk, side seams, gusset folds, and bottom folds.
- Check appearance flat, hanging, lightly filled, and packed.
- Keep the approved physical sample as the reference for bulk inspection.
2. Start with tote construction before placing the logo
Logo placement should be finalized only after the tote size and construction are set. A flat tote around 380 x 420 mm behaves differently from a gusseted tote around 380 x 400 x 100 mm. The flat version is suitable for apparel, brochures, light retail goods, and class handouts. The gusseted version is better for towels, bottles, blocks, retreat journals, or merchandise bundles, but it changes the visible front panel when filled.
Handle drop also matters. A shoulder handle commonly falls around 250-300 mm, but this is not universal. Longer handles can pull the top edge into a curve when carried, while shorter handles change the viewing angle. If the logo sits too close to the handle reinforcement, the top of the bag can look crowded on hooks or wall pegs.
Ask whether the supplier prints on cut panels before sewing or on finished bags. Panel printing can be efficient and consistent, but placement must account for seam allowance and sewing variation. Finished-bag printing can reference final seams more directly, but may be limited by platen size or require more handling. Neither method is automatically better; the measurement method must match the production process.
- Flat tote: often around 380 x 420 mm, suitable for light studio goods and general retail use.
- Gusseted tote: often around 380 x 400 x 100 mm, better for bulkier wellness kits.
- Handle drop: commonly about 250-300 mm for shoulder carry, but confirm against your intended use.
- Panel printing: efficient, but needs clear seam allowance and finished-placement controls.
- Finished-bag printing: good for direct seam reference, but check printable area and cost.
- Do not approve final logo position until size, gusset, handle drop, and packing fold are confirmed.
3. Practical front logo placement for yoga studio totes
For a standard 380 x 420 mm tote, a useful starting point is a front logo width of 180-230 mm, centered horizontally, with the top edge about 70-90 mm below the finished top opening. This usually gives enough visibility for retail display while leaving room below handle stitch boxes. These figures are supplier-dependent benchmarks, not universal standards; confirm them with the actual pattern, print method, and sample.
Artwork shape changes the decision. A long wordmark may need more width but less height. A circular emblem, mandala-style mark, or stacked logo may need a tighter bounding box to avoid looking too low. If the artwork file contains invisible whitespace, the factory may measure the wrong box. Specify the real printed mark or provide a placement diagram with the exact logo bounding box.
A simple placement map prevents many disputes. Show the finished tote outline, top opening, side seams, handle stitch boxes, gusset or bottom fold, logo bounding box, and all distances in millimeters. This allows the supplier to build a print guide and gives inspectors objective reference points.
- Balanced main placement: centered logo, top edge 70-90 mm below the finished opening on a 380 x 420 mm tote.
- Typical logo width: 180-230 mm for a standard front print, adjusted for artwork style.
- Large event logo: up to about 250 mm only if handle boxes and fold lines do not crowd the mark.
- Premium subtle logo: 40-70 mm mark at lower front corner, lower center, woven side label, or inside label.
- Clearance: keep about 25 mm from stitch boxes, top hem, side seams, gusset transition, and bottom fold where possible.
- Measurement rule: use the actual printed bounding box, not invisible whitespace in the file.
4. Match placement to use, display, and versioning
A tote used as a paid retail item should look good on a shelf, hanging from a peg, and carried over the shoulder. A retreat kit should still show the logo when filled with a towel, notebook, water bottle, or apparel. A loyalty gift may benefit from a smaller, cleaner mark that photographs well without feeling like an advertisement. Placement should follow the main commercial use, not just the first mockup view.
Display method changes the visible area. A hanging tote collapses near the handle, making a high logo look crowded. A folded tote may show only one portion of the front panel. A stacked tote in a studio shop needs the logo oriented for quick recognition. These details should be reviewed during sampling, not after cartons arrive.
For multi-location yoga groups, consistency is usually more important than making every branch name as large as possible. Set one maximum logo bounding box and one placement rule. Short names can sit inside the same box without becoming oversized, while longer names can be scaled proportionally. This keeps the program coherent across branches.
- Retail shelf: choose a logo size visible when flat, hanging, or folded for display.
- Retreat kit: test the sample with likely contents so the logo does not sink into a bulged area.
- Membership gift: prioritize balanced centering, clean ink, and durable print.
- Boutique merchandise: consider a smaller mark, side label, or lower-corner placement.
- Multi-branch orders: use one bounding box and center line across all branch versions.
- Event-dated artwork: decide whether the date is primary branding or secondary information.
5. Canvas weight, texture, and color affect logo results
For retail-quality yoga studio totes, 10-12 oz cotton canvas, roughly 280-340 GSM, is a practical range. It offers more structure than lightweight promotional cotton while avoiding the freight and sewing demands of very heavy canvas. Lightweight 6-8 oz cotton may be acceptable for giveaways, but it wrinkles more, feels less substantial, and may not hold a clean front panel. Heavy 14 oz canvas and above can feel premium, but it adds cost and weight.
Canvas is not a smooth white print surface. Natural seed flecks, slubs, weave lines, yarn variation, and batch shade differences all change how the logo appears. Muted greens, clay tones, charcoal, cream, and other wellness palettes may look warmer or less opaque on unbleached cotton than in a digital file. This is why the strike-off should be made on the production fabric, not on a convenient substitute swatch.
Clarify whether the fabric is natural, bleached, dyed, washed, or pre-shrunk. Washed canvas can create a relaxed studio look but may affect dimensions and print finish. Dyed canvas needs shade and colorfastness checks. Natural texture may be acceptable for a wellness brand, but stains, oil marks, mildew smell, and dirty handling are quality defects, not character.
- 6-8 oz cotton: lower cost, better for giveaways than paid retail merchandise.
- 10-12 oz canvas: good balance of structure, printability, perceived value, and freight efficiency.
- 14 oz and above: premium feel, but heavier cartons and stronger sewing requirements.
- Natural canvas: check flecks and slubs against fine text and light ink colors.
- Dyed canvas: confirm shade consistency, colorfastness, and ink adhesion.
- Washed canvas: approve dimensions and print appearance after washing, not only before.
6. Choose the decoration method around artwork and risk
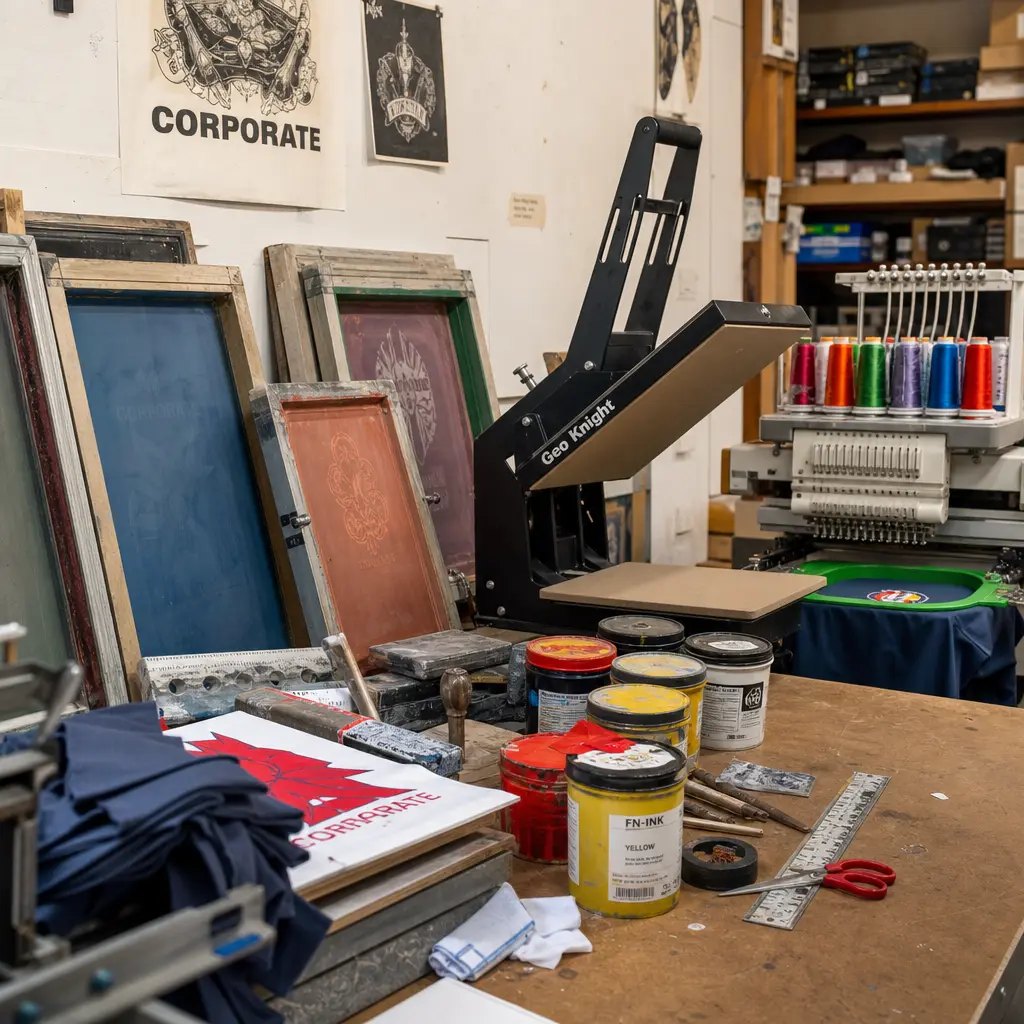
Screen printing is usually the most practical bulk method for one- to three-color yoga studio logos on canvas totes. It suits solid wordmarks, icons, symbols, and simple wellness palettes. Buyers should still define ink type, opacity expectation, handfeel, number of colors, curing method, and whether the supplier can hold placement on the selected construction.
Heat transfer and digital print can handle gradients, many colors, or complex artwork, but they introduce different checks. Transfers may feel like a layer on top of the canvas and need testing for cracking, edge lift, and flexibility. Digital print can be useful for detailed graphics, but color strength on natural canvas must be confirmed. More complex decoration should be justified by the retail program, not chosen only because the artwork file contains many colors.
Embroidery can look premium for a small emblem, but it is rarely ideal for a large front tote logo. It may pucker lighter canvas, add cost, and increase weight. Woven labels often achieve a cleaner premium look for subtle branding, side seam marks, and private label programs.
- Screen print: best for solid one- to three-color logos and repeat wholesale orders.
- Soft-hand or water-based ink: check opacity and durability on natural canvas.
- Higher-opacity ink systems: confirm handfeel, odor, curing, and transfer risk.
- Heat transfer: useful for many colors, but test edge feel, flexing, and cracking.
- Embroidery: better for small marks on suitable canvas than large front artwork.
- Woven label: strong option for subtle branding and multi-product studio ranges.
7. Cost drivers: logo placement, MOQ, and versions
Logo placement decisions affect cost because every additional position adds handling, set-up, inspection, and potential rework. A single front print on one natural canvas body is the simplest structure. A front print plus back print, inside message, woven label, hangtag, barcode, and branch-specific carton label is a different production job.
MOQ should be discussed by version, not only by total quantity. A quote for 1,000 pieces with one logo does not automatically apply to ten branch logos at 100 pieces each. Each version may require separate artwork checking, screens, strike-offs, print runs, curing control, QC records, and carton labels. Small version splits can raise unit cost and create surplus stock.
Ask suppliers to separate base bag cost from decoration and packing. This makes quotes easier to compare and helps buyers simplify where needed. You may find that one front logo plus a hangtag delivers the commercial result without a back print, or that grouping branch orders into fewer cycles lowers total landed cost.
- Lowest complexity: one bag size, one canvas color, one front screen print, one packing method.
- Moderate complexity: same bag body with several branch logos and separate carton labels.
- High complexity: multiple fabric colors, logo positions, hangtags, barcodes, and mixed cartons.
- Clarify whether screen charges are per color, per logo size, per version, per reorder, or included.
- Clarify whether sample fees are per version and whether any fee is credited after bulk order.
- Compare landed cost: unit price, carton volume, freight, inspection, duty, rejects, and surplus inventory.
8. Sample approval before bulk production
A useful approval sample shows the actual canvas weight, tote size, gusset, handle drop, seam construction, logo size, placement, print color, and packing method. If timing is tight, approve a print strike-off on production fabric first, then a full pre-production sample. Bulk production should not start from a digital mockup alone because mockups hide ink absorption, texture, fold behavior, handle interference, and small text legibility.
Measurements should use stable finished reference points. The logo top edge should be measured from the finished top opening or top seam. The left/right center should be measured between finished side seams. If the bag has a gusset, clarify whether placement is based on the visible front panel, not the expanded total width. If printing happens before sewing, require the supplier to explain how panel marks translate into finished placement.
Document approval in a format that design, procurement, and inspection teams can all use. Keep the signed physical sample, photo record, measurement sheet, artwork file name, color reference, and tolerance statement. If the studio changes a retreat date, branch name, sponsor logo, or tagline after approval, treat it as a new revision with updated cost and lead time.
- Approve final artwork file name, logo dimensions, print colors, and print method.
- Record top-edge distance from finished opening and left/right balance from finished side seams.
- Photograph the sample flat, hanging, lightly filled, and packed.
- Test the intended fold, belly band, hangtag, barcode, or retail carton orientation.
- Keep the physical approved sample for inspection; photos alone are not enough for borderline defects.
- Require written approval for any artwork, placement, fabric, handle, or packing change after sign-off.
9. QC and packing controls that protect the final order
Canvas tote production includes cutting, printing, curing, sewing, trimming, pressing, and packing. Some variation is normal, so tolerances should be agreed before production. For many standard front screen prints, plus or minus 5 mm placement tolerance is a practical benchmark. Smaller corner logos may need tighter control; very large artwork or hand-fed processes may require wider limits. Confirm feasibility with the supplier during sampling.
Inspection should separate natural canvas characteristics from defects. Minor yarn variation or small flecks may be acceptable if approved. Smears, oil marks, dirty fingerprints, ink transfer, double images, heavy pinholes, strong odor, mildew smell, broken stitches, and obvious skew should not pass for retail-ready studio merchandise. If the tote will carry blocks, bottles, towels, or retail stock, handle strength and seam quality are as important as print appearance.
Packing can damage a good logo if decided late. Flat packing presents the logo well but increases carton volume. Folded packing reduces CBM but should avoid folding across the print unless approved by sample. Bags should be packed only after full curing to prevent transfer. For branch programs, carton labels must show logo version, SKU, quantity, carton number, PO reference, and destination details where required.
- Logo placement: inspect against approved sample and written tolerance.
- Skew: define an acceptable tilt limit for long wordmarks and square logos.
- Ink: check coverage, registration, edge bleeding, pinholes, curing, rub resistance, odor, and transfer.
- Sewing: inspect handle reinforcement, top hem, seams, loose threads, and broken stitches.
- Dimensions: check width, height, gusset, handle drop, and top opening after sewing and pressing.
- Packing: confirm fold position, logo-facing orientation, polybag or paper band requirements, and carton marks.
- Version control: separate branch logos and event dates clearly to avoid receiving and allocation errors.
Specification comparison for buyers
| Spec decision | Recommended option | When it fits | Buyer risk to check |
|---|---|---|---|
| Main front logo placement | Centered on the front panel, measured from finished seams. For a 380 x 420 mm tote, a practical starting point is logo top edge 70-90 mm below the finished opening and logo width around 180-230 mm. | Retail shelves, membership gifts, teacher training kits, retreat welcome bags, and studio merchandise where the logo must be readable when carried. | If the logo sits too high, handle stitch boxes compete with it; if too low, it may fold, sag, or disappear when the bag is filled. |
| Subtle premium placement | Lower front corner, small lower-center mark, woven side label, or inside label. Typical visible mark: 35-70 mm wide, depending on artwork. | Boutique studios, wellness spas, minimalist brands, private label ranges, and higher-priced merchandise. | Fine script, small taglines, and thin-line icons may fill in on coarse canvas; confirm minimum printable detail on the actual fabric. |
| Logo safe area | Keep about 25 mm or more from handle stitch boxes, top hem bulk, side seams, bottom fold, and gusset transition points where the construction allows. | Useful for consistent production, repeat orders, and easier third-party inspection. | Digital mockups often ignore seam bulk and handle reinforcement; require measurements on a finished physical sample. |
| Canvas weight for logo clarity | 10-12 oz cotton canvas, approximately 280-340 GSM, with a reasonably smooth surface for the chosen artwork. | Retail-quality yoga studio totes needing structure, print clarity, and manageable freight cost. | Very slubby, open-weave, or heavily flecked fabric can break fine typography; approve a strike-off on production fabric. |
| Print method | Screen print for solid one- to three-color logos; heat transfer or digital print for many colors or gradients; embroidery only for small marks on suitable canvas; woven label for subtle branding. | Screen print is usually the most practical bulk choice for yoga studio wordmarks, symbols, and wellness color palettes. | A digital preview does not show ink absorption, opacity, handfeel, curing quality, or texture. Approve a physical strike-off or pre-production sample. |
| Handle relationship | Center the logo visually between handle attachment points, with clearance from stitch boxes. Common shoulder handle drop is about 250-300 mm. | Totes displayed on hooks, studio wall pegs, reception shelves, cubbies, or carried over the shoulder. | Oversized logos can clash with handle reinforcement if placement is measured from artwork only, not from finished construction. |
| Secondary branding | Use a care label, woven side label, inside printed message, or small back logo for co-branding, branch names, or retreat information. | Multi-branch studio groups, co-branded events, wellness gift sets, and distributors managing several SKUs. | Extra branding positions increase set-up cost, production handling, QC points, and carton mix-up risk. |
| MOQ and versioning | Keep one bag construction and change only the logo screens when version quantities justify it. Group branch logos into realistic production lots. | Yoga chains, franchises, retreats, and teacher training programs using one tote format with different local marks. | Splitting a low MOQ into many versions raises unit cost, screen cost, sample time, inspection work, and surplus risk. |
| Packing orientation | Flat pack with front logo facing outward for retail cartons. Use folded bulk pack only if the fold avoids the logo or the ink tolerates the crease. | Studio retail, retreat kits, distributor allocation, and quick branch receiving. | Folding across thick or uncured ink can cause cracking, ghost marks, or transfer. Packing must follow full curing and inspection. |
Buyer checklist before sampling
- Confirm finished tote size, gusset depth, handle drop, handle material, canvas color, and whether the bag must carry mats, blocks, towels, bottles, apparel, retail stock, or retreat documents.
- Specify logo position from finished reference points: distance from finished top opening, horizontal center from finished side seams, and clearance from handle stitch boxes, side seams, gusset, and bottom fold.
- Define logo width, height, bounding box, orientation, Pantone or CMYK references, print color count, and whether taglines or fine-line details are essential.
- Select canvas weight by use case: lightweight giveaway, midweight retail tote, or heavy premium bag. Do not select only by lowest unit price.
- Ask the supplier to confirm printable area, minimum line thickness, minimum text height, recommended ink type, and artwork adjustments needed for canvas texture.
- Request a strike-off or pre-production sample using the actual fabric, ink, logo size, placement, handle construction, and packing method.
- Set written acceptance tolerances for logo position, skew, color variation, ink coverage, finished dimensions, sewing quality, stains, odor, and carton labeling.
- Decide whether individual polybags, recycled paper bands, hangtags, care labels, barcode stickers, carton marks, or branch-specific packing lists are required.
- Align MOQ with versions, not only total quantity. Each branch logo, retreat date, fabric color, print colorway, or packing style can become a separate lot.
- Require the quote to separate base bag cost, decoration cost, screen charges, artwork fees, sample fees, courier fees, labels, packing materials, inspection, and export charges.
Factory quote questions to send
- What finished size tolerance can you hold for width, height, gusset, handle drop, and logo placement from the finished top opening and side seams?
- Which canvas options are available, including ounce weight, approximate GSM, weave density, shade variation, shrinkage risk, and whether the fabric is greige, bleached, dyed, washed, or natural?
- Can you produce a print strike-off on the same canvas weight, color, ink system, and logo size intended for bulk production?
- What printable area do you recommend for this tote construction, and what safety distance should be kept from handle stitch boxes, top hem, gusset, side seams, and bottom fold?
- What minimum line thickness and minimum text height do you recommend for this fabric and print method? Will our tagline remain legible?
- Is the MOQ based on total quantity, each logo version, each fabric color, each print color combination, or each packing version?
- Are screen charges, artwork separation, sampling, courier charges, hangtags, labels, individual bags, paper bands, carton labels, and export cartons included or quoted separately?
- What is the lead time for artwork checking, strike-off, pre-production sample, fabric preparation, printing, sewing, curing, inspection, packing, and shipment handover?
- How will the line prevent front/back panel mix-up, placement drift, left/right skew, and carton version mix-up when there are several branch or event logos?
- Which ink system will be used, how will curing be controlled, and what tests can be done for rub resistance, adhesion, odor, cracking, and transfer risk?
Quality-control points to confirm
- Logo center line should remain within the agreed tolerance. For many standard screen printed canvas totes, plus or minus 5 mm is a practical benchmark, but final tolerance depends on supplier capability, artwork size, fabric stability, and print process.
- Logo top edge should be measured from the finished top opening or finished top seam, not from an unsewn panel, unless panel-printing references are clearly defined and approved.
- Print skew should be controlled visually and by measurement. A common benchmark is under 3 mm tilt across a standard wordmark, but large prints or hand-fed processes may need supplier-specific limits.
- Ink coverage should be even, with no obvious pinholes, smearing, double images, registration shift, lint trapped in visible logo areas, or heavy edge build-up beyond the approved sample.
- Brand color should be checked against the approved strike-off under consistent lighting. Natural canvas can make colors appear warmer, duller, or less opaque than on paper or screen.
- Handle stitch boxes must not enter the logo safe area, and reinforcement stitching should be balanced left to right with no loose threads crossing the printed area.
- Finished bag dimensions should be checked after sewing, pressing, washing if applicable, and packing trial, especially when printing is done on cut panels before assembly.
- For gusseted totes, inspect the logo both flat and lightly filled because panel expansion can change perceived placement and alignment.
- For folded packing, verify that the fold line does not permanently crease the logo, crack the ink, or transfer ink to another bag surface.
- Randomly load-test handles and seams according to intended use, especially if the tote may carry yoga blocks, water bottles, towels, apparel, or retreat materials.