Why a color approval record matters before bulk production
For a canvas tote bag, color problems are rarely just cosmetic. A small shift in the base cloth, logo ink, handle tape, or woven label can change the retail look enough to trigger rework, claims, or a delayed launch. A color approval record gives the buyer and the factory one agreed reference point before cutting bulk fabric. It turns a vague conversation like "close to beige" into a written and visual standard that the production team can actually follow.
The record also protects the commercial side of the order. When procurement compares supplier quotes, the cheapest offer often looks fine until the buyer sees that the quote does not include a strike-off, shade band, or repeat-order color hold. If the color approval record is clear, the supplier has to price the same target. That makes quote comparison fairer and reduces disputes when the first bulk lot arrives.
- Use the record to lock the body shade, print shade, trim color, and label color separately.
- Attach physical swatches, not just photos, because canvas texture changes how color reads.
- Write the approval date, approver name, light source, and sample version on the same sheet.
- Tie the approved reference to the PO revision so later changes are traceable.
What the record should contain so the factory can follow it
A useful color approval record is not a design file. It is a production control sheet that tells the factory exactly what was approved, how it was checked, and what cannot change without a new sign-off. At minimum, it should list the tote style, finished size, fabric GSM, weave type, color target, print method, ink color, trim color, and the reference sample number. If the bag has contrast handles, coated fabric, or a washed finish, those details belong on the same record because they affect the final color perception.
The record should also show which features were measured and which were only visually accepted. For example, the buyer may approve the body shade against a physical standard, while the print color may also need a simple instrument reading from the supplier. That distinction matters when a supplier later says the color was "approved" but the body fabric and the logo were checked under different conditions. A good record separates those items and removes room for interpretation.
- Style code, size, and construction type.
- Fabric GSM, weave count, and any prewash, coating, or dye process.
- Approved body color reference, approved print color reference, and trim color reference.
- Sample version, lot number, and the date each version was signed.
- Acceptance notes for shade, print clarity, placement, and visible defects.
Approve the body color and logo color as two different decisions
Many color problems start when buyers approve one sample and assume everything on it will stay the same. On a canvas tote, the body fabric and the logo print behave differently. Natural canvas has fiber flecks and uneven absorbency, so the same ink may look slightly warmer or duller from one roll to another. If the body is dyed, the cloth itself may shift after washing, pressing, or final sewing. The logo, meanwhile, can change with ink load, mesh count, curing heat, and print pressure. Treating those as one decision is risky.
The better approach is to approve the body shade first and then approve the print on top of that body. If the bag uses a contrast handle or colored binding, those are separate color approvals too. That is especially important for retail programs where the buyer expects the whole product family to stay visually consistent across reorder waves. A supplier should know exactly which part of the bag can vary slightly and which part must match the golden sample.
- Approve natural canvas, dyed canvas, and printed graphics as separate items.
- Lock contrast handles, zipper tape, and woven labels if they are visible in store display.
- Ask the factory to show the approved logo on the exact final fabric weight.
- Do not accept a print color on white canvas and assume it will look the same on natural canvas.
Build the sample chain: strike-off, shade band, PP sample, golden sample
A serious color approval record should track the sample chain from the first color trial to the final production reference. The strike-off or lab-dip tells you whether the factory can hit the target color at all. The shade band shows the acceptable range for the fabric lot. The pre-production sample confirms how the color looks after cutting, sewing, pressing, and handling. The golden sample is the sealed reference the buyer keeps for later inspections and reorders. If any one of those is missing, the approval process becomes harder to defend later.
Do not skip the sewn sample just because the color looks fine on a loose swatch. A stitched tote often reads darker or flatter than a flat fabric piece because seams compress the surface and create shadow lines. If the factory changes ink, thread, or finishing after sample sign-off, ask for a new strike-off. The record should show when the sample was revised and whether the old version is void. That small discipline saves a lot of back-and-forth once bulk rolls start moving.
- Strike-off or lab-dip: proves the color target is achievable.
- Shade band: defines the acceptable range for production cloth.
- PP sample: confirms sewn appearance, placement, and hand feel.
- Golden sample: the sealed master reference for inspection and reorders.
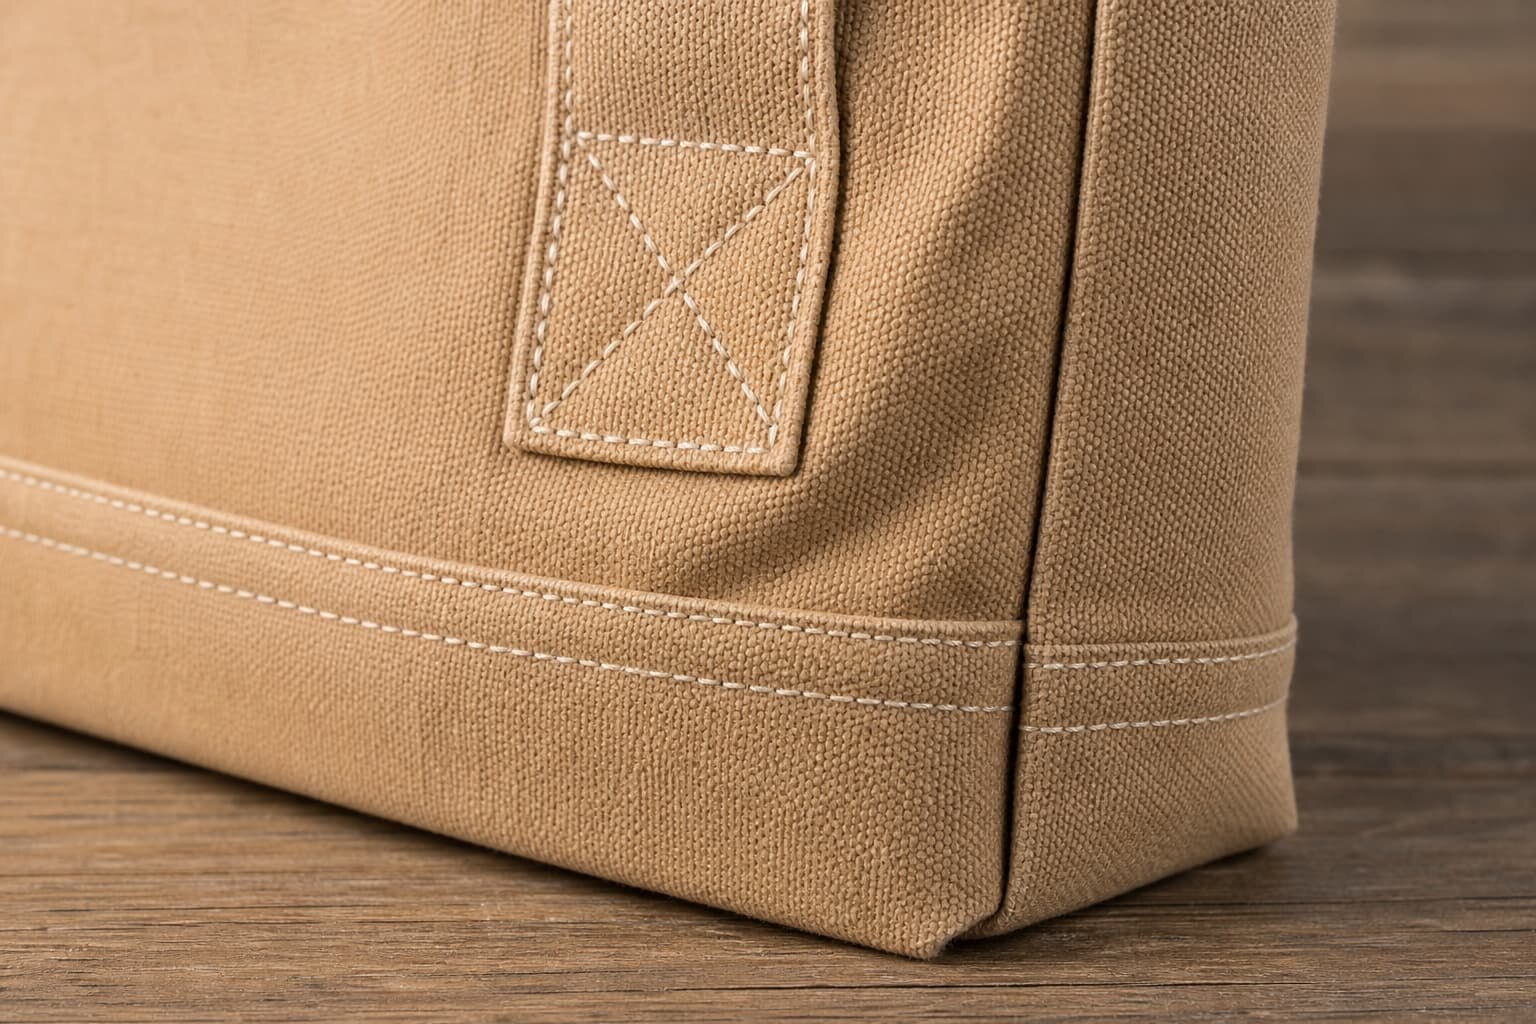
How fabric weight, weave, and finish change the final color
Canvas is not a neutral surface. A 8 oz tote, a 10 oz tote, and a 12 oz tote can all carry the same color code and still look different because the weave density, yarn thickness, and surface roughness change how light bounces off the cloth. Heavier canvas often looks slightly deeper and more saturated. A looser weave can show more fiber variation and small shadowing in the weave lines. If the fabric is prewashed, enzyme washed, or softened, the surface may look lighter or more matte after sewing than it did on the unsewn roll.
That is why buyers should always record the exact GSM and finish used for the approved sample. If the quote says 10 oz canvas but the sample was made from 12 oz, the color approval is not truly transferable. The same applies to coated bags, waxed finishes, or laminated backs. These treatments can shift gloss, darken the cloth, or create a cooler or warmer look under retail lighting. A strong color record notes both the material specification and the visual effect so the supplier cannot swap one for the other without notice.
- 8 oz canvas usually shows more weave texture and more visual variation.
- 10 oz canvas is often used when buyers want a balanced hand feel and decent opacity.
- 12 oz and above can read deeper and more stable, but it may need more ink to hold print clarity.
- Prewash and softening can reduce size and lighten the final appearance.
Choose the print method based on color control, not just artwork
The print method has a direct impact on color approval risk. Screen print is usually the most controllable option for simple brand colors because the buyer can approve a strike-off, check ink opacity, and lock the placement. It is often the better choice when the logo is one to three solid colors and the order will repeat. Heat transfer or DTF can handle fine detail and multiple colors, but the surface feel, edge finish, and durability need more attention. Embroidery or woven labels remove some color variability from the print itself, but thread matching and stitch density still matter.
When you compare supplier quotes, do not look only at unit price. Ask how many print setups are included, whether color matching is based on Pantone, and what re-approval is needed if the artwork changes from the sample. For a buyer, the key is not just whether the print looks good in a photo. The question is whether the factory can repeat that same color on 3,000 or 30,000 pieces without turning the logo too thin, too glossy, or too dark on the chosen canvas.
- Use screen print for solid logo colors and repeat orders with stable artwork.
- Use transfer methods when the art needs small type, gradients, or many colors.
- Use embroidery or woven labels when the brand wants a more premium trim detail.
- Ask for a physical strike-off on the same canvas GSM before bulk approval.
Use packing details to keep approved colors from changing in transit
Color approval does not end when the last bag is sewn. Packing can change how the product looks by the time it reaches the warehouse. A printed tote folded against a dark insert card can pick up rub marks. A natural canvas bag packed too tightly can crease and create visible pressure lines. If the bags are stored in a humid carton with poor ventilation, the fabric may look duller or develop a temporary shade shift that makes the inspection more difficult. That is why the record should include inner packing material, folding method, carton quantity, and any moisture-control step used by the factory.
For color-sensitive programs, ask the factory to separate lots by approved shade and mark the carton clearly. Do not allow mixed batches inside the same case unless the buyer has already accepted that range. During receiving inspection, pull pieces from the top, middle, and bottom of the carton because pressure and light exposure can affect the look of the bag. If the sample was approved with a loose fold, but bulk is packed with a tight compression fold, the appearance at destination may not match the approved reference.
- Record the fold method so the factory does not change the visible face of the bag.
- Specify lot separation for approved shade groups.
- Check for rub-off from ink, labels, inserts, or inner bags.
- Use carton markings that link each case back to the approved lot and sample.
Read the supplier quote line by line before you accept the color plan
A good quote should show more than a piece price. It should tell you how the supplier will reach the approved color and what has already been included in the offer. If the quote only says "canvas tote bag with logo print," it is too vague for a procurement decision. The color approval record should be supported by quoted line items for fabric sourcing, dyeing if needed, print setup, sample creation, packing materials, carton marks, and any quality check tied to color approval. Otherwise, the supplier may treat those items as extras later.
The most useful quote data is the data that lets you compare suppliers on the same basis. Ask for the MOQ by body color and by print color. Ask whether sample fees are refundable after bulk. Ask how many days are needed for lab-dip, strike-off, sewn sample, and full production. Ask whether a color change on a reorder triggers a new setup fee. If a supplier cannot answer those questions clearly, the quote is not yet ready for procurement comparison.
- Compare quote inclusions for fabric, print setup, sample, packing, and carton marks.
- Check whether the MOQ changes when the body color or print color changes.
- Separate one-time setup costs from repeat-order costs.
- Confirm whether the supplier holds the same ink formula and fabric lot for reorders.
Set acceptance rules now so you can reject the wrong color later
The best color approval record includes the rejection rule, not just the acceptance note. Buyers should state what counts as acceptable variation and what causes a fail. On a canvas tote, that could mean the body shade stays within the approved band, the logo remains legible and balanced, the ink does not bleed into the weave, and the trim colors match the sealed sample. If the supplier needs to use a substitute fabric lot or revise the print method, the record should say that a new approval is required before bulk continues.
Common mistakes are predictable. Teams approve under office lighting and inspect bulk under warehouse light. They merge body color and print color into one decision. They forget to lock the handle tape or label color. They approve a sample that was stitched from a different GSM than the production order. If you want the record to be useful, make it a live control document, not a folder of pretty photos. That way the buyer can stop a bad lot before it becomes a warehouse problem.
- Reject any lot that does not match the approved body shade band under standard light.
- Reject print that shows poor opacity, misregistration, or visible rub-off.
- Reject mixed lots if the carton mark does not match the approved reference.
- Require a new sign-off if fabric GSM, finish, ink formula, or trim source changes.
Specification comparison for buyers
| Spec decision | Recommended option | When it fits | Buyer risk to check |
|---|---|---|---|
| Base fabric shade | Approved physical shade band on final canvas roll | When the bag body color must stay consistent across reorders | Natural fiber fleck, dye lot drift, and lighting differences can make photos unreliable |
| Body color method | Piece-dyed or garment-dyed canvas with lot control | When the tote itself is a brand color, not just a logo carrier | Lot-to-lot shade variance and shrinkage can change the final look and size |
| Logo color method | 1-3 color screen print with a signed strike-off | When the art has solid brand colors and repeat volumes are likely | Ink opacity, edge sharpness, and flash-cure heat can shift the approved color |
| Detailed artwork method | DTF or heat transfer with a physical transfer sample | When the design uses gradients, fine type, or multiple small colors | Hand feel, adhesion, and wash or rub durability may differ from the approved image |
| Trim and label color | Locked trim swatch for handle tape, woven label, and thread | When contrast trims affect brand presentation or retail display | Different mills can supply slightly different blacks, navies, or naturals if you do not lock the trim source |
Buyer checklist before sampling
- Confirm the exact canvas GSM, weave count, and finish before any color sign-off.
- Approve body shade and logo color as separate items, not one combined sample.
- Keep one sealed golden sample, one signed shade band, and one photo set with light source noted.
- Record fabric lot number, ink batch, thread color, and any coating or wash process used on the approved sample.
- Ask the factory to show sample dimensions after sewing, because color approval should not hide shrinkage issues.
- Verify that carton marks, inner pack, and poly bag materials will not discolor the approved shade.
- State the acceptable tolerance for natural canvas variation and for printed logo color.
- Check that the quote separates sample fees, setup charges, packing, and repeat-order costs.
- Confirm whether the supplier will keep the approved color reference for future reorders.
- Require written sign-off from the person who can stop production if the color is off-spec.
Factory quote questions to send
- What exact canvas GSM, weave, and finish are you quoting for this color-approved tote?
- Will the body color be natural, piece-dyed, pigment-dyed, or printed, and what is the lot control method?
- What is the print method for the logo, and how many screens, plates, or transfer setups are included?
- Can you send a physical strike-off or lab-dip before cutting bulk fabric?
- What MOQ applies to each body color and each logo color, and does the MOQ change if the trim color changes?
- What is the sample lead time for the approval set, and what is the bulk lead time after sign-off?
- Which packing materials are included in the quote, and can they affect the approved color through transfer or rub?
- What carton count, poly bag count, and overrun or underrun allowance are you quoting?
- Will you keep the approved color reference, ink formula, and fabric lot on file for repeat orders?
- What is excluded from the quote that could later create a color claim or a re-approval charge?
Quality-control points to confirm
- Check the sample under a standard light source and note the light condition on the approval sheet.
- Compare the body fabric, print, thread, label, and handle tape separately.
- Verify the approved sample is sewn from the final fabric weight, not a lighter substitute.
- Confirm color consistency across front panel, back panel, gusset, and handles.
- Inspect the first and last piece from a production lot for shade drift.
- Look for ink strike-through, cracking, or uneven coverage on darker canvas.
- Check for color transfer from print to folded panel, inner wrap, or carton liner.
- Confirm that any wash, pre-shrink, or coating step did not change the approved shade.
- Review carton labels to make sure mixed lots are not packed together.
- Keep a signed reject rule for any piece that falls outside the approved visual standard.