Why the bottom gusset changes the whole tote quote
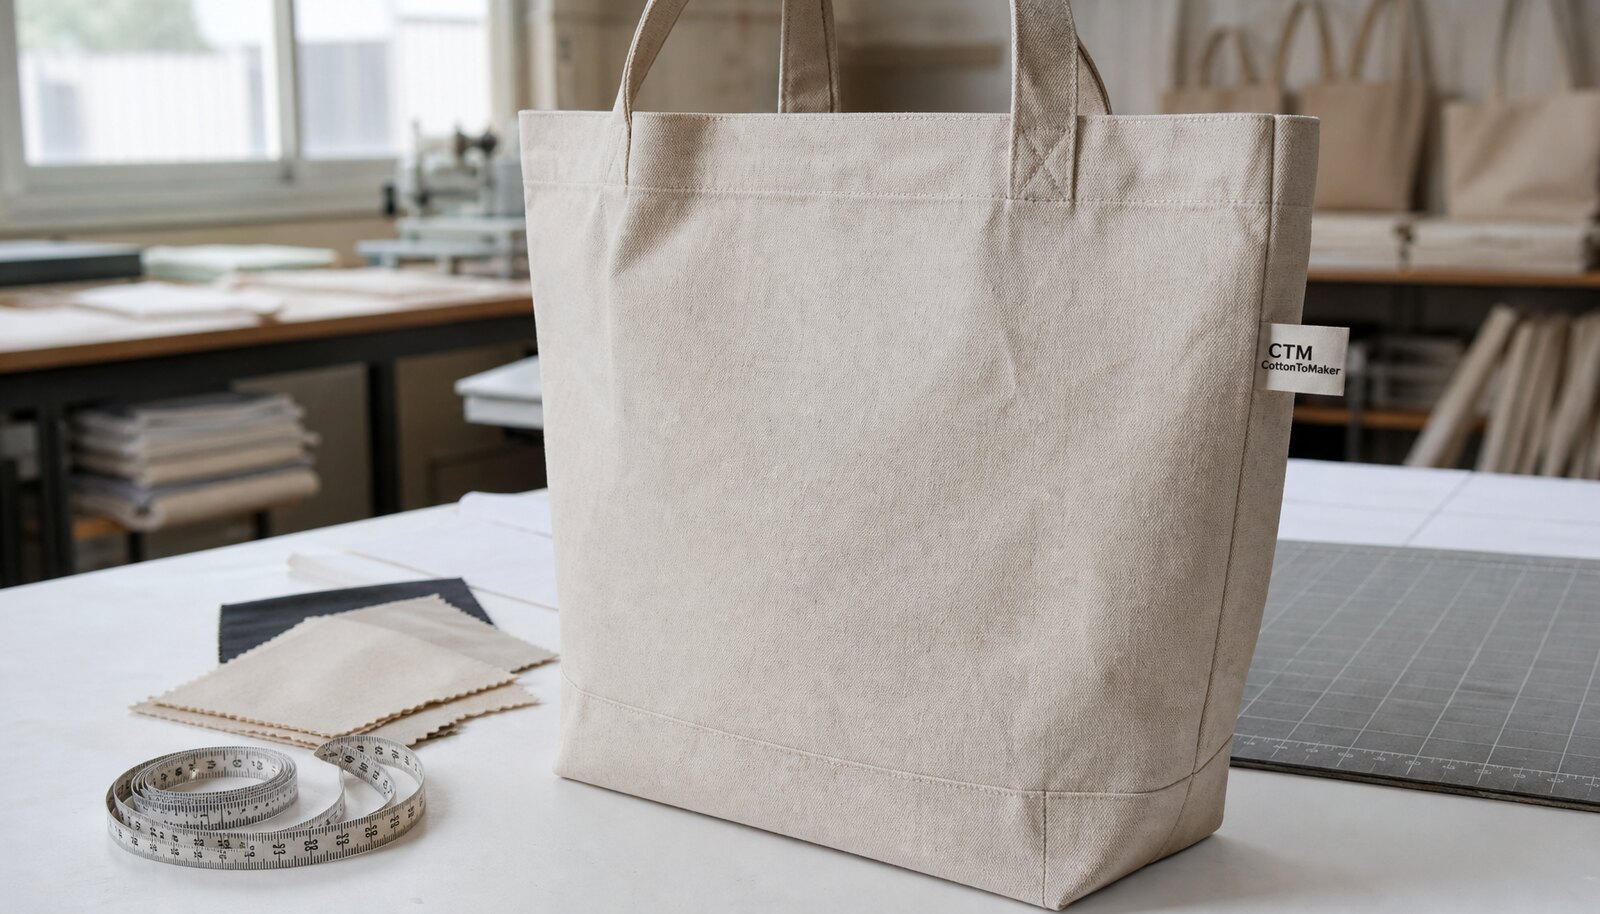
A canvas tote bag bottom gusset measurement sounds like a simple specification, but it affects almost every cost and quality decision in the bag. The gusset controls how much usable volume the tote has, whether it stands upright, how the seams carry load, and how much space is left for print placement. If one buyer says 4 in and another supplier thinks in cut size instead of finished size, the two quotes may describe different products even when the price looks similar.
Procurement teams usually feel the problem first in the sample stage. One sample may look neat but collapse when loaded, while another may stand well but crowd the logo into the seam. That is why the gusset should be treated as a commercial spec, not a casual shape note. If the bag will hold files, apparel, wine, grocery items, or event kits, the gusset needs to be defined with the same discipline as fabric weight, handle length, and print method.
- A deeper gusset increases usable volume but also changes seam behavior and carton footprint.
- A shallow gusset can be cheaper, but it often hurts shelf appeal and practical carry capacity.
- If the bag must stand on its own, the gusset and base reinforcement need to be specified together.
Define the measurement method before you request pricing
The most common mistake is asking for a bottom gusset without saying how it should be measured. In tote production, the same number can mean finished external width, internal depth, or cut panel size before sewing. Those are not interchangeable. For RFQs, state the unit and the measuring point clearly, then ask the factory to restate the dimension in a simple drawing with seam allowance shown. If your supplier still cannot tell you which number is finished and which number is cut, the quote is not ready for comparison.
It also helps to say when the measurement should be taken. A canvas bag can look slightly different after pressing, washing, or heat application, and a few millimeters matter when the bag must match a carton layout or pass a retail presentation check. For repeat orders, keep the same method every time. If the first approval uses a flat, pressed bag measured across the finished bottom seam, then the reorder should be measured the same way. That keeps your spec stable even when factories or fabric lots change.
- State whether the figure is finished size, internal usable depth, or cut size.
- Include seam allowance and fold line in the supplier drawing.
- Use the same measuring method on the blank sample, printed sample, and bulk inspection.
Choose gusset depth to fit fabric weight and carry target
Fabric weight matters more than many buyers expect. A light 8 oz to 10 oz canvas, roughly 272 to 340 GSM, can work well for a shallow promotional tote, but it may not hold a wide base cleanly when the gusset gets deeper. For retail-facing bags or heavier loads, 12 oz canvas and above, roughly 407 GSM and up, usually gives a better balance of structure and durability. If the fabric is too light for the gusset depth, the base can wrinkle, sag, or distort under load. If the fabric is heavy but the gusset is too small, the bag may feel bulky without adding real utility.
Do not pick the gusset in isolation. The final shape depends on weave density, finishing, and whether the bag is unbleached, dyed, washed, coated, or lined. A 4 in gusset in natural canvas does not behave the same way as a 4 in gusset in a washed or coated canvas. If you are adding a base board or a reinforcement patch, include that in the load target and the fold plan. The best buyers tie gusset depth to a specific use case, not to a generic tote trend.
- Light promo use: shallow gusset, moderate fabric weight, simple fold, low unit cost.
- Retail or gift use: medium to deep gusset, stronger canvas, cleaner stand-up shape.
- Heavy carry use: deeper gusset plus reinforcement, with clear load and seam specs.
Make the print plan before you lock the base size
The gusset changes the safe print area, especially if your artwork sits near the lower third of the bag. Once the base is folded and stitched, the bottom seam and side seams reduce the flat printable zone. Screen print, heat transfer, and embroidery all react differently to that change. A logo that looks centered on a flat pattern can drift toward a seam after sewing, and a design that sits too low can crack or ghost when the tote is filled and the fabric bends at the fold line.
Ask the factory for a print layout that shows the final bag, not just the front panel. The drawing should mark the seam lines, the bottom fold, the handle drop, and the finished gusset depth. That lets your design team approve the art with the real production geometry in mind. For simple one-color screen print, keep critical details away from the fold. For multi-color or high-detail artwork, leave even more margin because fabric movement and stitching tolerances can shift the image slightly.
- Request a printable area drawing based on the finished gusset and seam lines.
- Keep critical artwork away from the bottom fold and side seams.
- Check how the print looks after the bag is filled, not only when it is flat.
What to put in the RFQ so suppliers quote the same bag
A good RFQ removes guesswork. For a canvas tote with a bottom gusset, include the finished body size, gusset width, measurement method, fabric GSM, weave or finish, handle length, handle drop, reinforcement details, print method, and packing requirement. If you want the tote to include a base board, lining, piping, or extra bartacks, name each item separately. Otherwise one factory may price them in the base bag while another leaves them out and looks cheaper on paper.
It is also worth asking for quote data in a consistent format. That means separate lines for fabric, sewing, print, accessories, packaging, sample charge, and any surcharge for a larger gusset or extra reinforcement. If a supplier only gives one total price, you cannot tell whether the difference comes from fabric weight, print method, or sewing labor. When the gusset changes, the most useful question is not simply what the unit price is, but what causes the price to move and which process step is driving it.
- Ask suppliers to quote finished size, not only cut panel dimensions.
- Separate base construction, print method, and packing into individual quote lines.
- Confirm whether a wider gusset changes MOQ, cutting yield, or sewing cost.
Compare samples with a tape measure, not just by eye
The sample stage is where gusset mistakes become visible. Measure the finished bottom gusset after pressing, then check the same point on both sides of the bag. The base should look symmetrical, sit flat, and open evenly when loaded. If one side pulls inward or the bottom seam puckers, the problem is usually in the pattern, stitch balance, or seam allowance. A bag can still look acceptable in photos and fail the practical test when it is actually packed with product.
Use a real load test whenever possible. Fill the tote with the same type of item it will carry in the market, whether that is apparel, catalog sets, bottles, or grocery goods. Then check whether the gusset keeps the base stable and whether the print or logo still sits in the right place once the fabric is under tension. For procurement teams, this is the fastest way to see whether the sample reflects a saleable production bag or just a neat-looking prototype.
- Measure the gusset at multiple points after pressing the sample flat.
- Check symmetry, base stability, and stitch quality under a real load.
- Compare the sample against your approved drawing, not against memory.
How gusset depth changes MOQ, lead time, and packing
A bigger gusset is not only a shape change; it can change the production plan. More depth often means more cutting waste, more seam work, and more time at the sewing line. In some factories, that can affect MOQ because the operator wants a full cutting run or a dedicated setup for the wider base. If you are asking for several gusset sizes in one program, confirm whether the MOQ is per size or whether the factory can consolidate the run. That detail is easy to miss and can create a surprise later in the order cycle.
Packing is the other hidden cost. A wide gusset changes the folded thickness of the tote, which affects carton count and shipping density. If the bag must ship flat in a polybag, ask the supplier to show the fold sequence so the gusset does not bulge the pack. If the tote needs to arrive pre-shaped for retail display, the carton size may increase even if the bag price does not. Buyers often save a small amount on sewing and then lose it in freight because the packed volume was never checked early.
- Ask whether MOQ is per gusset size, per fabric color, or per print method.
- Confirm sample lead time and bulk lead time separately.
- Lock the fold sequence and carton count before final approval.
Read the factory quote line by line before you compare prices
Do not compare tote quotes by unit price alone. One factory may include the gusset in the standard sewing labor, while another may price it as a pattern surcharge or a reinforcement add-on. Some factories also split out print setup, base board, lining, or extra bartacks. If you are comparing a 3 in gusset bag with a 4 in gusset bag, the cheaper quote may simply be leaving out part of the structure or using lighter canvas. A clean quote should explain what is included and what would change if the gusset depth changes.
The smartest comparison is cost versus usable volume. A small increase in gusset depth can materially improve how the bag functions and how it sits on a shelf, yet the sewing cost may move only slightly. On the other hand, a deeper gusset can trigger a larger carton, more packing labor, or a higher freight bill. That is why procurement teams should ask for both the bag quote and the packed-carton effect. The lowest unit price is not always the lowest landed cost, especially for retail-ready canvas totes.
- Separate fabric, sewing, print, accessories, and packing in the quote.
- Ask what changes when the gusset moves from one depth to another.
- Compare landed carton cost, not only factory ex-work price.
Set bulk acceptance criteria before production starts
If you want the gusset to stay consistent in bulk, define pass and fail before the order is released. The key points are finished gusset width, symmetry, seam alignment, print position, and bag stand. You do not need a complicated QC document to start, but you do need the same measurement points that were used on the approved sample. If the supplier checks one side and your team checks another, you will end up arguing about the wrong number instead of reviewing the real defect.
For repeat orders, keep a golden sample that is tagged with the approved gusset measurement, fabric weight, print method, and packing method. That sample becomes the reference when the factory changes fabric lots, operators, or printing equipment. Canvas is forgiving in some areas and unforgiving in others. Small shifts in weave, finishing, or stitch tension can change how the gusset behaves, so the approved sample should stay active in the file and be reused on every reorder.
- Define a tolerance for the finished gusset and keep it consistent across batches.
- Retain a golden sample with the final measurement and approval date.
- Use the same QC points on every reorder so drift is visible early.
Use a repeat-order workflow so the spec does not drift
The easiest way to control a bottom gusset program is to follow the same order flow every time. Start with a quote request that states the finished size, gusset depth, fabric GSM, and load target. Then review the factory drawing, approve a blank sample, approve the printed sample, freeze packing, and release bulk only after the final spec is locked. The gusset should never be treated as a late-stage detail, because it touches pattern making, print layout, folding, and freight at the same time.
On a reorder, ask the factory to confirm any process changes before production starts. A new fabric lot, different stitch machine, alternate subcontractor, or changed print process can all shift the final feel of the bag even when the artwork looks unchanged. Buyers who keep the gusset spec stable have fewer disputes, fewer pack-out surprises, and fewer customer complaints. That matters more than chasing a small price change that does not survive the first delivery check.
- Use the same approval steps on first order and reorder.
- Confirm any process change before bulk cutting begins.
- Keep the gusset spec tied to the approved sample, not to memory.
Specification comparison for buyers
| Spec decision | Recommended option | When it fits | Buyer risk to check |
|---|---|---|---|
| Finished gusset width | Quote the finished width after sewing, not only the cut panel size | Most bulk RFQs where you need suppliers to compare the same bag | Factories may quote cut size and make the bag smaller after seam allowance |
| Gusset depth | Match depth to load target, often 2-3 in for light promo use and 4-5 in for retail carry | When the tote must stand, carry boxes, files, or bottled goods | A deeper gusset can shrink print space and increase sewing cost |
| Corner construction | Use squared corners or a boxed base when the bag must sit flat | Retail display, gift sets, wine, and higher-value merch | Rounded corners can reduce usable volume and change the silhouette |
| Base reinforcement | Add a board, insert, or reinforcement patch only when the load needs it | Heavier contents or structured retail presentation | Extra inserts affect folding, carton size, and freight cost |
| Measurement tolerance | Set a clear tolerance on the finished gusset and keep the same measuring point | Programs that need repeatability across reorders | Loose tolerance creates quote disputes and batch-to-batch drift |
Buyer checklist before sampling
- Confirm whether the gusset dimension is finished size, internal usable depth, or cut size before you ask for a quote.
- Match gusset depth to the actual load and fabric weight, not to a rough sample photo.
- Approve a drawing that shows seam allowance, fold line, and the exact point where the gusset is measured.
- Check the printable area near the bottom fold and side seams before artwork is finalized.
- Review a physical sample for standing shape, symmetry, and real-load performance.
- Ask how the gusset affects MOQ, sewing time, carton size, and folded pack dimensions.
- Lock the quote line items for fabric GSM, print method, reinforcement, packing, and sample cost.
- Keep one signed golden sample with the final gusset measurement and date for reorder control.
Factory quote questions to send
- Is your quoted gusset size the finished measurement or the cut panel size before sewing?
- Where exactly do you measure the bottom gusset on the finished bag?
- What seam allowance and stitch construction do you use at the base?
- How does the unit price change if the gusset moves from 3 in to 4 in?
- What is the printable area after the bottom fold and side seams are included?
- Which fabric GSM, weave, and finish are included in the quoted price?
- What is the MOQ per size and per print method for this tote?
- What sample stages do you provide before bulk approval?
- How will the bags be folded, packed, and cartonized for shipment?
Quality-control points to confirm
- Finished gusset width must match the agreed tolerance on the approved sample.
- Bottom seam must be centered, straight, and evenly stitched across the bag.
- Left and right corners must match and the base must not twist when the tote stands upright.
- The bag should sit flat without rolling, collapsing, or pulling inward at the base.
- Print must stay clear of the fold line and should not crack or distort after loading.
- Handle placement and gusset depth must not interfere with each other or change the carry balance.
- No skipped stitches, loose threads, weak bartacks, or seam puckering at the stress points.
- Carton fold method and pack count must match the approved packing sample.