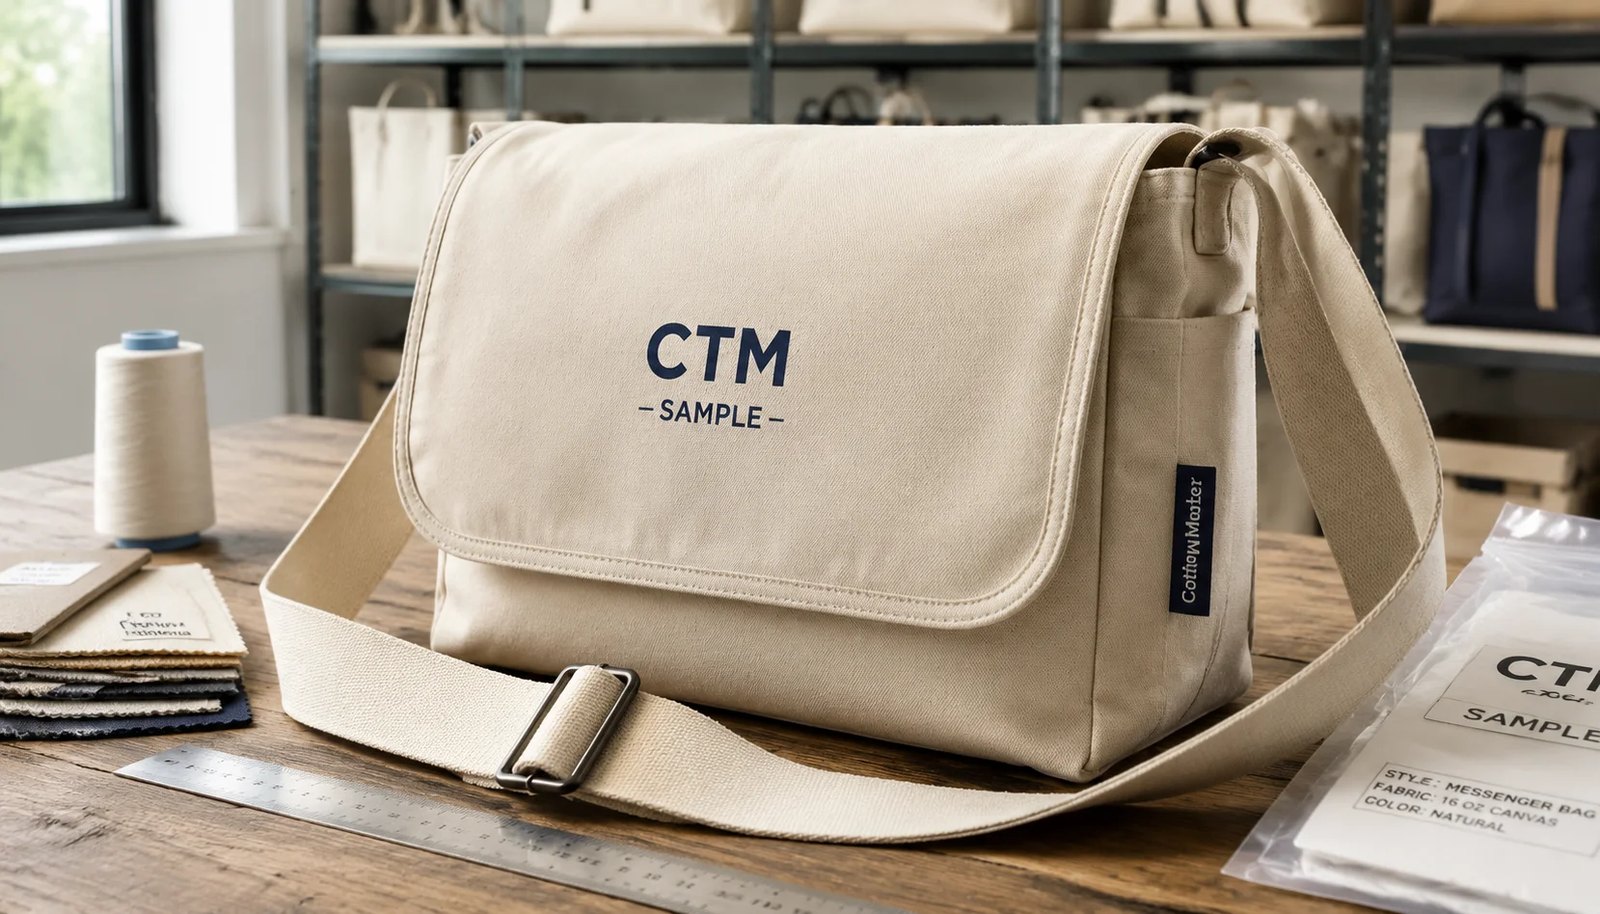
Why liquor retailers need a tighter RFQ
A canvas messenger bag for liquor retail is not a generic promotional tote with a flap added to it. It has to carry glass, protect presentation, and represent the retailer or beverage brand at the point of handover. That puts it between reusable packaging, branded merchandise, and a load-bearing gift carrier. If the RFQ only says "canvas messenger bag with logo," suppliers will fill in the blanks differently.
One factory may price a light 10 oz single-layer bag with a narrow strap and minimal reinforcement. Another may quote a structured 16 oz build with boxed gusset, hidden magnetic closure, reinforced strap anchors, base insert, and protected export packing. The first number will look better on a spreadsheet. The second may be closer to what the retail team actually expects.
Liquor retail also has a practical weight problem. A filled 750 ml glass bottle often weighs around 1.2-1.5 kg, depending on bottle style and contents. Two bottles can move the carried load into the 2.5-3.5 kg range before tissue, inserts, cards, or gift accessories are added. That load does not fail evenly. Stress concentrates at base corners, gusset seams, closure points, and strap anchors.
A good canvas messenger bags for liquor retailers RFQ template guide should make suppliers quote the same product intent. Once the buyer fixes load profile, construction level, materials, tolerances, sample stages, and packing method in writing, price comparison becomes cleaner and sample revisions become less reactive.
- Define whether the bag is a gift carrier, paid merchandise, loyalty reward, event item, or reusable shopper.
- State the actual bottle load before discussing artwork.
- Separate non-negotiable build features from optional add-ons.
- Ask suppliers to list exclusions, substitutions, and assumptions in writing.
- Carry the same tolerance and packing requirements into the PO, not just the inquiry.
Start with the bottle load
The first RFQ decision is what the bag must carry. Artwork matters, but bottle load drives the construction. One standard 750 ml wine bottle, one heavier spirits bottle, two bottles, or a bottle plus glassware will each change the base, gusset, strap, and closure requirements. When a buyer leaves that open, suppliers guess. Conservative factories quote higher. Aggressive factories quote lower. Neither quote is a clean comparison.
Use plain operational language. A strong line might read: "Bag to hold 1 x 750 ml Bordeaux bottle plus A5 insert card, target carried load 2.0 kg, intended for repeat consumer reuse." That one sentence tells the supplier much more than a mood board. It points toward fabric weight, internal size, base support, and reinforcement.
Bottle geometry needs the same attention. Tall, slim bottles create different flap and closure issues than wider spirits bottles or boxed sets. A bag can look right when empty, then fail to close neatly once the bottle neck pushes into the flap fold. Internal width can also disappear quickly after seam allowance, lining, divider panels, or an insert sleeve are added.
Distribution route matters too. A bag handed to a customer at the counter has one handling profile. A bag packed at factory, shipped to a distribution center, stored, replenished to stores, and unpacked by retail staff has another. If the bag must still look clean after that journey, packing and shape retention belong in the RFQ from day one.
- State bottle count, bottle type, and any insert cards or accessories.
- Give target carried weight in kg, not just product description.
- Clarify whether the consumer is expected to reuse the bag.
- Say whether the loaded bag must stand upright or only carry comfortably.
- Describe warehouse or store distribution if handling will be significant.
RFQ fields buyers should lock
For this product, the RFQ should read like a short manufacturing brief. Vague phrases such as "heavy canvas," "premium strap," or "good quality print" are not specific enough to buy against. They invite suppliers to price different builds under the same description.
Start with material. Specify fiber content, fabric color, nominal oz, finished GSM, and any finishing expectations. Many canvas bag quotes use oz because the trade is familiar with it, but GSM helps reduce ambiguity. If the fabric must be natural cotton canvas, dyed black, dyed navy, or retailer-specific color, say so. If recycled content or certification is required, define the requirement instead of waiting for the factory to volunteer options.
Dimensions need more than width and height. Include finished width, height, gusset depth, flap drop, strap width, and adjustable strap range. If the bag needs to fit a specific bottle or box, provide the item dimensions or a physical reference. If the bag includes lining, a board sleeve, or internal divider, ask the factory to confirm the resulting usable internal size.
Branding should also be written as a specification, not a general instruction. Provide logo size, print location, Pantone references, color count, and whether small text must remain readable. Confirm whether woven labels, hangtags, barcode stickers, retailer shipping marks, and individual polybags are included in the quoted price.
- Body fabric: fiber content, oz, GSM, weave, color, finish, and tolerance.
- Dimensions: width, height, gusset, flap drop, strap width, and strap adjustment range.
- Construction: boxed or flat body, seam finish, lining, insert sleeve, pockets, dividers, and closure.
- Branding: print method, color count, logo size, Pantone references, labels, and hangtags.
- Commercial terms: MOQ, trade term, sample fees, setup charges, tooling, and validity period.
Fabric, gusset, and base support
For many liquor retailer programs, 14 oz to 16 oz cotton canvas is a practical starting range. In finished fabric terms, that is often about 475-540 GSM, depending on weave and finishing. This range gives the bag enough body for a messenger shape without moving into much heavier specialty constructions.
Lighter 10 oz to 12 oz canvas can still work, especially for one-bottle promotional use where repeat wear is not the main goal. The tradeoff is visible. Expect more drape, less structure, and more stress showing around corners when the bag is loaded. That may be acceptable for a short event program. It is usually less convincing for premium gifting or paid merchandise.
Construction has as much influence as fabric weight. A boxed bottom with side gussets normally performs better than a flat cut body when bottles need to sit upright. It spreads weight more evenly, improves internal fit, and gives the bag a cleaner loaded silhouette. Small sewing drift in the gusset can still matter, so buyers should measure internal dimensions on the sample, not just the outside panel.
Base support is often the quiet deciding factor. A 1.5-2.0 mm PE board or 2.0-2.5 mm recycled board insert can reduce sag and help the bag hold shape. The material is only part of the question. The board must be cut to the right size and held in the right way. Too small, and it shifts. Too large, and it curls or steals usable width.
Ask whether the insert is loose, placed in a stitched sleeve, hidden under lining, or removable. A loose board is usually cheaper. A sleeve gives a cleaner finish and better stability. For premium retail use, the extra clarity is often worth quoting as a separate option.
- Use 14-16 oz canvas as a common premium baseline for bottle-carry programs.
- Consider 10-12 oz only when the use case is lighter and presentation expectations are modest.
- Choose boxed bottoms when upright bottle stability matters.
- Define base insert material, thickness, dimensions, and retention method.
- Measure usable internal size after lining, seams, and board sleeve are included.
Straps, reinforcement, and closure
The strap is not a styling detail. It is one of the main load paths in the product. When a filled bottle sits below the anchor points, weak stitching or narrow webbing quickly becomes a consumer-facing defect. Factory standard is too broad a phrase for this part of the RFQ.
For premium liquor retail messenger bags, a useful benchmark is 38 mm cotton webbing, about 1.2-1.6 mm thick, attached with box-X stitching and bartack reinforcement at the body joints. This gives a good balance of shoulder comfort, brand appearance, and practical load support for typical one- or two-bottle use.
A 25 mm strap can reduce cost, but it feels narrower on the shoulder and often looks under-scaled on a larger structured bag. Polyester webbing may be acceptable and can offer strong color consistency, but it has a different hand feel and visual character than cotton. If a supplier proposes a substitution, review it as a design and performance change, not just a cost note.
Closure choice affects both presentation and use. A hidden magnetic snap under the flap keeps the front clean and works well for many retail programs. A zipper under the flap adds security for reuse but increases cost and changes how the bag opens. With magnets, placement control is critical. A few millimeters of drift can pull the flap crooked and make a centered logo look wrong.
- Specify strap material, width in mm, thickness, color, and adjustment range.
- Require a named reinforcement pattern at body joints.
- Confirm D-ring, slider, and hardware finish where exposed metal is used.
- Define whether closure is no closure, hidden magnet, zipper, tuck lock, or hook-and-loop.
- Make loaded flap alignment part of sample review and final inspection.
Artwork and print on canvas
Canvas is textured, absorbent, and less predictable than paper, carton board, or smooth synthetic fabric. Liquor brand artwork often includes crests, fine serif text, legal lines, metallic-looking marks, or strict color standards. Those details can be difficult to hold unless the print process is chosen with the fabric in mind.
Screen print is usually the safest commercial starting point for one to three solid colors. It works well for bold marks, is efficient at volume, and suits the natural look of canvas. It is not magic. Fine rules can fill in, small text can break, and heavy ink coverage can feel stiff on a flap.
Transfer printing can help with detail, gradients, or art that cannot be held by screen on coarse canvas. It can also change the hand feel and may look less integrated with the fabric. The RFQ should ask suppliers to quote screen print and transfer separately when artwork detail is a concern, with the limits clearly stated.
Do not approve from a digital proof alone. Require a strike-off on actual production canvas, in the correct fabric color. Check edge clarity, ink coverage, color, pinholes, registration, and legibility at the distance a consumer will actually see the bag. If the print crosses or sits near a flap fold, bend the sample and look again.
- Use screen print as the baseline for bold, low-color-count logos.
- Ask for transfer as a separate option when artwork has fine detail or small text.
- Provide Pantone references and confirm whether a white underbase is included on dark fabric.
- Set minimum readable text size before artwork approval.
- Approve strike-off on actual canvas, not a smooth substitute swatch.
MOQ and hidden cost drivers
MOQ for canvas messenger bags is rarely controlled by sewing alone. The real minimum often comes from the custom components: fabric dyeing, webbing color, hardware finish, print setup, woven labels, hangtags, barcode stickers, or special retail packing. A simple-looking customization can create its own MOQ and lead-time step.
This matters in liquor retail because brand teams often want several small touches. A woven side label, a branded hangtag, a custom interior label, a matching strap, and individual barcode labeling may all be feasible. Together, they can move the project from a stock-component program into a custom-component program with different economics.
Ask suppliers to break out MOQ by component family. What is the MOQ for stock natural canvas with custom print? What changes if the canvas is custom dyed? What changes if webbing color is custom? Can two artwork versions run in the same order, or does each version need its own minimum? These answers help procurement decide where customization is worth the cost.
Separate one-time charges from recurring unit costs. Screen setup, sample charges, label development, and packaging artwork may behave differently from custom fabric dyeing or special hardware sourcing. For a repeat seasonal program, some setup cost may be reasonable. For a one-off activation, stock trims and a strong print execution may protect margin better.
- Request MOQ by colorway, artwork version, label version, and packing variation.
- Ask which component creates the biggest MOQ increase.
- Separate setup charges from repeat-order unit costs.
- Confirm whether sample fees are refundable against bulk order.
- Use option pricing so marketing can see the cost of each custom feature.
Compare quotes on the same basis
The lowest unit price is useful only when every supplier is pricing the same bag on the same trade basis. In this category, lower quotes often hide specification reductions: lighter fabric, narrower strap, no base board, raw internal seams, cheaper closure, weaker packing, or missing labels. None of those may be obvious in a one-line price table.
Build the comparison around named variables. List body fabric, webbing, strap construction, hardware, closure, print method, inside features, labels, hangtags, packing, sample charges, setup costs, carton quantity, carton dimensions, and trade term. Then require each supplier to state what is excluded. A quote that excludes the board insert is not cheaper; it is incomplete.
Carton assumptions deserve early review. Overpacking can reduce freight cost on paper while creating crushed flaps, print rub, permanent creases, and distorted shape. For retail-facing bags, a slightly higher pack volume may be the better commercial decision if it protects the logo area and keeps store presentation intact.
A useful approach is to ask for a base option and one or two feature-up options. For example, Option A could be stock natural 16 oz canvas, one-color screen print, hidden magnet, loose board, and standard packing. Option B could add a stitched board sleeve, interior pocket, custom label, and upgraded packing. This turns vague preference into visible cost.
- Compare one trade term across all suppliers, such as FOB port or EXW factory.
- Normalize sample fees, setup charges, and tooling before ranking quotes.
- List exclusions line by line and require supplier confirmation.
- Review carton dimensions, gross weight, and pack count before PO placement.
- Ask for quantity breaks and option pricing on the features most likely to change.
Sample approval that protects bulk
Sampling should not be treated as one yes-or-no event. A proto sample is useful for checking shape, proportion, and construction logic, but it may use substitute fabric, temporary hardware, or non-final print. That makes it a poor bulk approval reference by itself.
The pre-production sample should be production-intent: correct canvas, correct GSM range, actual webbing, approved closure, final print method, intended insert, and proposed packing. Measure it. Load it. Carry it. Open and close it several times. The sample needs to prove that the design works with the bottle inside, not just that it photographs well empty.
Check the bag from the consumer's point of view. Does the bottle stand upright? Does the flap close without strain? Does the magnet pull the logo off center? Does the board shift? Does the strap twist when lifted? Does the printed flap crease after being packed flat? These are basic checks, but they catch many issues before bulk production.
Keep approved references under control. The buyer should retain one sealed reference sample. The supplier should hold one signed or clearly marked sample. A photo pack should capture strap reinforcement, closure placement, insert arrangement, logo position, seam finish, and packing method. Those references become the working standard for top-of-production checks and final inspection.
- Do not approve bulk from a substitute-material proto alone.
- Measure width, height, gusset, flap drop, strap range, and print position on the PPS.
- Load test using the intended bottle profile or a realistic weight equivalent.
- Pack and unpack the sample the same way bulk will be packed.
- Keep signed reference samples and detailed photos on both sides.
QC, tolerances, and final inspection
Canvas messenger bags are sewn products, so some variation is normal. The goal is not unrealistic perfection. The goal is to control the variation that affects fit, carrying function, and retail appearance. For liquor retailer programs, the highest-risk defects usually involve size drift, weak strap anchors, flap misalignment, shade mismatch, print inconsistency, dirty light canvas, missing inserts, and packing damage.
Put practical tolerances into the RFQ and PO. A common working reference is about +/-1.0 cm on finished width, height, and gusset, about +/-2.0 cm on adjustable strap range, and about +/-0.5 cm on print placement from approved centerlines. These are not universal rules, but they are far better than leaving the issue open until inspection.
QC should start before sewing. Incoming inspection should verify fabric color, fabric weight, webbing width, hardware, and print materials against the approved specification. In-line inspection should focus on stress points: gusset corners, top opening, flap hinge, closure setting, and strap anchors. Final inspection should combine visual review, measurement, closure function, insert fit, load appearance, cleanliness, and packing.
If the order uses AQL, add product-specific major defects. Examples include missing bartack at strap anchor, magnet off center enough to skew the flap, board insert missing or wrong size, logo outside tolerance, severe shade mismatch between flap and body, heavy oil marks on natural canvas, or carton packing that crushes the printed flap. That makes the inspection plan match the product, not just a generic bag category.
- Write tolerances into the approved spec sheet and PO.
- Use incoming, in-line, and final checks rather than relying only on end inspection.
- Define major defects before production begins.
- Inspect loaded appearance as well as empty appearance.
- Treat print rub, crushed flaps, and dirty canvas as quality issues, not minor logistics details.
Specification comparison for buyers
| Spec decision | Recommended option | When it fits | Buyer risk to check |
|---|---|---|---|
| Base fabric weight | 14 oz to 16 oz cotton canvas, approximately 475-540 GSM | Best for 1 x 750 ml to 2 x 750 ml bottle retail gifting, event sales, and repeat-use branded carry | Some quotes list nominal oz only. Ask whether GSM is measured on finished fabric, what tolerance applies, and when the fabric is weighed before cutting. |
| Bag construction | Boxed bottom with side gussets, turned seams or bound inside seams, flap aligned to center front | Suitable when glass must sit upright and the bag should still look structured on shelf or at handover | Flat-body bags can look similar in photos but normally give weaker bottle stability and more corner stress. |
| Bottom support | 1.5-2.0 mm PE board or 2.0-2.5 mm recycled board insert, cut to base size minus seam allowance | Useful when bottle weight is concentrated and the base should not sag excessively | Undersized boards shift; oversized boards curl. Request insert dimensions and whether it is loose, sleeved, or hidden under lining. |
| Shoulder strap | 38 mm cotton webbing, about 1.2-1.6 mm thick, with box-X stitch plus bartack reinforcement | Good balance of comfort, retail appearance, and load support for premium liquor merchandising | Suppliers may reduce width to 25 mm or substitute polyester. Require width tolerance, webbing material, and stitch pattern approval. |
| Closure method | Hidden magnetic snap under flap, or zipper under flap where higher security is required | Magnet gives a clean retail face; zipper is better when the consumer will reuse the bag beyond gifting | Magnet placement drift can pull the flap off center. Exposed hardware should have defined finish and corrosion expectations. |
| Print method | Screen print for 1-3 solid colors; transfer only when artwork detail cannot hold on canvas by screen print | Best for most liquor brand logos with bold marks and medium coverage on textured fabric | Fine lines and small legal text may fill in or break. Require strike-off on actual canvas, not only digital proof. |
| MOQ route | Stock fabric color plus custom print, stock webbing, standard hardware | Best for lower-risk launches and mid-volume retailer programs that need controlled costing | Custom-dyed canvas, custom hardware, and retailer-specific labels can each create a separate MOQ and lead-time step-up. |
| Tolerance package | Finished size tolerance typically +/-1.0 cm on width/height/gusset; strap length tolerance +/-2.0 cm; print position +/-0.5 cm | Appropriate for sewn canvas bags where minor variation is normal but bottle fit still matters | Without written tolerances, disagreements move to final inspection when correction is expensive. |
| Packing method | Each bag flattened, flap protected with tissue or interleaf, strap folded inside, 20-30 pcs per export carton depending on size and board | Works for store distribution when bags must arrive clean with limited flap crushing | Overpacking can save freight but cause permanent creasing, print rub, and flap distortion. |
Buyer checklist before sampling
- Define the actual load in the RFQ: 1 x 750 ml bottle, 2 x 750 ml bottles, or bottle plus gift items, and state target carried weight in kg.
- State bottle format if relevant: standard wine, Bordeaux, Burgundy, spirits bottle, gift box, or mixed set, because internal fit changes.
- Specify canvas weight in both oz and GSM, and state acceptable tolerance on finished fabric weight.
- Give full finished dimensions in cm or mm: width, height, gusset, flap drop, strap width, and adjustable strap range.
- State whether the bag must stand or keep a structured shape when loaded, or whether a softer promotional look is acceptable.
- Specify if a base insert is required, including insert material, thickness, size, and whether it is loose or in a stitched sleeve.
- List any internal features: divider, bottle sleeve, zipper pocket, open pocket, lining, key loop, or neck support strap.
- Define closure clearly: no closure, hidden magnet, zipper under flap, tuck lock, or hook-and-loop, and whether closure must remain hidden.
- Name the print method required or ask suppliers to quote screen print and transfer separately with artwork limits noted.
- Provide logo size, print position, Pantone references, and whether slight show-through or underbase texture is acceptable.
Factory quote questions to send
- What exact body fabric are you quoting: fiber content, nominal oz, finished GSM, color, weave, and whether the weight is measured before or after washing/finishing?
- What tolerance can you hold in bulk for finished width, height, gusset, flap drop, and adjustable strap range, and what is your normal measurement method?
- What is the quoted webbing specification for the shoulder strap: material, width in mm, thickness, color method, and reinforcement stitch pattern at body joints?
- Does your quote include a bottom insert, lining, internal pocket, divider, woven label, hangtag, barcode sticker, and polybag, or are these quoted as separate adders?
- Which print process are you pricing, how many colors are included, and what minimum line width and text size do you recommend on this canvas surface?
- If a magnet is included, what magnet size and setting method are you using, and how do you control flap alignment during sewing?
- What MOQ applies to this exact bag, and what MOQ changes if we request custom-dyed canvas, custom webbing color, custom hardware finish, or mixed artwork versions?
- What sample stages do you recommend for this construction, what are the fees for proto and PPS, and are sample charges refundable against the bulk order?
- What are your estimated carton dimensions, net weight, and gross weight at the proposed pack quantity, and how do you protect the flap print from rubbing in transit?
- What is your standard lead-time breakdown for fabric booking, print strike-off, sample approval, production, final inspection, and shipment after final approval?
Quality-control points to confirm
- Verify incoming fabric against approved specification for fiber content, color, and GSM/oz with the agreed test or measurement method before bulk cutting.
- Check shade continuity across bulk fabric rolls and across bag panels so flap, body, and gusset do not show visible mismatch within the same bag.
- Measure finished dimensions on sampled units against approved tolerances, especially internal width and gusset because bottle fit can fail before outer dimensions look wrong.
- Inspect strap attachment for full box-X stitch and required bartacks, no skipped stitches, no broken thread, and no off-center attachment that twists the bag when hanging.
- Confirm stitch density and seam consistency at key stress points such as gusset corners, top opening, flap hinge line, and strap anchor areas.
- Review print color and edge clarity against approved strike-off, with no major pinholes, smudging, ghosting, heavy overprint build-up, or obvious misregistration.
- Run practical closure checks: magnets should align and close without dragging the flap off center; zippers should run smoothly without seam distortion.
- If a bottom insert is included, confirm thickness, cut size, and fit so it lies flat without curling, shifting, or reducing internal usable width beyond approved intent.
- Check inside cleanliness carefully on natural or light canvas: reject heavy oil marks, dark dirt, mildew odor, excessive chalk marks, and loose debris trapped in seams.
- Review packing consistency: flap protected as approved, straps folded correctly, print faces shielded from abrasion, carton pack count correct, and carton gross weight within limit.