Why the laptop sleeve must be defined before quote stage
A canvas messenger bag can look right in a catalog and still fail in the hands of a buyer if the laptop sleeve is vague. The sleeve is not just an extra pocket; it controls the bag's usable dimensions, the way the bag hangs, the amount of padding the factory must source, and the labor needed to close the seam cleanly. If you wait until sample stage to decide these points, the quote you compare in week one will not match the bag you approve in week four.
For buyer RFQs, the biggest mistake is asking for a "padded laptop compartment" without defining how the laptop is held. One supplier may assume a foam-lined divider, another may quote a full suspended sleeve, and a third may simply add a thin insert behind the lining. Those are different structures, different costs, and different risks. A good RFQ should tell the factory what device range the bag must hold, how the user inserts the laptop, and whether the sleeve must also work with a protective case.
- Name the target device range, not just "fits laptop."
- State whether the sleeve is built into the main body or is a separate insert.
- Clarify whether the bag must still close neatly when the laptop is inside.
- Ask the supplier to quote the sleeve as a separate line item if possible.
Set the size around real devices, not theoretical inches
Laptop sizes in inches are only the starting point. Two 15.6 inch devices can have different widths, thickness, and corner radius, and a buyer program can fail if the sleeve is cut too tight. Ask your team, reseller, or end user contact for actual device dimensions if available, then add a realistic allowance for a case, charger cable, or a thin notebook. For most programs, the sleeve should not grip the laptop like a compression pocket unless the buyer specifically wants that.
The finished internal dimension is what matters after sewing, binding, and padding are installed. A factory can quote a cut size that looks generous on paper, but the opening narrows once the foam and lining are sewn in. For this reason, the RFQ should request both cut size and finished size. If your line will use a top zipper, also ask for the clear opening width, because a sleeve that fits on paper can still feel awkward if the zipper track steals usable space at the mouth.
- Ask for finished internal width, height, and depth.
- Add allowance for a laptop sleeve case if the buyer uses one.
- Check corner radius if the bag uses a shaped sleeve panel.
- Request a fit test with your actual device or a dummy block.
Choose the canvas weight and lining structure with intent
Canvas weight changes both the feel and the economics of the bag. For many messenger programs, outer canvas sits in the 12 to 18 oz range, which is roughly 407 to 610 GSM, while premium or structured programs may move to 20 to 24 oz. Heavier canvas gives the bag a firmer silhouette and usually reduces wrinkling, but it can also make the sleeve opening stiffer and increase stitching load. If the sleeve must be soft and easy to load, a midweight body with a lighter interior lining often works better than pushing the entire bag to the heaviest fabric available.
Lining choice matters just as much as the outer shell. A 210D or 300D polyester lining is common when the buyer wants abrasion resistance and a smooth device contact surface, while cotton twill or lighter canvas can support a more natural look. The sleeve may need a contrasting lining for faster inspection, but the buyer should not allow style to override function. A dark lining can hide marks, yet it also makes inspection and packing slower. If the bag includes a laptop divider, ask the factory whether the divider is fully lined, partially lined, or backed with foam and cover tape.
- Outer canvas commonly lands around 12 to 18 oz for mainstream programs.
- 18 to 24 oz gives more structure but can raise sewing difficulty.
- Choose lining based on device feel, inspection visibility, and price target.
- Confirm whether the sleeve is foam-backed, lined only, or both.
Decide the sleeve protection level before the sample is cut
Most buyer disputes around laptop sleeves come from protection assumptions. One team expects a soft divider to keep the device from scratching the interior; another expects drop protection. These are not the same requirement. For a commuter canvas messenger bag, a 5 to 8 mm EVA or PE foam panel is often a practical middle ground. It adds enough body to prevent the sleeve from collapsing, but it does not turn the bag into a full hard case. If your buyer wants stronger protection, specify where the foam goes: back panel only, front and back panels, or full wrap including the base.
The bottom of the sleeve deserves extra attention. Many bags protect the laptop sides but leave the base floating above a thin seam or sitting too close to the edge of the bag. Ask the factory whether the sleeve has a raised bottom, a padded base panel, or a suspended construction that keeps the device off the bottom seam. If the program is retail-facing, ask for an intentional feel when the user slides the laptop in and out, because rough entry is one of the fastest ways to make a product feel cheap even when the fabric is good.
- Use 5 to 8 mm foam as a practical baseline unless the buyer demands more.
- Ask where the foam stops and whether the base is reinforced separately.
- Request edge binding or cover tape so foam edges do not abrade the lining.
- Check that the sleeve still closes properly after padding is added.
Branding should not distort the sleeve or slow production
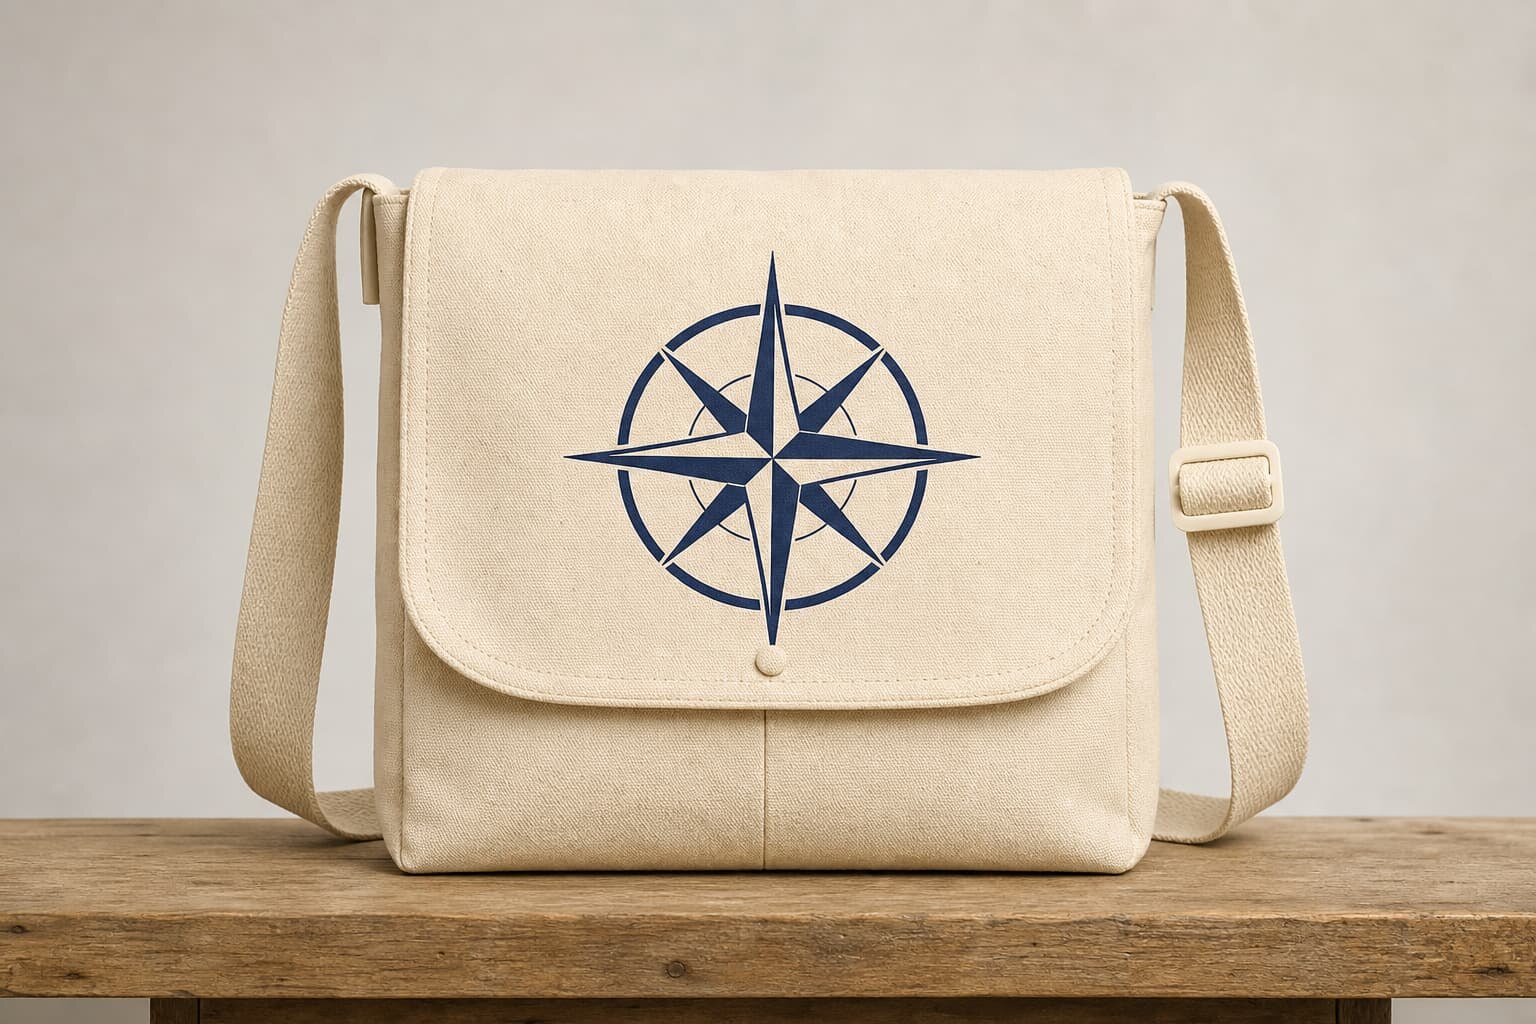
A clean logo can help the bag sell, but branding must be planned around the sleeve structure, not added at the end. Screen printing is usually the easiest option for flat canvas panels and works well when the artwork is simple and the color count is limited. Embroidery adds texture and a more premium feel, but it can stiffen the fabric and interfere with pocket shape if the logo sits too close to a seam or zipper run. Woven labels and small side patches are often the safest choice when the buyer wants a repeatable look without slowing sewing lines.
The print method should be selected together with the sleeve construction. If the logo sits on the front flap, confirm that the print area does not get buried by folds or overlap the top opening. If it goes on the sleeve panel, make sure the inner layer does not distort the back of the print. Buyers should also ask for pre-production strike-offs or digital placement references. A useful RFQ states the logo size, exact placement from edge to center, number of colors, Pantone references if relevant, and whether the supplier may use a woven side label as a backup if the main print path becomes too costly.
- Screen print is best for simple repeat graphics on flat canvas.
- Embroidery looks premium but can stiffen the panel near seams.
- Woven labels are efficient for small brand marks and private label runs.
- Define placement from the nearest edge, not only from the artwork file.
Read the factory quote like a cost engineer, not a catalog buyer
A solid quote should separate the parts of the bag that drive cost. If the factory only sends a single number, you cannot see whether the expense comes from fabric, padding, print, labor, or packaging. Ask for a quotation that names the body fabric weight, lining, foam thickness, hardware type, strap webbing width, zipper grade, and logo method. This lets you compare apples to apples across factories. It also reveals where a supplier may have substituted a lower-cost material to hit the target number.
MOQ logic should be part of the quote, not a side conversation. For example, a factory may accept a lower MOQ for one colorway if the canvas and lining are standard stock, but require a higher MOQ once you add custom dye, special foam, or a unique zipper pull. The same applies to print color count and trim changes. Buyers should ask how many pieces the factory needs to balance cutting, printing, and assembly efficiency. A good supplier will explain which changes force a new setup and which are simple substitutions.
- Ask for a line-by-line quote, not one lump sum.
- Compare fabric, foam, hardware, print, labor, and packing separately.
- Confirm whether MOQ changes by color, logo, or trim combination.
- Watch for hidden substitutions in zipper grade or webbing width.
Sample approval should test fit, feel, and packaging together
The sample stage is where a buyer should force the real fit decision. Do not approve a sample only because the exterior looks good. Insert the actual laptop or a dimensioned block, close the flap or zipper, and check how the bag carries when partially loaded. Evaluate the sleeve opening, seam bulk, print placement, and internal scratch points. If the bag feels correct when empty but awkward when the laptop is inside, the production spec still needs adjustment. A sample that passes visual review but fails user movement will produce returns later.
Sample review should also cover packing, because the packed state affects retail presentation and carton efficiency. Decide whether the bag ships flat, with tissue inside the sleeve, or with a form board to protect the silhouette. Ask the supplier to show the final packed size and carton count. If a sample uses a temporary filler or excessive tissue, note it clearly so bulk packing does not drift. A pre-production sample should confirm the same fabric roll, same foam, same print method, and same trim lot where possible, or the buyer needs a fresh approval note.
- Test the sample with a real device or a measured dummy block.
- Inspect both empty and loaded appearance before approval.
- Confirm that sample packing matches intended bulk packing.
- Document any temporary sample-only materials before bulk release.
Use packing and carton rules to protect margin and presentation
Canvas messenger bags can be bulky, and the laptop sleeve changes how they fold and stack. If the sleeve is rigid or heavily padded, the bag may resist flat packing and increase carton volume. That affects freight cost and may change the number of units per carton. Buyers should ask the factory to quote the packed size, not just the finished product size. Include the expected polybag type, tissue requirement, hangtag placement, and whether an insert card must sit inside the sleeve to preserve shape.
For retail and distributor programs, packing consistency matters as much as product quality. One batch packed with a thick insert board and another without it can look like two different SKUs at receiving. Tell the factory if the bag must arrive retail-ready, master-carton only, or with mixed packing instructions by channel. If the program uses barcodes, insist that the carton label, SKU code, color code, and quantity are visible without opening the outer carton. That saves receiving time and reduces warehouse mistakes.
- Ask for packed dimensions and carton quantity in the quote.
- Specify polybag, tissue, insert board, or internal fill if required.
- Keep packing instructions consistent across the sample and bulk order.
- Make barcode and SKU labeling visible on the outer carton.
Final QC should focus on the few failure points that matter
For this product, QC should be narrow and specific. The most important checks are sleeve dimensions, foam placement, seam quality, print registration, and strap anchor strength. If the laptop sleeve is too small by even a few millimeters, the bag may technically pass a cosmetic inspection but fail in the market. If the foam shifts during sewing, the sleeve can look padded in one section and flat in another. Buyers should ask the factory to measure the critical dimensions on the first bulk output and then keep those numbers attached to the inspection report.
A useful inspection plan also includes touch points. Run a hand inside the sleeve and around the zipper line or flap edge to find loose thread ends, scratchy seam allowances, or hard needle punctures. Pull the strap and top handle to make sure the load path feels secure. If the bag uses a printed logo, inspect cured print surfaces for cracking, offset, or press marks. QC is not about catching every tiny aesthetic issue; it is about stopping the bag from arriving as a product that feels underbuilt, sloppy, or unsafe for the device it is meant to carry.
- Measure the sleeve, not just the outer bag size.
- Check foam consistency and seam finish where the laptop touches.
- Inspect load-bearing points at the strap and handle anchors.
- Verify print durability and surface feel after curing.
Common buyer mistakes that create avoidable rework
The first mistake is treating the laptop sleeve as a generic pocket. Once the factory starts cutting, the sleeve drives fabric consumption, lining usage, and stitch sequence. A second mistake is approving a sample before checking the actual device fit. Many returns begin with a sleeve that looks acceptable on a tech pack but does not work with a laptop in a protective shell. A third mistake is accepting a quote without clarifying whether the supplier has included foam, binding, or a separate divider piece. That creates the classic situation where each factory quote looks different and no one can explain why.
Another common miss is ignoring how branding interacts with structure. A large embroidery panel can stiffen the bag front, while a print too close to the sleeve seam can crack after folding. Buyers also overlook packing because a padded sleeve can reduce carton efficiency more than expected. The easiest way to reduce rework is to treat the laptop sleeve like a mini sub-assembly: define its size, its padding, its closure, its finish, and its test method before the order is released. Once those details are locked, the rest of the messenger bag becomes much easier to source.
- Do not approve fit by outer bag size alone.
- Do not compare quotes without a common bill of materials.
- Do not place branding without checking fold lines and seam interference.
- Do not finalize packing after the bulk order is already in motion.
Specification comparison for buyers
| Spec decision | Recommended option | When it fits | Buyer risk to check |
|---|---|---|---|
| Sleeve wall structure | Padded sleeve with 5 to 8 mm EVA or PE foam | Most 13 to 16 inch commuter and business messenger bags | Confirm the finished internal width after seam allowance and binding |
| Laptop retention | Top hook-and-loop strap or elastic corner tabs | When the bag is used on transit, in retail programs, or for shipping with a device inside | Retention that is too tight can scratch devices or slow packing |
| Body fabric weight | 18 to 24 oz canvas for the outer shell, lighter lining inside | When the bag needs a premium handfeel and better structure | Heavier canvas increases cost and can reduce sleeve clearance |
| Closure method | Zippered top opening or flap with an inner sleeve | Higher-value retail assortments and buyer programs that need better device security | Check zipper pull test and flap clearance over the laptop edge |
| Branding method | Screen print, heat transfer, woven label, or small embroidery | When the bag must carry a clear brand mark without thick decoration | Verify logo placement does not interfere with sleeve stitching or binding |
| Internal finish | Bound seams or clean lined sleeve with cover tape | Programs where users touch the sleeve every day and expect a neat interior | Raw seams can fray, shed lint, or rub against the laptop case |
Buyer checklist before sampling
- State the exact laptop size range in inches and the real device dimensions if you know them.
- Specify whether the sleeve must hold a bare laptop, a laptop in a case, or a laptop plus charger.
- Confirm canvas body weight in oz or GSM, plus whether the lining must be cotton, polyester, or twill.
- Define padding thickness, placement, and whether the bottom needs extra impact protection.
- Choose the branding method, logo size, placement, and the number of print colors or stitch colors.
- Ask the factory to show internal sleeve dimensions after stitching, not only cut-piece sizes.
- Request sample photos of the zipper end, flap edge, strap anchor, and sleeve opening before bulk approval.
- Confirm packing style, carton count, polybag need, barcode label, and whether inserts must stay inside the sleeve.
Factory quote questions to send
- What is the finished internal sleeve size after sewing, and what tolerance do you quote?
- Which canvas weight do you price, and what changes if we move from 12 oz to 16 oz or 18 oz?
- What foam type and thickness are included in the sleeve, and is the padding full panel or partial panel?
- How many logo colors are included, and does the quote change for screen print, embroidery, or woven label?
- What is the MOQ per color and per logo version, and how does MOQ change with different hardware or lining?
- What sample stages do you quote: proto sample, sales sample, and pre-production sample?
- What is the typical lead time after artwork and sample approval, and what steps can extend it?
- What carton pack ratio, polybag spec, and accessory count are included in the bulk quote?
Quality-control points to confirm
- Check the finished internal laptop sleeve width, height, and depth against the target device and case allowance.
- Inspect sleeve opening alignment so the laptop can enter smoothly without binding on the lining or zipper tape.
- Measure foam thickness and confirm it matches the approved sample on both left and right panels.
- Test the strap anchor and handle stitching where the bag weight transfers during daily carry.
- Review print registration, logo placement, and color density on the canvas surface after curing.
- Check edge binding, seam clean-up, and any loose threads inside the sleeve where the device touches.
- Verify zipper glide, pull strength, and flap closure clearance if the bag uses a top zip or magnetic flap.
- Confirm carton marks, size stickers, and polybag labels so the retail team can identify the correct SKU fast.