1. Know What a Handle Seam Claim Really Means
When a buyer says the canvas messenger bag handle seam failed, the first question is not "who is at fault". It is "what exactly failed, under what load, and at what point in the chain". A handle claim can come from weak stitching, poor webbing choice, a missed reinforcement patch, a fabric that is too soft for the load, or packing that crushed the seam before the bag ever reached a customer.
Good claim evidence separates those causes. For procurement teams, that means preserving the approved sample, the production sample, the inspection photos, and the load condition at the time of failure. If the seam opened after the bag was overloaded with books, the issue is different from a seam that split under normal retail use. If the handle failed only on one side, the factory may have a placement or operator-control problem rather than a fabric problem.
- Record the failure location: top fold, handle root, bartack end, or reinforcement patch edge.
- Note the bag condition: empty, lightly loaded, or at expected use load.
- Keep close-up photos showing stitch path, thread breaks, and fabric distortion.
- Compare failed units against a sealed golden sample and the approved spec sheet.
2. Set the Construction Spec Before You Ask for Quotes
A handle seam claim is often a quoting problem that turned into a quality problem. If the RFQ only says "canvas messenger bag with handles," each supplier will make a different assumption about fabric weight, handle build, stitch count, and reinforcement. One factory may quote a simple self-fabric handle on 12 oz canvas; another may assume 16 oz canvas with webbing and a hidden patch. Those are not the same product, and the price comparison will be misleading.
For a real buyer spec, define the body canvas in GSM, not just in "oz" language if you want consistency across mills. For a standard messenger bag, 14 oz to 18 oz canvas is common, but the right choice depends on size and load. A bag for catalogs and light apparel can sit lower; a bag for laptops, binders, or trade-show materials needs a stronger fabric base and a clearer seam design. Also define lining, handle length, webbing width, seam allowance, and whether the handle is sewn into a folded body edge or anchored through a reinforcement patch.
- State body canvas in GSM and, if needed, convert to oz for supplier clarity.
- Define whether the handle is self-fabric, webbing, or a hybrid construction.
- Specify the reinforcement location at the handle root and on the inside if used.
- Lock the finished size, carry height, and max intended load in the RFQ.
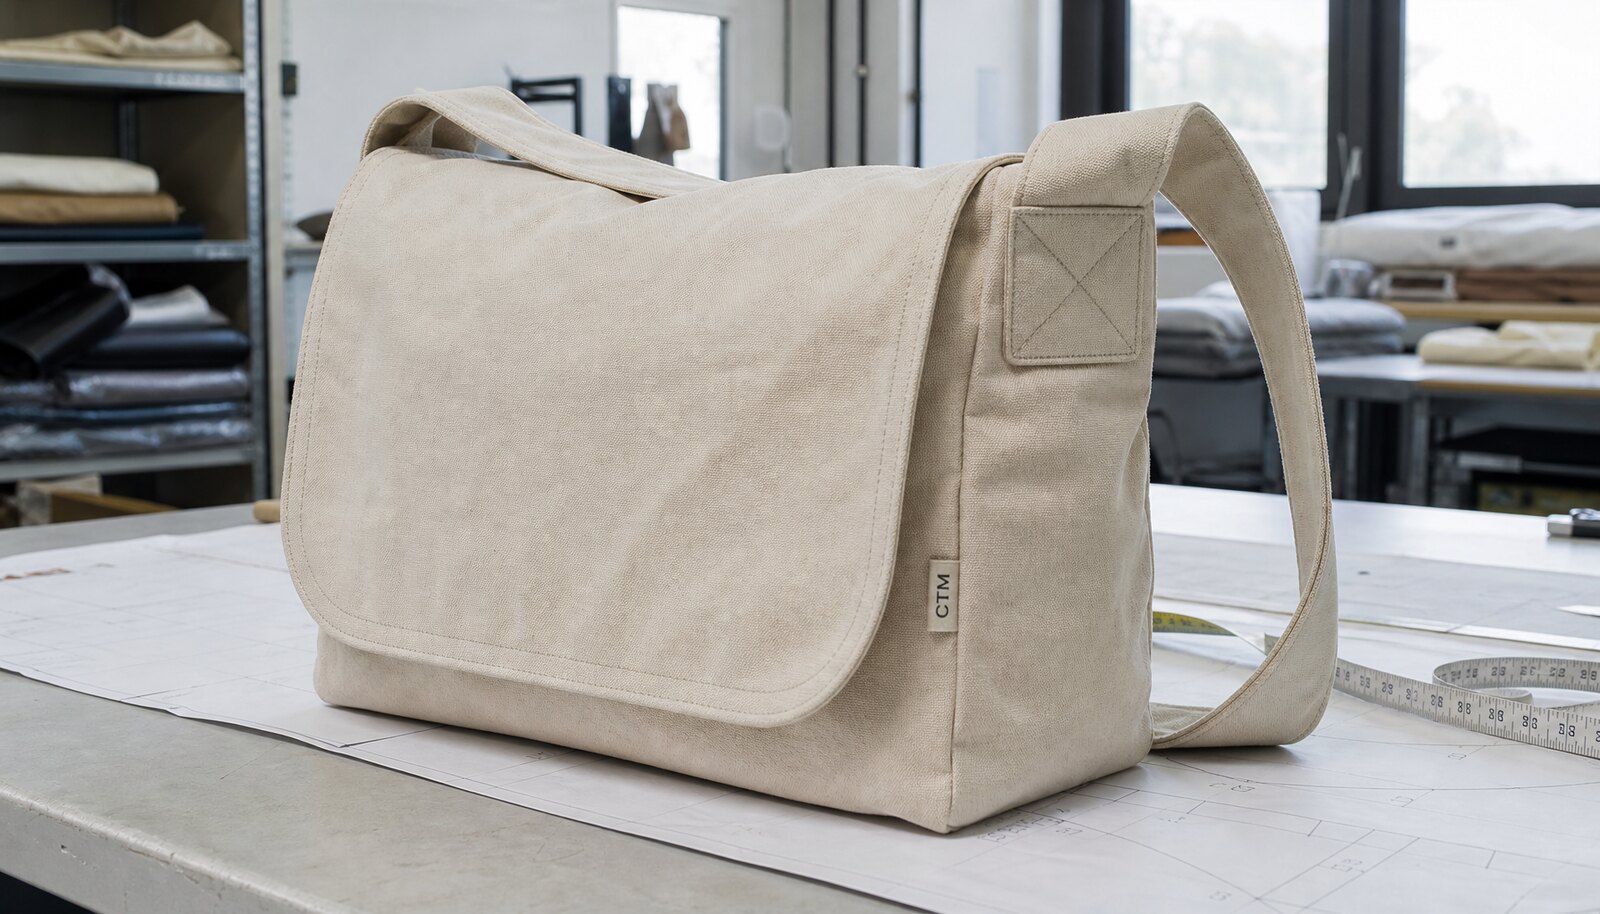
3. Choose the Right Seam System for the Load
The seam itself should match the load path. On a canvas messenger bag, the handle root is a stress point because force moves from the hand into the handle, then into the top edge and body panels. A plain straight stitch is usually not enough at the load point. Most buyers should ask for a box-X or a dense bartack combination, but the exact choice depends on the bag size and the bag's intended life cycle.
A heavier stitch is not always better. Very dense stitching can perforate the canvas and create a tear line if the thread is too fine or the needle size is wrong. A good factory will balance stitch density, seam allowance, and thread size so the seam holds under load without turning the canvas into a perforated strip. If the bag uses a printed canvas, the seam plan must also protect the print from cracking where the handle folds and flexes.
- Use box-X or box plus bartack at the stress zone for retail-grade carry bags.
- Avoid overly dense stitches that cut the fabric or create puckering.
- Match thread size to canvas weight and handle width, not only to color.
- If artwork crosses the seam, ask for a seam-aware print layout before sampling.
4. What Evidence a Factory Should Provide Before Bulk
Do not wait until the shipment arrives to ask for evidence. A supplier who understands handle seam risk should be able to show how the bag was built and how the construction was checked before bulk production. At minimum, ask for the approved sample photo set, the material spec sheet, and a short construction note that identifies the handle seam method, thread type, and reinforcement locations.
For higher-risk orders, ask for a sample build record that shows the actual materials used on the pre-production sample. That record should include canvas weight, webbing width, thread ticket size, and the print method if it passes near the seam. If the factory cannot state those details, the quote is too loose. In that case, your later claim evidence may be weak because the baseline was never fixed.
- Approved sample front, back, inside, and handle close-up photos.
- Material spec sheet with canvas GSM, webbing spec, lining, and thread type.
- Sample build note showing bartack location and reinforcement patch size.
- Any test photo or video that shows the loaded handle under controlled conditions.
5. Sample Checks That Actually Predict a Real Claim
A sample should be judged like a buyer would judge a working product, not a display item. Lift the bag by the handle with a realistic load, not by hand pressure alone. For a messenger bag, use books, catalogs, or weighted inserts that match the expected use profile. Check whether the seam opens, the handle root stretches, or the body panel wrinkles sharply under the load. Those are early signs of a problem that will become a customer claim.
Also inspect the sample after repeated handling. One lift may not expose a weak seam. Five to ten lifts, with the bag set down between cycles, can reveal thread bite issues, fabric distortion, or a seam that relaxes too much. If the handle feels harsh, the webbing may be too narrow or the edge finish may be poor. If the handle sits crooked after testing, the factory may have an alignment control issue rather than a simple stitch count issue.
- Load the bag to a realistic use weight before testing handle behavior.
- Check both handles or both handle anchors, even if the claim appears on one side.
- Inspect for puckering, seam opening, and thread pull-back after repeated lifts.
- Confirm that the sample still matches the approved appearance after stress testing.
6. Compare Supplier Quotes on the Same Construction Logic
A clean quote comparison is one of the best ways to prevent a handle seam claim later. Ask each supplier to quote the same construction language and the same evidence package. If one supplier quotes 16 oz canvas, webbing handles, reinforcement patch, and a box-X bartack, while another quotes 14 oz canvas with a plain seam and no patch, the price gap is not a saving. It is a different risk profile.
The quote should also show the cost drivers that affect the seam. Ask for the handle material, reinforcement material, stitching operation, print method, sampling fee logic, and packing standard. If the supplier prints near the handle root, the quote should say whether the seam zone needs a reduced print area or a pre-cut print panel. The most useful quote is the one that lets you see where the factory is saving money and whether that saving touches the stress point.
- Require a line-item view of fabric, trim, handle build, print, packing, and testing.
- Make suppliers state whether reinforcement is internal, external, or both.
- Ask whether the quoted MOQ changes if you upgrade canvas weight or print method.
- Confirm whether sample charges are deductible after bulk order placement.
7. The Print Method Can Weaken or Protect the Seam
Print is not just a decoration decision on canvas messenger bags. The print method can change how a seam behaves, especially near the handle root or top fold. Screen print is usually strong and cost-efficient for simple graphics, but heavy ink deposits near a fold line can stiffen the fabric and create cracking when the handle moves. Heat transfer can look clean on a sample, yet some transfer films become a weak point near high flex areas if they sit too close to the seam.
If the design must cross a stress zone, ask the factory to show the artwork placement on the actual pattern pieces, not just on a flat mock drawing. Digital print, screen print, and embroidery each change the stiffness, seam bulk, and needle path. Embroidery near a handle root can add weight and needle perforation, which is not always a problem, but it needs to be engineered. The buyer should not approve art without checking how the decoration interacts with the handle seam.
- Keep dense print away from the seam hinge when possible.
- If decoration must sit near the handle root, ask for a seam-aware artwork layout.
- Check that the print does not crack after the handle is flexed during sample testing.
- Treat embroidery near the stress zone as a construction decision, not only a design decision.
8. Packing and Transit Can Create a False Claim
Some handle seam claims are real manufacturing defects, but others start in packing. If handles are folded too tightly, stacked under heavy cartons, or left compressed in warm conditions, the seam can crease and weaken before the bag reaches distribution. That is why buyers should ask how the factory packs messenger bags, not just how they sew them. A good packing plan protects the handle shape and prevents sharp bends at the seam line.
For export orders, ask for the inner pack method, the number of pieces per carton, and whether inserts or tissue are used to maintain form. If the bag ships with a rigid board, foam sheet, or a folded insert, make sure those materials do not create a new pressure point at the handle root. The carton should not be so full that the top edge crushes the seam. If the route includes long sea transit or humid storage, moisture control matters too, because cotton canvas can shift in hand feel and seam stiffness after exposure.
- Avoid tight handle folds that create permanent creases at the load zone.
- Confirm carton fill rate so the top edge is not compressed.
- Ask whether inner inserts are used to protect the handle shape.
- If humidity is a risk, define the bag condition expected on arrival.
9. Build an Inspection Workflow That Supports a Claim
If a handle seam issue appears, your evidence file should already be organized. Start with the signed sample, the purchase order, the spec sheet, the approved artwork, and the pre-production photo set. Then add the inspection record, defect images, and if possible a quick load test on the affected unit. This makes it easier to tell whether the issue is isolated, systematic, or caused by shipment handling. Without that paper trail, a supplier can argue that the bag was overloaded or altered after production.
For incoming inspection, define what a failure looks like. Is a loose thread acceptable if the seam itself holds? Is one broken bartack stitch a reject, or only if the seam opens? Buyers should not wait until a dispute to define those rules. Put the acceptance criteria in the QC plan before bulk, and keep a photo-based defect standard. That is especially important for canvas messenger bags because the seam area often has multiple visible elements: thread, webbing, patch, label, and print, all of which can be blamed if the bag fails.
- Keep a golden sample, sealed and dated, with the approved stitch standard.
- Define reject conditions for open seam, broken bartack, and severe puckering.
- Store defect photos by side, angle, and load condition.
- Record carton number, production lot, and inspection date for every issue.
10. Common Buying Mistakes and How to Avoid Them
The most common mistake is treating the handle as a generic accessory instead of a load-bearing system. Once that happens, the buyer under-specifies the canvas weight, allows weak webbing, or approves a decorative stitch that looks fine in photos but fails in use. Another mistake is allowing the factory to quote based on a display sample without confirming whether the bulk will match the same thread, same stitch count, and same reinforcement patch size.
A second mistake is focusing only on unit price. If one supplier saves a small amount by removing the internal patch, reducing webbing width, or switching to a lighter thread, the bag may still pass a visual check but fail in retail use. The cheapest quote is often the one with the most hidden assumptions. The buyer who wins is the one who asks for the seam logic up front, then checks the sample against that logic before the order is released.
- Do not approve handle construction from a front-view photo alone.
- Do not compare prices unless canvas weight, handle build, and packing are identical.
- Do not skip load testing just because the sample looks neat.
- Do not release bulk until the factory confirms the same build will be used in production.
Specification comparison for buyers
| Spec decision | Recommended option | When it fits | Buyer risk to check |
|---|---|---|---|
| Handle attachment construction | Box-X with bartack reinforcement at stress points | Retail or promotional bags that will carry daily weight | Ask whether the bartack is inside the seam allowance or only decorative |
| Canvas body weight | 16 oz to 18 oz canvas for standard messenger use | When the bag must hold files, tablet gear, or sample packs | Heavier fabric alone does not fix weak seam engineering |
| Handle webbing width | 30 mm to 38 mm webbing with folded edge finish | Bags with long carry cycles or heavier contents | Check webbing edge quality, fray resistance, and stitch bite |
| Thread spec | Poly core spun thread or bonded poly in a defined ticket size | When seam failure risk matters more than cosmetic topstitching | Confirm ticket size, color fastness, and compatibility with needle size |
| Reinforcement patch | Canvas patch or hidden internal reinforcement at handle root | Higher-load bags, laptop messenger styles, or retail assortments | Verify patch size and placement are repeated on both sides |
| Stitch density | Balanced SPI that is dense enough for strength, not so tight that it cuts fabric | Most woven cotton canvas constructions | Too-tight stitches can weaken the seam after flexing and laundering |
| Testing method | Static load plus dynamic lift and drop cycle on finished samples | Any buyer who needs evidence before bulk release | A lab report alone is not enough if the sample build differs from bulk |
Buyer checklist before sampling
- Confirm the exact canvas GSM, weave type, and whether the fabric is prewashed or raw.
- Approve the handle attachment drawing with seam allowance, bartack position, and reinforcement patch size.
- Ask for thread ticket size, stitch density, and needle spec in the quote.
- Request one pre-production sample and one production-like sample with final trim and label placement.
- Check handle pull, lift feel, and stitch opening after a static load test.
- Verify that the print method does not cross a high-stress seam unless the artwork is engineered for it.
- Compare carton count, polybag use, and compression risk in the packing plan.
- Lock the acceptable defect photo set before bulk inspection starts.
- Keep a sealed golden sample and the approved spec sheet with the PO.
Factory quote questions to send
- What exact canvas GSM, weave, and finish are you quoting?
- What is the handle construction: folded webbing, self-fabric handle, or mixed build with reinforcement patch?
- Where is the box-X or bartack placed, and how many stitches per bar tack are standard?
- What thread type and ticket size will you use for the handle seam?
- Will you share the stitch density, needle spec, and seam allowance on the approved sample drawing?
- What is the MOQ by color, print method, and trim combination?
- How many days for sample development, pre-production approval, and bulk lead time after sample signoff?
- What print method is included, and does it affect seam placement or reinforcement?
- How will the bags be packed to protect handle shape during carton compression and long transit?
- What evidence will you provide if a handle seam claim appears during inspection or after shipment?
Quality-control points to confirm
- Measure handle seam placement against the approved drawing on both sides of the bag.
- Check for skipped stitches, thread cuts, loose ends, and uneven bartack density.
- Pull each handle to confirm the seam does not open, crease, or distort the bag body.
- Inspect reinforcement patch alignment and make sure it is not shifted away from the stress point.
- Review needle hole size, puckering, and fabric damage around dense stitch zones.
- Verify handle symmetry, carry height, and equal load behavior left to right.
- Check print registration near the seam so ink does not crack at the fold line.
- Inspect carton compression marks, handle creasing, and deformation after packing simulation.