1. Start with the real failure point, not the bag style
When buyers ask for a canvas messenger bag, they often focus on the body fabric, zipper, lining, or logo application first. The handle seam is the part that actually determines whether the bag survives daily use. If the seam is too shallow, the thread is too weak, or the reinforcement is only cosmetic, the bag may look fine in a photo but fail after a few weeks of commuting, field work, or retail carry. For procurement teams, the handle seam should be treated as a load-bearing spec, not a visual afterthought.
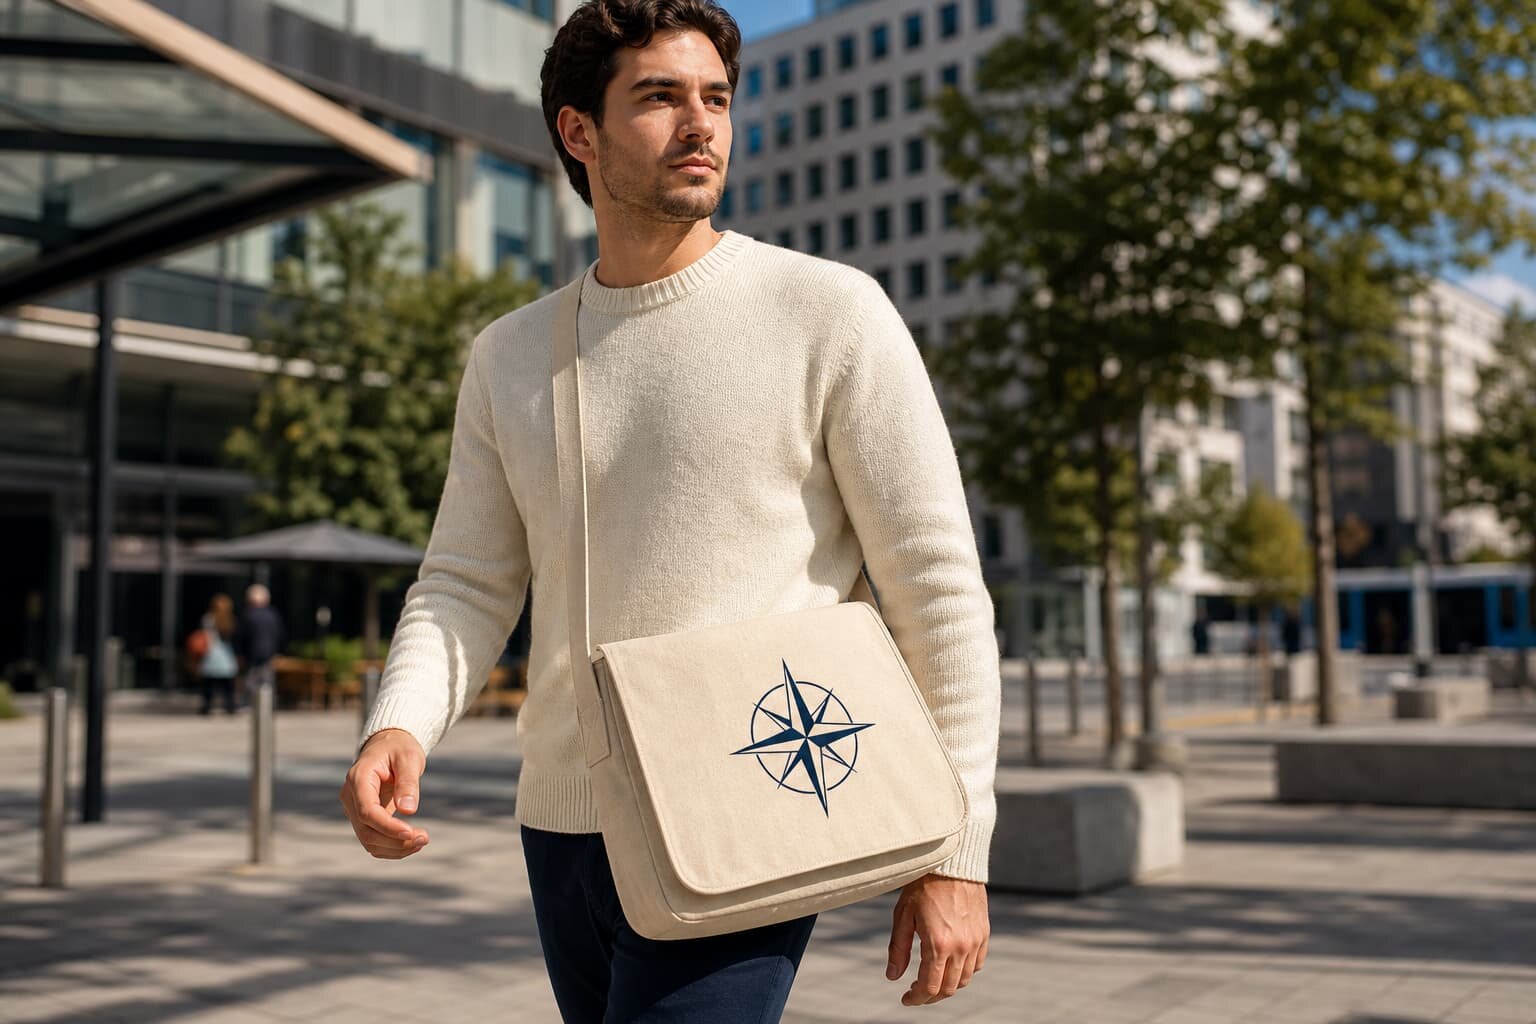
The right spec depends on the use case. A promotional messenger bag carried with documents is not the same as a 15-inch laptop bag, a trade-show sample bag, or a retail bag that needs to feel premium in hand. Before you ask for quotes, define the expected load, the carry duration, and whether the handle seam must resist repeated swing, corner load, or overstuffing. That one decision drives canvas weight, reinforcement style, stitch count, and packing method.
- Define use case before construction: promotional, retail, laptop, field sample, or travel.
- Treat handle seam strength as a measurable requirement, not a styling detail.
- Match seam construction to real load, not to the cheapest quote.
2. Specify the canvas weight and handle structure together
Canvas weight and handle construction should be specified as one system. A 10 oz canvas messenger bag may be acceptable for light carry, but it can feel underbuilt if the handles are expected to support heavier contents. A 12 oz to 16 oz canvas is a more common working range for structured messenger bags, though the right answer depends on bag dimensions, lining, and whether the handles are made from self-fabric, webbing, or a mixed construction. If the handle uses the same canvas as the body, the fold direction and seam allowance matter more than buyers sometimes realize.
Ask the factory to state the fabric in a way that can be repeated across factories: weave, oz or GSM, finishing, and whether the cloth is pre-shrunk or enzyme washed. For handle seams, also ask whether the handle is folded twice, reinforced with webbing, or backed with interfacing. A thicker canvas can improve durability, but it can also create bulky seam intersections and slower sewing if the machine setup is not right. That affects both price and lead time.
- Request canvas weight in oz and GSM if possible so suppliers cannot hide behind vague descriptions.
- Confirm whether the handle uses self-fabric, webbing, or a hybrid reinforcement.
- Ask if the fabric is pre-shrunk, washed, coated, or stiffened, because that changes seam behavior.
3. Compare handle seam constructions by use case, not by name
Factories may describe the same basic strength requirement in different ways, so quote comparison gets messy fast. A simple topstitch may be acceptable for light promotional bags, but it is usually not enough for a bag that carries electronics or heavy catalogs. A boxed X seam distributes load better, while bar-tacks add concentrated reinforcement at the stress point. A binding cover can improve appearance and help protect the raw edge, but it should not be used as the only source of strength unless the factory can prove the seam passes the intended load test.
The best comparison is practical: how the seam is built, how visible the reinforcement is, how much machine time it takes, and where it can fail. Buyers should not compare one supplier's 'heavy-duty handle' with another supplier's 'reinforced handle' without a construction note. Ask for stitch count, bartack length, seam allowance, and whether the handle attachment is sewn through one layer, two layers, or through a hidden reinforcement piece. That is what changes durability and cost.
- Use one construction language across all suppliers so quotes can be compared cleanly.
- Ask where the reinforcement sits: visible outside, hidden inside, or both.
- Require a pull-test expectation tied to the intended load, not a generic strength claim.
4. Use this construction comparison to narrow your RFQ
A good buyer does not ask every factory for the same vague sample. Instead, the buyer chooses a likely construction based on expected use and then asks the suppliers to quote that exact seam. The table below is a practical starting point for canvas messenger bag handle seams. It is not a design rulebook, but it helps procurement teams avoid a classic mistake: comparing a light promo bag quote against a retail-grade bag quote and assuming one supplier is overpriced.
Use the comparison to set the next conversation. If the best option for your program is a boxed X with bar-tack, ask every supplier to quote the same top edge finish, the same canvas weight, and the same handle length. If one factory proposes a cheaper seam, ask what is removed: reinforcement layers, stitch density, or packing protection. The answer usually explains the price difference immediately.
5. Build the quote around the handle seam cost drivers
Handle seam pricing is driven by more than thread and labor. The main cost drivers are fabric weight, whether the handle is self-fabric or webbing, how many seam layers are stacked at the top edge, and how long the machine spends on each bag. A boxed X with bartacks takes longer than a simple topstitch. A hidden reinforcement piece adds material and cutting time. A printed panel positioned too close to the seam can also raise labor if the factory must stop and protect the artwork during sewing. If your RFQ does not capture these variables, supplier quotes will look inconsistent for reasons that are hard to see later.
MOQ logic should also be stated clearly. Some factories price on total quantity, while others price on color, print method, or handle construction complexity. A bag with one-color screen print and standard handle seam may qualify for a lower MOQ than a bag with multi-pass print and reinforced binding. If the factory knows you may reorder, ask whether the same seam construction remains available at the same MOQ or if the second order can be made with lower setup cost. That matters for retail replenishment planning.
- Ask for a line-item quote for fabric, handle reinforcement, print, labor, packing, and carton cost.
- Separate MOQ by color, print method, and construction complexity.
- Watch for hidden costs from extra stitching passes or manual alignment around the handle seam.
6. Sample checks that catch seam problems before bulk production
The sample stage is where most handle seam mistakes can be prevented cheaply. Do not approve a sample just because the bag looks neat on a table. Load it with something close to real use, then check whether the handle seam flattens, twists, or puckers. Ask the factory to send a pre-production sample made with production fabric, final thread, final print method, and final handle reinforcement. If any of those are swapped out for a lighter substitute, the sample may hide a real issue.
Inspect the seam from both sides. The outside view may look clean while the inside shows skipped stitches, poor backtack, or a reinforcement piece that shifts under load. Check handle drop, handle symmetry, seam alignment against the top edge, and how the bag sits after being carried for a few minutes. If the bag includes print near the handle, test for distortion and cracking after folding. For buyers managing multiple suppliers, using the same sample checklist is one of the fastest ways to separate real capability from polished sales language.
- Approve only production-material samples for final signoff.
- Load-test the sample with realistic contents, not just by hand.
- Check front, back, and interior seam appearance before approval.
7. Printing, embroidery, and logo placement can weaken the seam area
Artwork placement is often the hidden reason a handle seam turns into a production issue. If a logo, woven patch, embroidery, or transfer print sits too close to the seam, the sewing needle may pass through printed areas, distort the artwork, or create a stiff zone that cracks under load. For canvas messenger bags, screen print is usually cost-effective for larger runs, but the print area must be mapped carefully against the handle attachment. Heat transfer can work for small runs or variable artwork, but it needs testing for folding resistance and seam adjacency. Embroidery gives a premium look, yet dense stitching near the seam can make the fabric rigid and uneven.
The best practice is to define a no-sew buffer around the handle attachment area. That buffer should be large enough to let the factory sew cleanly without clipping the logo edge or hitting a printed detail. If the design requires artwork close to the handle, ask the factory which side is safer: inner body panel, lower front panel, or pocket face. The answer should reflect sewing flow, not just aesthetics. A quote that ignores print placement near the seam is incomplete.
- Use a no-sew buffer around handle attachment points.
- Match print method to run size and seam proximity.
- Test the sample after folding and carrying to spot cracking or distortion.
8. Set acceptance criteria that your QC team can actually measure
A useful acceptance standard is simple enough for a QC team to use on the floor, but specific enough that the factory cannot interpret it loosely. For handle seams, you want measurable points: seam symmetry, stitch count, bartack length, thread tension, handle placement, and allowable loose threads. If you only say 'good quality,' you will get different standards from different inspectors and little leverage if the product arrives inconsistent. The acceptance criteria should also define what counts as a defect versus a rework item, because handle defects are often cosmetic before they become structural.
For retail or distributor programs, add a visual standard for how the handle seam should look when the bag is empty and when it is loaded. A seam that is acceptable when flat may look distorted once the bag is filled. If the bag uses thick canvas, ask whether needle marks, mild creasing, or slight seam imprinting are acceptable within a sampled reference standard. The more you define up front, the fewer surprises you have during final inspection and pack-out.
- Measure handle placement and symmetry, not just overall bag size.
- Define stitch quality and loose-thread limits in writing.
- Create a loaded-bag appearance standard if the product is meant for retail.
9. Packing and lead time can change the seam outcome after approval
Many buyers assume the seam issue ends once the sample passes. In reality, packing can damage a good handle seam design. A tightly folded messenger bag may develop hard crease lines at the seam, a padded or reinforced handle may get crushed in carton compression, and a twisted strap can create a bad first impression even if the stitching is perfect. Ask the factory how the bag is packed after final inspection: flat fold, stuffed fold, tissue support, handle insert, or sealed polybag. The packing method should preserve the shape of the handle attachment area.
Lead time should also be tied to the seam complexity. A straightforward seam on standard canvas may be quick to produce, but once you add thicker cloth, more reinforcement, or tighter print alignment, sewing throughput changes. Buyers should ask for the production calendar by step: fabric arrival, cutting, handle assembly, sewing, print, inspection, and packing. If a factory cannot explain where the time goes, it is hard to know whether the lead time is realistic. For seasonal retail programs, that uncertainty matters more than a small unit cost difference.
- Confirm packing method protects handle shape and seam appearance.
- Ask for a production schedule by step, not only a single delivery estimate.
- Check whether packing materials add pressure at the handle seam or top edge.
Specification comparison for buyers
| Spec decision | Recommended option | When it fits | Buyer risk to check |
|---|---|---|---|
| Handle seam type | Boxed X with bar-tack | Daily-carry messenger bags, laptop bags, and higher-load retail programs | Ask for stitch count, bartack length, and where the reinforcement starts and ends |
| Canvas weight | 12 oz to 16 oz canvas, depending on bag size | Most mid-market messenger bags that need structure without feeling too heavy | Higher GSM can improve durability but may require longer sewing time and stronger needles |
| Handle attachment reinforcement | Internal webbing plus folded canvas seam | When the bag is expected to carry notebooks, tablets, or sample kits | Confirm whether reinforcement is hidden inside or only cosmetic on the outside |
| Print method near seam | Screen print or heat transfer positioned away from stress points | Logo programs where handle stitching could distort artwork | Check seam allowance around print and whether ink cracks after folding |
| Factory packing method | Flat packed with handle shaping insert or tissue support | Retail-ready goods where strap twist and seam crush must be avoided | Verify carton compression, polybag thickness, and whether seam impressions are acceptable after packing |
Buyer checklist before sampling
- Confirm the exact bag size, carrying load target, and whether the handle seam must survive daily laptop use or light promotional use.
- Specify canvas weight in oz or GSM, not just 'heavy canvas,' and ask the factory to state fabric construction and finishing.
- Request a seam sketch or tech pack callout showing stitch type, stitch length, reinforcement method, and seam allowance.
- Ask for one pre-production sample with final fabric, final thread, final webbing, and final print method, not a mock sample on substitute materials.
- Check handle length, handle drop, and whether the seam sits flat when the bag is loaded and carried.
- Confirm needle, thread, and seam density choices for the chosen fabric weight so the seam does not pucker or cut the cloth.
- Review print placement relative to the handle seam so the logo does not crack, distort, or get hidden by stitching.
- Set carton and polybag requirements that protect seam shape, especially for molded handles, padded handles, or folded canvas tabs.
- Require in-line and final QC photos of the handle attachment area from both sides before bulk packing starts.
- Agree in writing on acceptable seam appearance, allowed loose threads, bartack symmetry, and pull-test expectations.
Factory quote questions to send
- What exact handle seam construction are you quoting: single topstitch, boxed X, bartack, binding cover, or reinforced patch?
- What canvas weight, weave, and finish are included in the quote, and is the same material used for the handle attachment area?
- What thread type, thread count, needle size, and stitch density do you plan to use for the handle seam?
- Will the handle reinforcement be hidden inside the seam, visible on the outside, or combined with webbing or interfacing?
- How many samples are included, and will the pre-production sample use production fabric, production print, and production trims?
- What is the MOQ by color, size, and print method, and how does the handle seam spec affect that MOQ?
- What is the production lead time after sample approval, and what changes if we revise seam placement or reinforcement?
- How do you pack the bags to prevent handle distortion, seam crushing, or strap twisting during transit?
- What in-process checks do you perform on handle attachment, and how do you record defects or rework?
- Can you provide a line drawing or construction note showing the seam detail you are pricing so we can compare quotes apples to apples?
Quality-control points to confirm
- Measure handle placement from top edge to seam and from side seam to handle edge on both left and right sides.
- Check that the seam is symmetrical, flat, and free of twisting before the bag is fully trimmed and packed.
- Inspect bartack start and stop points for overlap, skip stitches, thread breaks, and uneven density.
- Verify that the fabric around the seam shows no tearing, puckering, or excessive needle marks after sewing.
- Perform a load test that reflects the intended use case, such as loaded samples, books, or a laptop insert.
- Check whether print or embroidery near the seam has cracked, shifted, or been caught by the reinforcement stitches.
- Review thread color match, thread tension, and backstitch neatness so the seam looks consistent in a retail setting.
- Inspect packed cartons for handle crush, crease memory, and strap deformation after compression.