Why Flap Alignment Becomes a Buying Problem
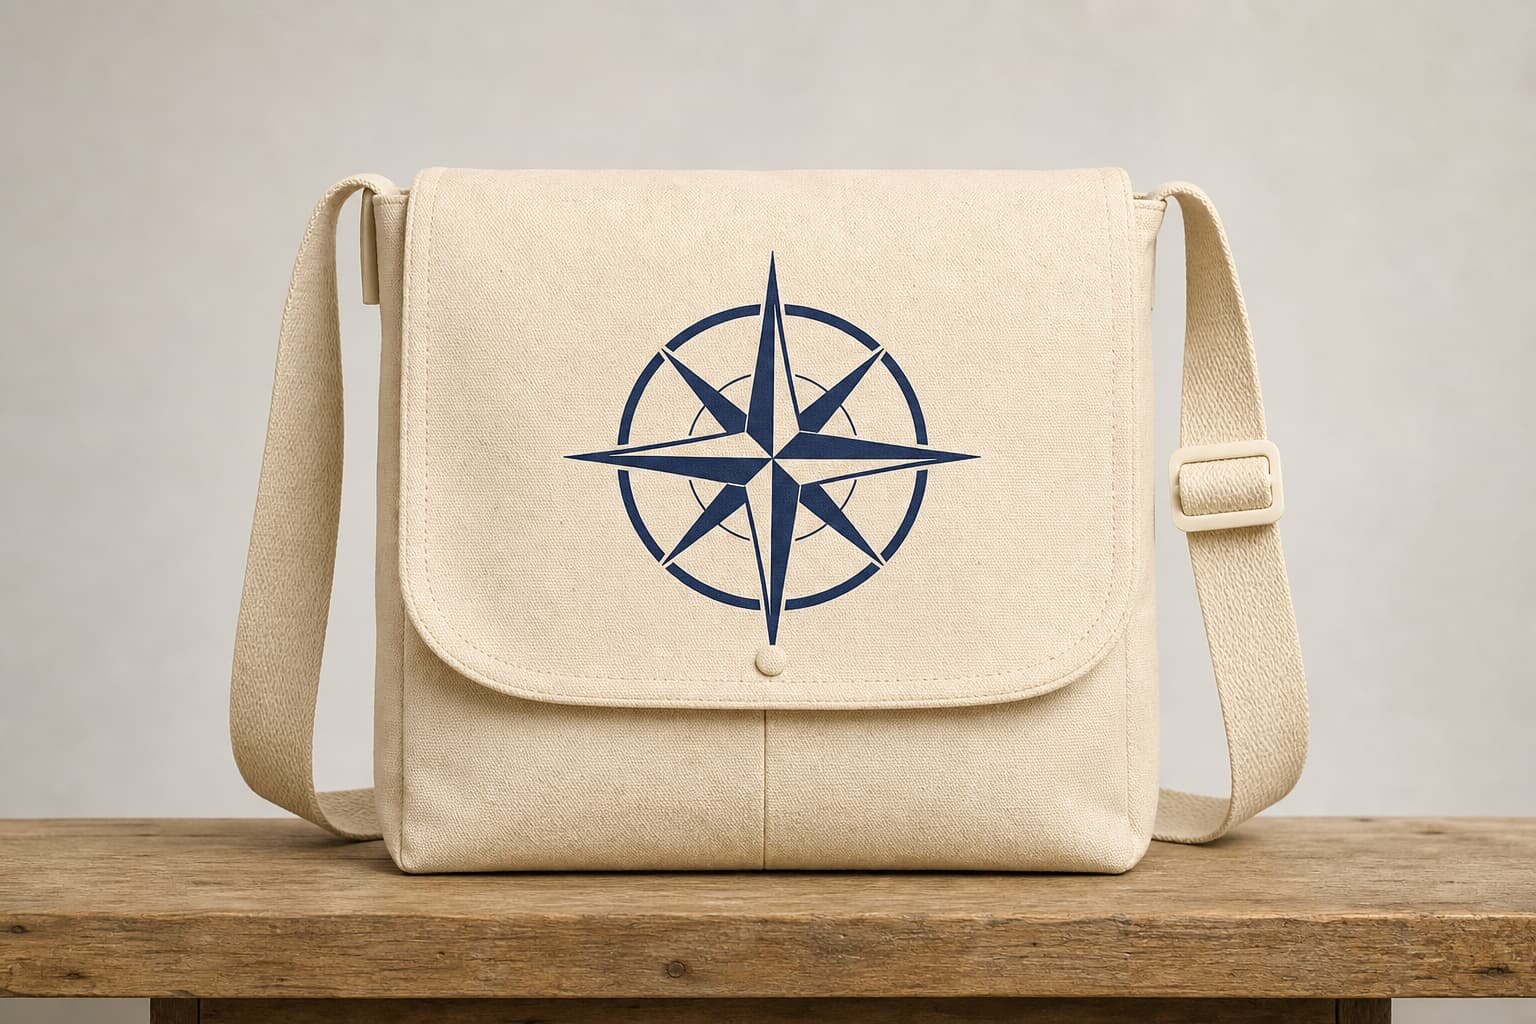
A canvas messenger bag can pass fabric, color, print, and stitching checks but still look unacceptable on shelf if the front flap sits crooked. The flap is the first surface a buyer, distributor, or retail customer sees. It frames the logo, covers the opening, and gives the bag its front silhouette. When the left side drops lower than the right side, or the closure pulls the flap off center, the whole bag looks cheap even when the material cost is high.
A canvas messenger bag flap alignment record is not paperwork for its own sake. It is a simple control document that tells the factory how to measure the flap, when to measure it, who approved the tolerance, and what action to take when bulk pieces drift. Without that record, buyers often receive arguments instead of solutions: the supplier says the bag is handmade, the inspector says the flap is visibly slanted, and the buyer has no agreed measurement method in the RFQ.
- Use the record to prevent disputes before cutting bulk fabric.
- Define the visible front appearance, not only the flat pattern dimension.
- Measure the bag in a realistic condition: closed, lightly filled, and relaxed.
- Treat flap alignment as a combined result of cutting, sewing, closure placement, pressing, and packing.
What the Flap Alignment Record Should Include
The record should be short enough for the sewing line and QC team to use every day. A useful format includes style number, order number, sample version, bag size, fabric weight, flap construction, closure type, print or patch position, measurement points, tolerance, inspector name, date, and corrective action. If the document is too general, the factory may fill it in after production only to satisfy shipment paperwork. That does not help the buyer.
For most canvas messenger bags, the key measurements are the flap drop on the left side, flap drop on the right side, center flap drop, bottom flap edge straightness, side reveal, and closure match. The record should also note whether the bag is measured empty, lightly filled, or with a sample insert. Canvas is flexible. A thin 10 oz canvas flap may sit differently from a 16 oz canvas flap with lining, so the condition of measurement must be fixed.
- Left flap drop: top seam to lower flap edge at the left reference point.
- Right flap drop: same method at the right reference point.
- Center flap drop: top seam to bottom edge at the center line.
- Side reveal: visible body fabric outside the flap on both sides.
- Closure match: snap, buckle, or hook-and-loop positions meet without diagonal pull.
- Visual result: logo and flap appear centered when the bag is viewed from the front.
Set the Specification Before Asking for Prices
Many quote differences come from suppliers interpreting the flap differently. One factory may quote a single-layer flap with raw canvas inside. Another may include lining, interlining, edge binding, magnetic snaps, and double topstitching. Both quotes may say canvas messenger bag, but the labor minutes and rejection risk are not the same. If the RFQ does not state flap construction, the lowest price may simply be the thinnest and least stable option.
For a normal retail or brand order, state the finished dimensions and construction clearly. For example: 38 cm W x 30 cm H x 10 cm D, 14 oz cotton canvas body, self-fabric flap with cotton lining, 3 cm flap side allowance over body, 22 cm flap drop at center, magnetic snap closure, 2.5 cm topstitch from flap edge, logo printed on flap center after panel cutting and confirmed after sewing. This level of detail helps factories quote the same bag instead of guessing.
- Finished size: width, height, depth, flap drop, handle or strap length.
- Fabric: oz and GSM, dyed or natural, washed or unwashed, shrinkage allowance.
- Flap build: single layer, lined, interlined, bound edge, turned edge, or padded.
- Closure: magnetic snap, buckle, button, hook-and-loop, zipper under flap, or no closure.
- Branding: screen print, heat transfer, embroidery, woven patch, leather patch, or side label.
- Tolerance: specify acceptable measurement difference in millimeters, not only the word straight.
Fabric Weight and Construction Choices
Canvas weight affects flap behavior more than many buyers expect. A 10 oz canvas, around 339 GSM depending on yarn and weave, can work for light promotional bags but may curl at the flap corners unless lined or bound. A 12 oz canvas, around 407 GSM, is a common entry point for better retail feel. A 14 oz to 16 oz canvas, roughly 475 to 542 GSM, gives a stronger body and flap but requires better needle choice, seam allowance control, and pressing.
Heavier canvas is not automatically better. Thick canvas can create bulky corners, uneven turn lines, and a stiff flap that does not close smoothly if the closure is set too low. If the bag is washed after sewing, shrinkage can distort the flap edge and move the logo slightly. Ask the supplier whether the fabric is preshrunk, enzyme washed, dyed after weaving, or garment washed after assembly. These processes change how the flap sits on the final bag.
- 10 oz to 12 oz canvas: suitable for lighter promotional or price-sensitive bags, but flap may need lining.
- 14 oz canvas: practical balance for brand messenger bags with print or patch on the flap.
- 16 oz canvas and above: premium handfeel, higher sewing load, more risk of bulky uneven corners.
- Washed canvas: softer appearance but requires shrinkage and measurement control after washing.
- Dyed canvas: color variation and shrinkage should be checked before logo placement approval.
Logo Placement Is Part of Alignment
A flap can measure correctly and still look wrong if the logo is centered on the cut panel but not centered on the sewn bag. This happens because seam allowance, turning, topstitching, pressing, and closure tension change the visible surface. For messenger bags, the buyer should approve artwork on the finished flap area, not only on a flat paper pattern. The factory should mark the finished center line and visible flap boundary before confirming print position.
Print method also matters. Screen printing is common for cotton canvas because it handles solid logos well and can be cost-effective at MOQ. Heat transfer can give sharper detail but may feel less natural on heavy canvas and needs adhesion testing. Embroidery looks durable but can pull the flap fabric if the stitch density is high. A woven patch or leather patch adds structure and cost, and the patch must be sewn straight after the flap panel is stabilized.
- Screen print: confirm ink coverage on coarse canvas and measure position after sewing.
- Heat transfer: check adhesion, edge lifting, and handfeel on the selected canvas weight.
- Embroidery: control puckering, backing material, and thread tension on the flap.
- Woven patch: define patch size, stitch margin, and distance from flap bottom edge.
- Side label: check that label placement does not twist the side seam or affect flap reveal.
Sample Approval Checks That Prevent Bulk Disputes
The first sample should not be approved only by photo. Ask for a measurement sheet and clear front photos with a ruler or grid reference. If the courier sample is available, put light filling inside the bag, close the flap, and let the strap rest naturally. Then measure the left and right flap drops. If one side is more than the agreed tolerance, mark the photo and send it back before bulk cutting. Small comments such as make flap straight are not enough for a factory line.
A pre-production sample is more important than a showroom sample because it uses actual bulk fabric, actual lining, actual hardware, actual print, and actual sewing machines. If the order includes a custom dyed canvas or a washed finish, the PP sample should go through the same process. The flap alignment record should be attached to this sample approval. Once approved, the sample becomes the limit reference for inline QC and final inspection.
- Check flap alignment before and after closing the snap or buckle.
- Measure logo center from visible flap side edges, not from raw cut panel edges.
- Compare flap corner shape on both sides after pressing.
- Open and close the flap several times to check whether the closure pulls diagonally.
- Photograph the bag front at table height, not from a high angle that hides slant.
- Keep the approved PP sample sealed or clearly labeled for final inspection reference.
MOQ and Lead Time Logic Behind This Detail
MOQ is not only a sales rule. It is affected by fabric sourcing, dye lot, print setup, hardware sourcing, labels, and the labor required to control construction. Natural canvas in common weights may support lower MOQ because fabric is available in stock. Custom dyed 14 oz canvas, special hardware color, custom woven labels, and printed carton marks can raise MOQ. If the flap requires a special cutting die or sewing jig, the factory may also need a minimum quantity to spread setup cost.
Lead time should include more than sewing days. A realistic schedule may include fabric booking, lab dip or strike-off approval, sample making, PP sample courier time, bulk cutting, printing, sewing, inline inspection, final inspection, packing, and shipment handover. When flap alignment is critical, add time for PP sample correction. Rushing directly from artwork approval to bulk production increases the risk that the logo and flap look acceptable on paper but not on the finished bag.
- Stock natural canvas: usually faster than custom dyed canvas, but still confirm fabric width and shrinkage.
- Custom color canvas: allow time for lab dip, dye lot approval, and shade band control.
- Screen print: needs screen setup and ink matching before bulk printing.
- Embroidery or patch: needs a separate approval sample for size, color, and placement.
- Special hardware: buckles, snaps, and adjusters can become the real lead time bottleneck.
- PP correction: build at least one correction loop into the sourcing calendar when launching a new style.
Cost Drivers to Compare in Supplier Quotes
When buyers compare quotations, flap alignment control should be connected to cost drivers. A supplier offering a very low price may have removed lining, reduced canvas weight, used a smaller flap, switched to cheaper closure hardware, or skipped inline measurement. The quote should list material, construction, branding, packing, and QC assumptions. Otherwise the buyer may select a price that cannot produce the approved appearance.
Ask each supplier to quote against the same technical file and return a filled specification table. Important data includes fabric weight in oz and GSM, fabric consumption per piece, lining material, strap width and length, hardware material and finish, print size and color count, label type, packing method, carton quantity, sample cost policy, MOQ, production lead time, and inspection support. This makes quote comparison practical instead of relying on the final unit price only.
- Material cost: canvas weight, lining, interlining, webbing, binding, thread, and reinforcement.
- Branding cost: screen number, print area, embroidery stitch count, patch material, or woven label MOQ.
- Labor cost: flap turning, topstitching, closure placement, bartacks, and final pressing.
- QC cost: inline measurement, photo record, PP sample control, and rework handling.
- Packing cost: tissue, dust bag, individual polybag, recycled bag, hangtag, carton strength, and carton marks.
- Compliance or testing cost: only include if actually required in the buyer order or destination market.
Packing Can Change the Final Appearance
A well-aligned flap can arrive looking misaligned if the packing method forces a crease or bends the closure. Messenger bags are often folded to save carton volume, but the fold line should not run across the flap logo, magnetic snap, buckle tab, or lower flap edge. If the strap is wrapped tightly around the bag, it can press one side of the flap and create a diagonal mark. This is especially visible on natural canvas and pigment-dyed fabric.
For export packing, request a packed sample or carton drop photo before approving mass packing. Flat packing with tissue under the flap works for many canvas messenger bags. If the bag has a structured flap or patch, the factory may need a paper insert or light stuffing. Retail buyers should also confirm whether each bag needs a hangtag, barcode sticker, silica gel, individual polybag, or plastic-free paper band. Each choice affects labor, carton size, and arrival condition.
- Do not fold directly through the printed or embroidered flap logo.
- Keep metal hardware from pressing into the flap surface during shipment.
- Secure the shoulder strap without pulling the flap to one side.
- Use tissue or insert support when the flap has a patch, snap, or structured edge.
- Check packed samples after one day in carton, not only immediately after packing.
- State carton quantity and carton size in the quote so freight estimates are realistic.
How to Use the Record During Production and Final QC
The flap alignment record should start at first-piece approval. The line supervisor checks the first completed bags after cutting, printing, and sewing are running together. If the first 10 to 20 pieces show a stable flap result, production can continue with periodic checks by bundle. If the result drifts, the factory should stop and identify whether the issue comes from cutting, seam allowance, closure placement, sewing tension, pressing, or handling.
At final inspection, the buyer or third-party inspector should use the same method written in the record. Do not let the factory measure the bag flat and empty if the approved method says lightly filled and closed. Separate critical, major, and minor defects in advance. A severely crooked flap on a logo-facing retail bag may be major or critical depending on the brand requirement. Slight fabric waviness within approved tolerance may be minor if it does not affect shelf appearance.
- First-piece check: confirm dimensions, flap drop, closure match, and logo position before full-line output.
- Inline check: record results by production bundle or time interval, not only at the end of sewing.
- Rework rule: define whether misaligned flaps can be resewn or must be rejected.
- Final inspection: compare against approved PP sample and written tolerance together.
- Shipment decision: review defect quantity, severity, and visual impact before accepting or holding goods.
- Reorder file: keep the record for the next production run to avoid repeating the same approval work.
Specification comparison for buyers
| Spec decision | Recommended option | When it fits | Buyer risk to check |
|---|---|---|---|
| Flap alignment tolerance | Left-right edge difference within 3 mm on approved sample size | Retail messenger bags with visible front flap and printed logo | Tolerance must be measured after bag is filled lightly, not only flat on table |
| Canvas weight | 12 oz to 16 oz cotton canvas, about 407 to 542 GSM depending on weave | Daily carry, campus, promotional retail, lifestyle brand bags | Heavy fabric reduces twisting but can shrink and pull the flap if not preshrunk |
| Flap structure | Single canvas flap with lining or double-layer self-fabric flap | Brands needing a clean front face without foam padding | Unsupported thin flap may curl; overbuilt flap can pull the top edge forward |
| Logo placement | Print centered from flap side edges and confirmed after sewing | Screen print, heat transfer, woven patch, or embroidery on flap | Logo may be centered on cut panel but look off-center after seam turn and topstitch |
| Closure method | Magnetic snap, hook-and-loop strip, or buckle tab with fixed placement jig | Orders requiring repeatable closing position across bulk lots | Closure tension can drag the flap down on one side if positions are not paired |
| Packing method | Flat packed with tissue support under flap and strap secured separately | Export cartons for retail-ready messenger bags | Tight folding across the flap can create a permanent crease that looks like misalignment |
Buyer checklist before sampling
- State the finished bag width, height, gusset depth, flap drop length, and acceptable flap left-right difference in millimeters.
- Ask the supplier to measure flap alignment with the bag lightly filled, flap closed, and strap relaxed.
- Confirm canvas weight in oz and GSM, fabric shrinkage control, and whether the flap uses lining, interlining, or double-layer canvas.
- Approve logo position on the sewn flap, not only on the flat cut panel artwork.
- Require sample photos from front, back, left side, right side, and top opening before approving bulk cutting.
- Include closure placement tolerances for magnetic snap, buckle tab, or hook-and-loop tape.
- Request an inline flap alignment record from the first 20 pieces and every production bundle after that.
- Check that packing does not fold directly through the flap print, snap, or topstitch line.
- Make quote comparisons using the same fabric weight, flap construction, closure type, print method, and inspection standard.
- Keep the approved sample, measurement sheet, and carton packing method together as the production reference file.
Factory quote questions to send
- What canvas weight in oz and GSM are you quoting, and is it greige, dyed, washed, or preshrunk before cutting?
- How will your cutting team control flap symmetry: paper pattern, metal template, laser cutting, or cutting die?
- What finished tolerance can you hold for flap left-right alignment on this bag size and fabric weight?
- Will the flap logo be printed before sewing or after sewing, and how will you confirm visual centering after assembly?
- What closure type is included in the quote, and what jig or positioning mark is used during sewing?
- Can you provide a pre-production sample with a completed flap alignment record before bulk fabric cutting?
- How many pieces are checked inline for flap position, flap drop, closure match, and topstitch distance?
- What packing method do you suggest to avoid flap creasing during sea freight or courier delivery?
- What MOQ applies to this canvas weight, dye color, print method, hardware color, and custom label combination?
- What quote data is excluded, such as testing, hangtags, individual polybags, carton marks, or third-party inspection support?
Quality-control points to confirm
- Measure flap left and right drop from the top seam to the bottom flap edge with the bag closed naturally.
- Compare the horizontal bottom edge of the flap against the bag body top seam and side seams.
- Check whether the logo appears visually centered after sewing, closure fastening, and light filling.
- Verify that magnetic snaps, buckles, or hook-and-loop tape close without pulling the flap to one side.
- Inspect topstitch distance around the flap edge for waviness, skipped stitches, or uneven tension.
- Confirm that fabric shrinkage, washing, or pressing has not distorted the flap panel.
- Review first-piece, inline, and final inspection records using the same measurement method.
- Check packed samples after 24 hours in carton to see whether folding changes flap appearance.