Why print proofing matters for bakery grocery totes
Canvas grocery totes for artisan bakeries are usually judged twice: first by the bakery buyer approving the shipment, and then by customers carrying bread, pastries, coffee, jars, and seasonal gifts. A print defect that might be acceptable on a low-cost giveaway pouch can become a retail return issue when the tote sits next to premium sourdough, gift boxes, and branded pantry items. The proofing process should therefore be treated as a production control step, not a decorative afterthought.
The main buying problem is simple: bakery artwork often looks clean on a screen but behaves differently on woven canvas. Natural cotton has slubs, shade variation, and surface texture. Ink spreads slightly into the yarns. Handles and gussets change the visual center of the front panel. A proper proofing checklist prevents the common failures: logo too low, cream ink disappearing on natural fabric, fine wheat illustrations filling in, heavy ink cracking, and cartons packed before the print has fully cured.
- Use physical proofing when the tote will be sold, not only given away.
- Treat the approved sample as a production standard, not a loose design reference.
- Proof artwork at final size on the final fabric weight whenever possible.
- Record tolerances before production so inspection is not based on opinion.
Start with the bakery use case before choosing canvas
A grocery tote for a bakery counter is not the same as a thin event tote. Bakery customers often carry irregular items: baguettes, pastry boxes, jam jars, coffee bags, flour, or a breakfast bundle. The bag needs enough body to stand open at the counter, enough handle strength for real grocery use, and enough print clarity to make the logo look intentional rather than promotional. This is why procurement should define the usage before requesting price.
For most bakery grocery totes, 10 oz to 12 oz cotton canvas is a practical starting point, roughly 280-340 GSM depending on the supplier's conversion and fabric construction. A 10 oz canvas keeps cost and carton volume controlled for larger programs. A 12 oz canvas gives a more substantial retail feel and better shape retention. A 14 oz canvas can be premium, but it increases sewing effort, packing bulk, and freight cost. If the bakery plans to sell the tote as merchandise, do not compare a 6 oz quote against a 12 oz quote as if they are the same product.
- For counter giveaways: 8 oz to 10 oz may work if load expectations are modest.
- For retail resale: 10 oz to 12 oz usually gives a better balance of cost and perceived value.
- For heavy pantry bundles: consider 12 oz to 14 oz with reinforced handle stitching.
- For folded shelf display: avoid fabric so stiff that it creases badly in cartons.
Build a print-ready specification, not just a tote description
A useful RFQ should separate the bag body, print artwork, and packing requirements. Many quote problems start when buyers ask for a canvas grocery tote with logo and attach a low-resolution image. The supplier then makes assumptions about tote size, handle drop, fabric weight, print scale, ink color, and carton packing. Those assumptions show up later as sample delays, revised pricing, or quality disputes.
The print specification should include final artwork size, print location, ink colors, and measurable tolerances. For example, a bakery logo may be 220 mm wide, centered on the front panel, with the top of the print 110 mm below the bag opening. A tolerance such as plus or minus 8 mm is more useful than saying centered. On gusseted bags, the visual center can shift depending on how the bag is folded, so the factory should measure from sewn reference points, not from a soft fold line.
- Finished size: width, height, gusset depth, and tolerance.
- Handle: length, drop, width, fabric weight, and reinforcement method.
- Print: artwork file type, final size, colors, side, and placement.
- Fabric: cotton canvas weight in oz and GSM with color and finish.
- Packing: folding method, units per carton, carton marks, and barcode needs.
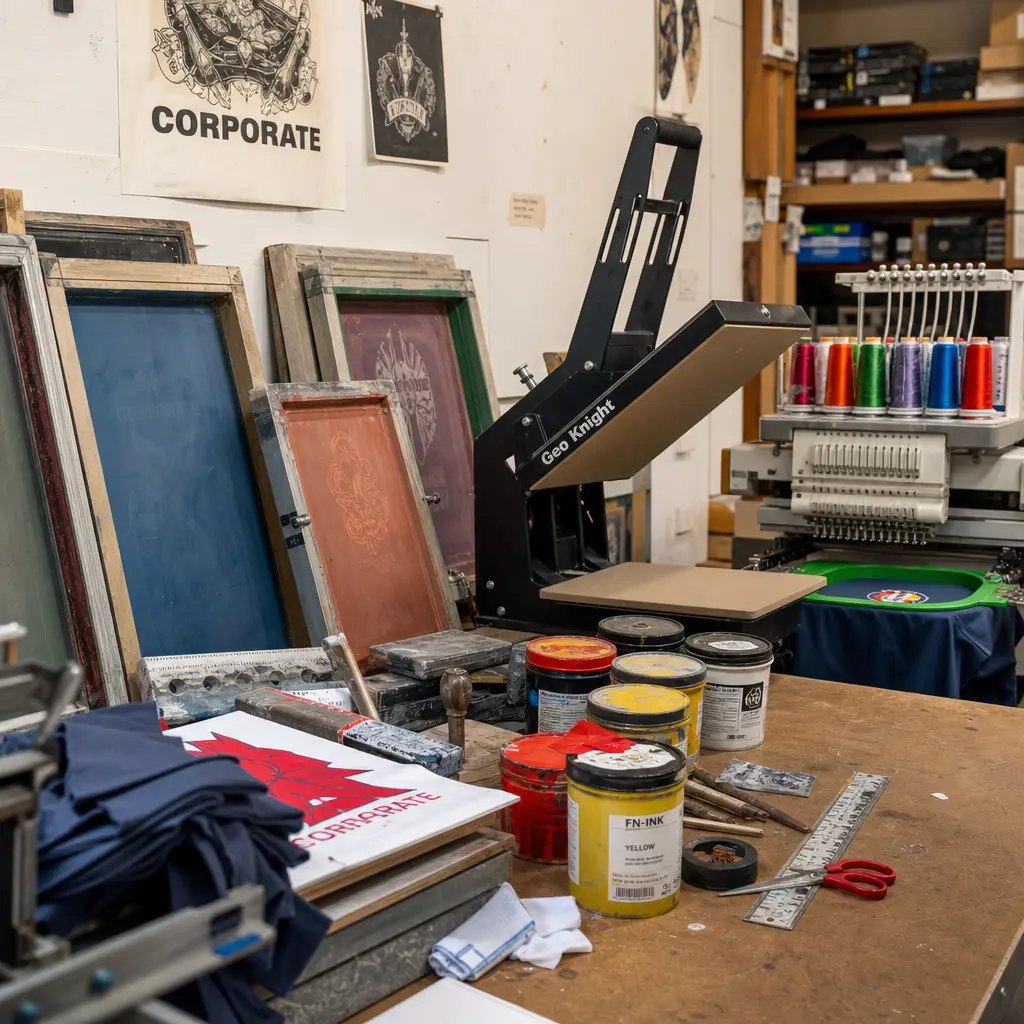
Choose a print method that matches the artwork
For bakery grocery totes, spot color screen printing is often the safest commercial choice. It handles solid logos, one-color bread illustrations, simple taglines, and two or three color brand marks with good durability and predictable cost. The buyer should confirm the screen count and setup charge because each color normally requires its own screen. If the artwork has large coverage, the factory should comment on ink hand feel, curing time, and possible stiffness.
Digital printing can be useful for full-color artwork, short runs, or seasonal illustrations, but it must be tested on the selected canvas. Natural canvas can reduce color brightness, and surface texture may make fine gradients look grainy. Heat transfer can achieve sharp details but may create a patch-like hand feel and can be less suitable for brands that want a natural bakery aesthetic. Embroidery is durable but not ideal for large front graphics on grocery totes because it adds cost, weight, and puckering risk.
- Screen print: best for solid logos, strong contrast, and repeat orders.
- Digital print: useful for complex graphics, but proof color on canvas before approval.
- Heat transfer: sharp detail, but review hand feel and edge durability.
- Embroidery: premium for small marks, not usually efficient for large grocery tote fronts.
Control artwork details before the factory opens screens
The cheapest time to fix print quality is before screens are made. Bakery artwork often includes fine wheat stalks, hand-drawn oven marks, small establishment dates, and script fonts. These details may be attractive on menus but too fragile for canvas printing. A factory should review minimum line width, minimum gap, and whether small reversed-out text will remain legible after ink hits the fabric texture.
Procurement teams should avoid approving artwork only from a digital mockup. A mockup shows position and approximate scale, but it cannot show ink absorption, edge sharpness, or texture interference. If the buyer wants a rustic look, that should still be controlled. Rustic does not mean uneven registration, random ink coverage, or fuzzy text. The proof should define what is acceptable, especially for natural canvas where fabric slubs may interrupt small details.
- Convert fonts to outlines before sending final vector files.
- Provide Pantone references but allow a physical tolerance for printing on natural cotton.
- Avoid small reversed text under roughly 5 mm high unless the factory proves it clearly.
- Thicken delicate illustration lines before screen making if the design allows.
- Keep solid ink blocks away from seams and heavy fold areas when possible.
Approve samples with measurable acceptance criteria
A pre-production sample should represent the actual order: same canvas weight, same fabric color, same print size, same ink type, same handle construction, and same folding method if packing affects creases. If a supplier sends a sample from available stock just to show shape, label it as a reference sample only. It should not approve bulk production unless the buyer accepts the differences in fabric, print, and construction.
For print proofing, review the sample under consistent light and measure it. Do not rely on a phone photo alone, because camera exposure can make natural canvas look warmer or cooler than it is. Compare the sample to the artwork file, Pantone guide or color chip, and the written spec. If the sample fails, the revision request should be precise: move logo up 15 mm, increase ink density, reduce print width to 210 mm, remove small text, or change ink to a darker brown. Vague comments like make it nicer slow down production.
- Print placement tolerance: define in millimeters from top opening and side seam.
- Color tolerance: compare to approved physical sample for future repeat orders.
- Registration tolerance: inspect multi-color logos for visible shift at normal viewing distance.
- Rub resistance: test only after proper curing time, not immediately after printing.
- Sewing reference: inspect handle symmetry, bartacks, gusset shape, and loose threads.
Understand MOQ logic and quote differences
MOQ for canvas grocery totes is not only about total units. It is affected by fabric availability, dyeing, cutting efficiency, print setup, screen charges, and how many artwork versions are needed. A buyer ordering 2,000 totes with one artwork may be easier and cheaper than a buyer ordering 2,000 totes split into eight bakery branch logos. The total quantity looks the same, but production handling is different.
When comparing quotes, keep the spec identical. One supplier may quote 10 oz canvas with a single color screen print and bulk packing, while another quotes 12 oz canvas with individual folding and barcode labels. The cheaper quote may not be cheaper after freight, retail packing, or rejection risk. A clean quote should show fabric weight, tote dimensions, print colors, sample charge, screen charge, packing method, carton quantity, estimated CBM, lead time, payment terms, and Incoterms.
- Separate unit price from screen charges, sample charges, and artwork revision fees.
- Request alternate pricing for 10 oz, 12 oz, and 14 oz only if the use case is undecided.
- Group branch logos carefully because each version may need separate screens and QC tracking.
- Compare carton CBM because bulky totes can change landed cost more than expected.
- Clarify whether the quote includes export cartons, labels, inserts, and inner packing.
Prevent packing damage after the print is approved
Print proofing does not end at the printing table. Canvas totes can leave the print area looking good and arrive with transfer marks, hard creases, odor, or crushed cartons if packing is rushed. Screen printed totes need proper curing before tight folding and carton packing. Heavy ink coverage is especially sensitive because the surface may feel dry before the ink is fully stable.
The packing plan should match the sales channel. A distributor shipping to bakery stores may prefer bulk folded bags by carton with clear carton marks. A retail buyer may need individual barcode labels, hangtags, belly bands, or plastic-free paper wrapping. Each packing choice changes labor, carton size, and inspection steps. If the bakery has sustainability rules, state them early instead of removing polybags after pricing is complete.
- Confirm curing time before folding and carton sealing.
- Use tissue or interleaving only where needed to prevent ink transfer.
- Define fold direction so the logo is not sharply creased through key artwork.
- Limit carton weight so warehouse handling does not crush lower cartons.
- Approve carton marks and SKU labels before packing starts.
Plan lead time around proofing, not wishful dates
A realistic lead time starts after the factory has everything needed to produce correctly: approved artwork, approved sample, deposit or payment confirmation, and available fabric. Buyers often count from the first RFQ date, but the factory cannot reserve all capacity while artwork is still changing. If the bakery launch date is fixed, build a backward schedule that includes sample making, courier time, buyer review, revisions, bulk production, inspection, and freight.
Print proofing can compress or delay the schedule depending on decision quality. A clear vector file and defined print size may move quickly. A low-resolution logo, uncertain fabric choice, or multiple stakeholder approvals can add one or two sample cycles. For seasonal bakery programs, such as holiday gift totes or farmers market launches, the approval calendar is often the real bottleneck. Procurement should assign one final approver and freeze artwork before production screens are made.
- Artwork review: allow time for factory print feasibility feedback.
- Sample production: confirm whether sample fabric matches bulk fabric.
- Courier and review: include transit days and internal approval meetings.
- Bulk production: starts after final sample and payment milestones, not before.
- Inspection and shipping: reserve time for rework if print or packing defects appear.
Use inspection thresholds that match retail reality
Canvas is a natural woven material, so buyers should expect minor slubs and shade variation within reason. The goal is not to reject every natural characteristic; the goal is to reject defects that damage brand presentation or product function. A useful QC standard separates critical, major, and minor defects. A broken handle seam is critical. A logo printed 25 mm off position is major. A tiny slub outside the print area may be minor if it does not affect appearance.
Final inspection should compare bulk goods against the sealed approved sample and written tolerances. Inspectors should open cartons from different production times, not just top cartons prepared for viewing. For printed bakery totes, pay special attention to the first and last production pieces because screen condition, ink viscosity, operator adjustment, and fabric batches can change during the run. If multiple artworks are included, each artwork needs its own count and defect review.
- Critical defects: handle failure, wrong artwork, wrong fabric, mold, severe odor, unsafe contamination.
- Major defects: obvious print shift, ink smear, unreadable logo, wrong color, open seam, severe stain.
- Minor defects: small loose thread, slight slub, minor shade variation within approved tolerance.
- Functional tests: load test, seam pull review, handle bartack review, and carton drop risk assessment.
- Documentation: keep photos of defects, carton numbers, and approved sample comparisons.
Specification comparison for buyers
| Spec decision | Recommended option | When it fits | Buyer risk to check |
|---|---|---|---|
| Canvas weight | 10 oz to 12 oz cotton canvas, about 280-340 GSM | Retail grocery totes carrying bread, pastry boxes, coffee bags, and small pantry items | Very light canvas may collapse at checkout; very heavy canvas raises freight cost and can make folded packing bulky |
| Bag construction | Boxed bottom or gusseted grocery tote with reinforced handle stitching | Bakery retail counters, market stalls, and gift bundle programs needing a stable base | Flat totes look cheaper and do not stand well; weak bartacks can fail when customers load jars or flour bags |
| Print method | Spot color screen print for solid bakery logos and simple illustrations | Most one to three color bakery brand marks, slogans, and line-art bread graphics | Fine lines, halftones, and low-contrast ink on natural canvas may fill in or disappear after curing |
| Artwork file | Vector AI, EPS, or PDF with Pantone references and final print size | Any order where brand color consistency and repeat orders matter | JPEG artwork forces factory redrawing, which can alter logo proportions and delay proof approval |
| Print placement | Centered front panel, measured from top opening and side seams after sewing | Standard retail tote display where the bag hangs from a hook or is folded on shelf | Placement approved on a flat digital mockup may shift visually once the tote has gussets and handles |
| Sample approval | Physical pre-production sample using bulk fabric, bulk ink, and final print screen | Orders for retail resale, chain bakery rollout, or distributor programs | Approving only a digital proof misses ink absorption, fabric shade, registration, and curing issues |
| Packing format | Individually folded or bulk packed with tissue only if ink transfer risk exists | Mixed retail cartons, warehouse picking, or direct delivery to bakery stores | Freshly printed bags packed too tightly can mark, crease, or trap odor if curing time is short |
| MOQ logic | Base MOQ by fabric color, tote size, and print setup, not just total quantity | Multiple bakery locations or seasonal SKUs with the same bag body but different artwork | Splitting artwork into many small runs increases screen, setup, sampling, and carton labeling costs |
Buyer checklist before sampling
- Define the tote use case: retail resale, loyalty giveaway, market stall packaging, or gift bundle carrier.
- Specify fabric weight in oz and GSM, including tolerance, rather than asking for a generic canvas tote.
- Confirm finished size, gusset depth, handle length, handle width, and reinforcement method on the same spec sheet.
- Send vector artwork with Pantone or ink reference, final print size, minimum line width, and allowed placement tolerance.
- Request a physical print proof on the selected canvas before approving bulk production.
- Review print coverage against bag cost; large solid ink areas can change hand feel, drying time, and rejection risk.
- Set acceptance criteria for registration, edge sharpness, ink rub resistance, and print position before production starts.
- Confirm whether fabric shrinkage, sewing tolerance, and print placement are measured before or after washing if a wash test is required.
- State carton packing method, units per carton, carton marks, barcode requirements, and whether individual polybags are restricted.
- Build approval time into the lead time; do not let sample revision days disappear from the production calendar.
Factory quote questions to send
- What cotton canvas weight do you recommend for a grocery tote carrying 5-8 kg, and what GSM tolerance will you quote?
- Is the quoted fabric greige, bleached, dyed, washed, or organic cotton, and how does that affect print color?
- Will the pre-production sample use the same fabric lot, ink system, screen mesh, and curing process as bulk production?
- What is the minimum line width and minimum gap you recommend for screen printing on this canvas texture?
- How many screens and setup charges are included for the artwork, and are repeat setup costs different?
- What is your standard print placement tolerance from the top opening and side seam on a gusseted tote?
- What handle reinforcement is included: cross stitch, bartack, box stitch, or another method?
- How many units fit per export carton under the proposed folding method, and what is the estimated carton CBM?
- What bulk lead time starts after which approval: artwork proof, sample approval, deposit, or fabric arrival?
- What inspection standard do you use for print defects, sewing defects, stains, and carton damage?
Quality-control points to confirm
- Fabric weight checked by GSM cutter or agreed lab method, with tolerance recorded against the approved spec.
- Finished dimensions measured flat, including width, height, gusset, handle drop, and handle width.
- Print position measured from fixed sewing points, not from the edge of an uneven folded panel.
- Ink adhesion checked by rub test after curing, especially on dark ink over natural canvas.
- Fine details reviewed at normal viewing distance and close inspection to catch filled-in counters, broken lines, and fuzzy edges.
- Color compared under consistent light against Pantone reference, approved sample, or agreed physical color chip.
- Handle strength reviewed by load test appropriate for grocery use, with attention to bartack density and seam tearing.
- Needle holes, loose threads, oil marks, slubs, and fabric stains classified before packing.
- Carton weight and compression risk checked so lower cartons are not crushed during export handling.
- One sealed approved sample kept for factory, buyer, and inspection team to reduce disputes.