Why the print method changes the whole tote program
For farmers markets, the tote is not a one-time giveaway. It gets folded, carried against rough surfaces, loaded with produce or jars, and reused enough times to expose weak ink or sloppy registration. A print method that looks sharp in a sample room can still fail when the bag is compressed in cartons, opened on a stall table, and handled all day. Buyers should treat the decoration method as part of the product spec, not as a finishing detail added after the bag design is fixed.
The real decision is not only which method looks best. It is which method survives the order size, artwork complexity, fabric weight, and re-order plan without creating avoidable defects. If you start with that frame, the quote conversation becomes cleaner: one-color logo on a heavy canvas can be a different program from a multi-color seasonal graphic on a lighter bag, even when the bag body looks similar.
- A good print on a weak blank still looks weak after delivery.
- A simple logo can justify a cheaper, more stable print method than a detailed graphic.
- For repeated market use, durability matters more than first-day brightness.
Set the blank before comparing decoration
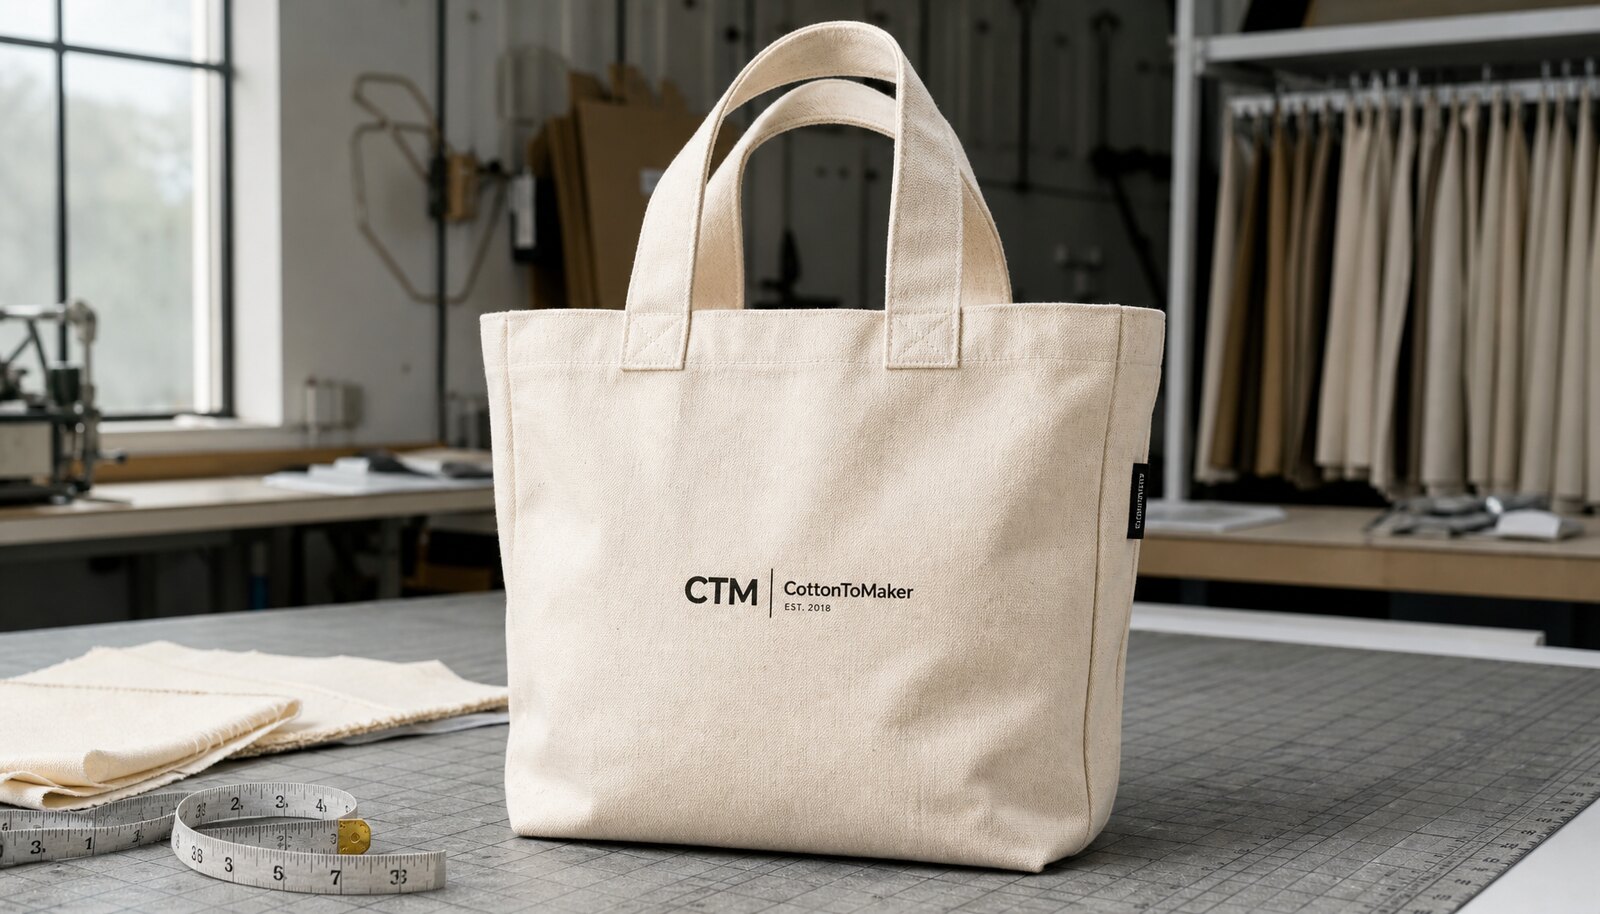
Canvas weight drives how the bag hangs, how it prints, and how it feels in the hand. Around 10 oz or 340 gsm is usually enough for price-sensitive programs and lighter carry loads. Around 12 oz or 400 gsm is the common middle ground for retail-ready farmer market bags because it balances stiffness, print clarity, and unit cost. Heavier 16 oz or 500 gsm canvas gives a premium feel and better body, but it also adds material cost, sewing resistance, and more ink consumption on large graphics.
Weave quality matters almost as much as weight. A tight, consistent weave prints cleaner than a loose or slubby canvas because the ink bridges the surface more evenly and the logo edges stay sharper. For natural canvas, expect fiber variation and slight shade differences from lot to lot. That is normal. What should not vary is panel size, handle placement, seam strength, and the ability of the print to sit flat without blurring into the texture.
- Use 10 oz or 340 gsm for light promotional use and lower-cost programs.
- Use 12 oz or 400 gsm when the bag must feel retail-ready without becoming too heavy.
- Use 16 oz or 500 gsm when the bag needs structure, premium feel, or higher abrasion resistance.
- Tight weave and consistent dye lot are more valuable than a slightly heavier spec with poor surface quality.
How the main print methods differ on canvas
For standard cotton canvas, screen print remains the benchmark for clean logos, repeatable color, and stable cost at volume. One-color and two-color spot printing are usually the safest options when the artwork is simple and the brand wants an obvious, durable mark. Water-based screen print gives a softer hand and a more textile-like result, but the factory must control ink flow carefully because coarse canvas can break up fine detail. If the art is basic and the order is not tiny, screen print usually gives the best balance of durability and quote clarity.
Transfer methods and digital decoration solve different problems. Heat transfer or DTF is useful when you need short runs, many SKUs, or artwork with gradients and small type that would be expensive to separate into screens. Digital print is only worth considering when the fabric is smooth enough and the supplier has real equipment for that substrate. Embroidery and applique work for premium branding, but they are not ideal for large full-panel artwork. On standard cotton canvas, sublimation should be treated as a non-option unless the blank is polyester-compatible.
- Choose screen print when the logo is simple and the order will repeat.
- Choose transfer when artwork changes often or the MOQ is too low for screen setup to make sense.
- Choose embroidery or applique for a premium accent, not for large full-coverage graphics.
- Reject sublimation on normal cotton canvas unless the blank is specifically designed for it.
What a factory quote should spell out
A useful quote separates the bag from the decoration. The quote should state the blank fabric weight, finished size, handle spec, print method, number of colors, and whether setup charges are included. It should also show whether the factory is quoting just the bag body, the decorated bag, or the bag plus packing. Many weak quotes hide their assumptions in one line, which makes comparison nearly impossible once one supplier includes a screen charge and another does not.
For buyer work, the most important detail is not the lowest number on the page. It is whether the quote lets you compare one supplier to another on the same basis. Ask for the print area, artwork file type, carton count, inner packing style, and whether the factory keeps screens or digital settings for re-orders. If those pieces are missing, the order may look cheap until the first revision, then the real cost appears.
- Ask for separate lines for blank bag, decoration, packing, sample, and shipping terms.
- Request the print area in millimeters or inches so you can compare suppliers directly.
- Confirm whether re-order setup is reduced, stored, or charged again.
- Make sure the quote says exactly how many colors are included.
MOQ logic and sample approval
MOQ on canvas tote bags is usually driven by three things: fabric sourcing, sewing efficiency, and decoration setup. A one-color logo on a standard blank may support a lower MOQ than a multi-color seasonal print because the factory can run one screen setup across more pieces. If your program has several market designs, the more efficient move is often to hold one blank spec and vary the decoration only when the supplier can do so without creating dead stock or extra setup waste. Mixed bag bodies with mixed art usually complicate inventory and slow re-orders.
Sampling should move in stages. A blank sample confirms size, handle drop, and basic construction. A decorated strike-off or pre-production sample confirms the print position, color density, and how the ink behaves on the actual canvas. The buyer should not approve bulk from a render or from a blank alone. The approval point should include panel alignment, seam behavior after curing, and whether the logo still reads clearly when the bag is folded or creased.
- Approve blank size before approving decoration.
- Approve a decorated sample on the same fabric weight that bulk will use.
- Treat artwork revision after sample approval as a schedule and cost risk.
- If multiple designs are needed, separate the order by art rather than mixing too many variables at once.
QC targets for print, stitching, and handles
Quality control on these bags should focus on function, not cosmetic perfection alone. The print should sit within a clear placement tolerance from the center line and away from seams or handle anchors. The ink should cure evenly, with no tackiness, cracking, or visible bleeding into the weave. On a natural canvas bag, some texture variation is expected, but the logo must still read cleanly from normal viewing distance. For market programs, a slightly rustic surface is acceptable; fuzzy edges and uneven coverage are not.
Construction matters just as much. Handles should be stitched cleanly with reinforcements at the stress point, and top hems should lie flat without twisting. Stitch length, bar-tack placement, and thread trimming should be consistent across the order. If the bags will be sold retail, receive a higher standard on loose threads, stains, and collapsed cartons. If they will be used as event bags, focus more on handle strength, print survival, and pack consistency.
- Reject prints that smear when rubbed after curing.
- Reject handle stitching that twists, skips, or fails to reinforce the stress point.
- Accept light canvas texture variation if the logo remains readable and centered.
- Check that the final bag shape still stands reasonably well when filled.
Packing that works for farmers markets and distributors
Packing needs to match how the buyer will move the bags after delivery. A retail distributor usually wants clean folding, a stable carton count, and labels that can be received without opening every case. A farmers market operator may care more about fast distribution by venue or store than about shelf presentation. If the bag is packed too tightly, the print can crease sharply along the fold line. If it is packed too loosely, freight volume rises and the cartons become inefficient to stack.
Decide whether the bags ship loose in master cartons, individually polybagged, or bundled with a belly band. Each choice has tradeoffs. Loose packing reduces material but increases dust exposure. Individual polybags protect the bag but add cost and plastic volume. A belly band can work well when the bags are sold as a clean retail unit and the customer needs to see the logo immediately. Whatever the format, specify the fold direction so the printed panel does not take a permanent crease across the artwork.
- State carton count and carton size in the RFQ.
- Specify whether handles are tucked, folded, or left open.
- Include barcode, SKU, and country-of-origin label rules if the bags go to retail.
- Add a moisture or odor requirement if the bags will be stored before launch.
Lead times and the schedule risks buyers miss
The schedule risk is rarely the sewing line alone. The usual critical path is artwork approval, print proof, blank fabric sourcing, cutting, sewing, decoration, inspection, and packing. If the order uses screen print, the setup stage can be the slowest part when artwork changes late. If the order uses transfer, the decoration may move faster but the supplier still needs stable artwork files and a confirmed blank. Buyers should freeze the specification before the factory starts sampling, because each revision adds both time and the chance of a mismatched lot.
Re-orders can be much easier if the factory retains the screen, plate, or file and if the fabric supplier can match the same canvas lot or a close equivalent. That is why it is worth asking about retention policy, not just lead time. Some suppliers can repeat a program quickly only if the exact blank is still available. Others need a new shade approval or a new sample because the canvas lot changed. In procurement terms, that is a supply chain control issue, not a production inconvenience.
- Freeze artwork before bulk sample approval.
- Ask whether screens, plates, or print files are stored for re-orders.
- Confirm whether the same canvas lot can be repeated or only approximated.
- Allow extra time when the order depends on a seasonal fabric or a new print method.
Landed-cost comparison: when the cheaper print is not cheaper
A lower factory decoration price does not always create a lower landed cost. A method that saves a little on print can increase the carton cube, the defect rate, or the time needed for receiving and relabeling. A heavier canvas bag with a more stable print may cost more at the factory but reduce rejects, improve shelf presentation, and lower the risk of a complaint from retail teams or market distributors. Buyers should compare total usable units, not just the first quote line.
The best way to compare is to build a simple matrix with blank GSM, print method, setup charge, packing style, carton density, and acceptable defect rate. For a short run, a transfer method may look attractive because it avoids screen setup. For a repeat program, screen print usually wins once the art and volume are stable. The right answer depends on how often the design changes, how rough the bag will be used, and whether the brand cares more about soft hand, bold color, or re-order efficiency.
- Compare usable landed cost, not only ex-factory price.
- Include packing and carton volume in the comparison.
- Use repeatability as a cost factor when the program will reorder.
- Choose the method with fewer failure points if the price gap is small.
Specification comparison for buyers
| Spec decision | Recommended option | When it fits | Buyer risk to check |
|---|---|---|---|
| Single-color logo | One-color screen print | Best for clean branding on 10-12 oz canvas and medium to high volume | Confirm ink opacity, cure quality, and whether the logo sits away from seams and handles |
| Two to three spot colors | Spot-color screen print | Best when the artwork is flat, simple, and repeated across one core design | Check registration tolerance and whether each color adds a separate setup charge |
| Soft retail hand feel | Water-based screen print | Best when the buyer wants a less plastic feel and a more natural canvas look | Check whether the factory can still hold sharp edges on coarse weave canvas |
| Short run or many SKUs | Heat transfer or DTF transfer | Best for low MOQ, fast artwork changes, or multi-color art with gradients | Check wash/rub durability and whether the transfer cracks on folded panels |
| Small detailed artwork | Digital print or DTG-style decoration | Best only on smooth, tight-weave canvas and very small programs | Check whether the supplier is quoting a real canvas process or a method that only works on polyester or garment fabric |
| Premium tactile branding | Embroidery or applique patch | Best for thicker bags, premium retail programs, and smaller logo areas | Check thread density, backing, and whether the bag structure can carry the added stiffness |
| Subtle brand identity | Woven label plus small print | Best when the logo should feel restrained and the bag must work for repeated retail use | Check label placement, stitching quality, and whether the small print still reads at distance |
| Standard cotton canvas with full-color art | Avoid sublimation | Only fits polyester-compatible blanks or coated panels, not normal cotton canvas | Reject quotes that use sublimation as a shortcut on standard cotton canvas because the result will fail or be misrepresented |
Buyer checklist before sampling
- Confirm the exact canvas weight in GSM or oz, plus whether the fabric is washed, bleached, or naturally dyed.
- State the final bag size, handle length, handle drop, gusset depth, and whether the top edge is hemmed or bound.
- Define the print method you will accept, the number of colors, the print area, and the target placement tolerance.
- Provide vector artwork and specify whether the supplier must match Pantone, a sample swatch, or a digital reference.
- Request one decorated pre-production sample, not only a blank sample, before bulk starts.
- Ask for the full packing spec: folds, inner polybag rules, carton count, and master carton marks.
- Clarify whether the order is for retail, market resale, giveaways, or event kits, because the packing standard changes.
- Confirm whether the factory keeps screens, files, or print settings for re-orders.
- Ask what defect rate the factory considers normal for print alignment, thread trims, and stitching repair.
- Make sure the quote separates blank bag cost, decoration cost, sample cost, packing cost, and freight terms.
Factory quote questions to send
- What exact canvas spec are you quoting, including GSM, weave type, and whether the material is pre-shrunk or washed?
- Which decoration method is included, and does the quote cover setup, screens, film, plates, or transfer tooling?
- How many colors are included in the quoted price, and what changes when the artwork uses more colors?
- What is the minimum order quantity by artwork, by color, and by bag style?
- Will you send a decorated pre-production sample or only a blank size sample before bulk production?
- What print registration tolerance and color acceptance standard do you use for approval?
- How are the bags packed for shipping, and what is the unit per carton and carton dimension target?
- What is the lead time for sample, bulk, and re-order, and what steps can extend the schedule?
Quality-control points to confirm
- Confirm the finished fabric weight against the approved spec and watch for light or heavy lots that change print opacity.
- Check print placement against the seam, gusset, and handle anchors so the logo does not wrap awkwardly or disappear in folds.
- Inspect color coverage under daylight and warm light because canvas texture can change how solid the ink appears.
- Test rub resistance on the printed area and reject pieces that smear, flake, or show transfer marks after folding.
- Measure handle stitch strength visually and verify bar-tacks or reinforced stitching at stress points.
- Inspect seam lines, top hem, and gusset corners for skipped stitches, loose threads, or puckering after print curing.
- Confirm carton pack count, fold direction, and label accuracy so receiving teams can count quickly without opening every carton.
- Check for odor, moisture, and contamination from ink curing, especially if the bags will be sold directly from carton to shelf.