Why cosmetic brands need a tighter spec than a normal giveaway tote
A canvas book fair tote for a cosmetic brand does more than carry products. It can appear in event photography, PR mailers, retail gift-with-purchase programs, and influencer kits where the bag itself is part of the brand message. That means the tote is judged visually as well as functionally. A bag that is acceptable for a casual event can still fail a cosmetic program if the print is off-center, the canvas shade varies between cartons, or the handles sit unevenly on a retail display.
Because the tote may be reused, photographed, and carried alongside premium products, the buying standard has to be written before sourcing starts. Treat the bag like a branded component with a spec, not as a generic canvas accessory with a logo added at the end. Once the build, print method, tolerance band, packing method, and inspection standard are fixed, suppliers can quote more honestly and procurement can compare offers without hidden assumptions.
- Treat the tote as part of the brand presentation, not only as a utility item.
- Control visual consistency, because buyers and end customers see every front panel.
- Write the acceptance criteria before sampling so the supplier can price the real requirement.
Start with the fabric, because the fabric controls feel, print, and failure risk
For most cosmetic brand programs, 12 oz canvas, roughly 340-400 GSM, is the most practical starting point. It usually gives enough body for a premium look without making the bag overly heavy or expensive to sew. If the tote will hold boxed skincare kits, inserts, or heavier sample bundles, a denser canvas can make sense, but buyers should expect a higher unit price, firmer fold lines, and more sewing resistance at the seams and handles.
Weight alone does not solve the buying decision. Weave consistency, finishing, shrinkage, and dye lot control matter just as much. A fabric can be sold at the correct GSM while still showing streaks, weak yarns, or uneven ink uptake. If the tote is garment-washed, pigment-dyed, or otherwise softened for a retail look, specify the acceptable shade range and confirm that the approved sample came from the same finishing route the bulk order will use. If the supplier cannot name the mill or finishing source, that is a re-order risk, not a detail to ignore.
- Use 10-12 oz canvas for lighter promotional use or flat-packed event distribution.
- Use 12-16 oz canvas when the tote must hold heavier kits or present as a higher-end reusable bag.
- State whether the fabric is pre-shrunk or whether you will accept shrinkage after finishing.
- If the tote is unlined, reinforce the handle and bottom zones because the fabric carries the full load.
- Ask for the fabric origin, finishing route, and shade lot information in the quote rather than only the GSM.
Decide the construction before comparing unit prices
Buyers often ask for a price before they have fixed the construction. That creates misleading comparisons. A stock-body tote, a custom cut-and-sew tote, and a hybrid stock-body-plus-custom-print program can all be quoted as if they were the same item, but they do not carry the same risk. One supplier may be using lighter canvas, another may be excluding setup, and a third may be building in more labor for reinforcement or packing.
For a cosmetic brand, the safest sourcing route is usually the one that minimizes substitutions between sample and bulk. If the artwork is simple and the quantity is modest, a stock body with custom printing can be efficient. If you need a signature silhouette, special handle color, woven label, or precise finishing, a direct factory cut-and-sew route may be the better procurement choice even if the first order is slightly more expensive. The key question is not only who can make the bag, but who controls the material source, sewing line, and print partner when the order repeats.
- Use stock-body sourcing when speed matters and the design can tolerate a standard silhouette.
- Use cut-and-sew when the tote is a branded retail object and the shape matters.
- Ask who actually owns QC and rework if a trading company is involved.
- Require the supplier to identify the exact fabric source and print process in the quote.
- For repeat programs, ask how they will hold the same fabric, handle, thread, and print references across reorders.
Compare supplier routes on risk, not just price
A factory-direct quote is usually easier to audit because the same party is responsible for cutting, sewing, printing, and packing. That does not automatically make it better, but it does make root-cause questions easier when an issue appears. A trading partner can be useful if communication, coordination, or consolidated sourcing is the main challenge, yet procurement still needs to know where the tote is actually made, which printing partner is used, and who signs off on rework. A stock-body supplier can reduce lead time, but only if the body, handles, and reinforcement stay stable between lots.
Commercial sourcing becomes much stronger when the buyer asks for evidence, not assurances. Request photos or documentation of the actual production line, the fabric rolls or labels being used, and the QC records from similar tote runs. For repeat orders, ask whether the supplier keeps shade records, print screen references, or digital print files, and whether they can identify the lot history for the approved sample. That matters more than whether the sales team promises consistency. When the same tote must be reordered for a launch cycle or a retail calendar, continuity in material origin and print control is what prevents a “same item” from becoming a new approval project.
- Compare same-size, same-fabric, same-print quotes only.
- Ask the supplier to explain where the hidden cost sits: fabric, print setup, sewing labor, or packing.
- Prioritize repeatability if the tote will be reordered across multiple campaigns.
- Request evidence of the real production site, not just a brochure or price sheet.
- Ask how they will preserve fabric lot references, print files, and QC records for reorders.
Write an RFQ that exposes hidden cost drivers
A good RFQ for canvas book fair totes for cosmetic brands should force the supplier to break the price into visible parts. At minimum, ask for bag body cost, print setup, print run cost, label or tag attachment, packing labor, cartonization, and freight assumptions. If these are bundled into one number, you cannot tell whether a lower quote comes from thinner canvas, cheaper reinforcement, fewer stitches, or a less protective packing method.
It also helps to ask for the quote at more than one quantity break. A supplier may price 1,000 pieces competitively but jump sharply at 3,000 because of material utilization or print setup. If you plan to reorder, ask for the repeat-order price and whether the supplier will keep the same fabric source, print screens, or digital file references on file. That gives procurement a better sense of lifecycle cost rather than only first-order cost. For mixed programs, specify whether each colorway or artwork version is separately packed and labeled, because a quote that ignores sortation can create hidden warehouse labor later.
- Ask for separate line items for fabric, sewing, print, labels, packing, and cartons.
- Request prices at your actual forecast quantity and at the next meaningful tier.
- Ask whether sample rounds are included or billed separately.
- Request carton dimensions and gross weight so you can estimate freight realistically.
- State whether lot separation, barcode labels, or campaign-specific packing are required.
Sampling is the point where most problems should be caught
The pre-production sample should be treated as a production reference, not a display sample. It should use the same fabric type or a documented equivalent, the same thread color, the same handle width, the same reinforcement, and the same print method intended for bulk. If the supplier swaps material or simplifies the build after approval, the sample no longer protects the buyer. For cosmetic programs, it is also smart to approve the sample under the same lighting condition used for receiving or merchandising checks, because shade and print appearance can shift under different light sources.
The first review should be visual, then functional. Check whether the logo sits square on the front panel, whether the handles are symmetrical, whether the top hem is flat, and whether the bag stands and folds the way the brand expects. Then test actual use: confirm that the tote carries the intended cosmetic kit, catalog insert, or PR mailer without bulging, twisting, or sagging. A sample that looks good empty but fails when filled is not a usable approval sample. Keep one signed golden sample for reference and one for QC or merchandising, and make sure the supplier signs the same spec sheet that matches that sample.
- Approve one sealed golden sample and keep one for QA or merchandising reference.
- Confirm thread color, label position, seam allowance, and carton style against the spec sheet.
- Fold and reopen the sample several times to see whether the print cracks or the shape collapses.
- Test the actual promotional fill, not an empty bag, if the tote is meant to carry product kits.
- Have the supplier sign the same sample reference that will govern bulk production.
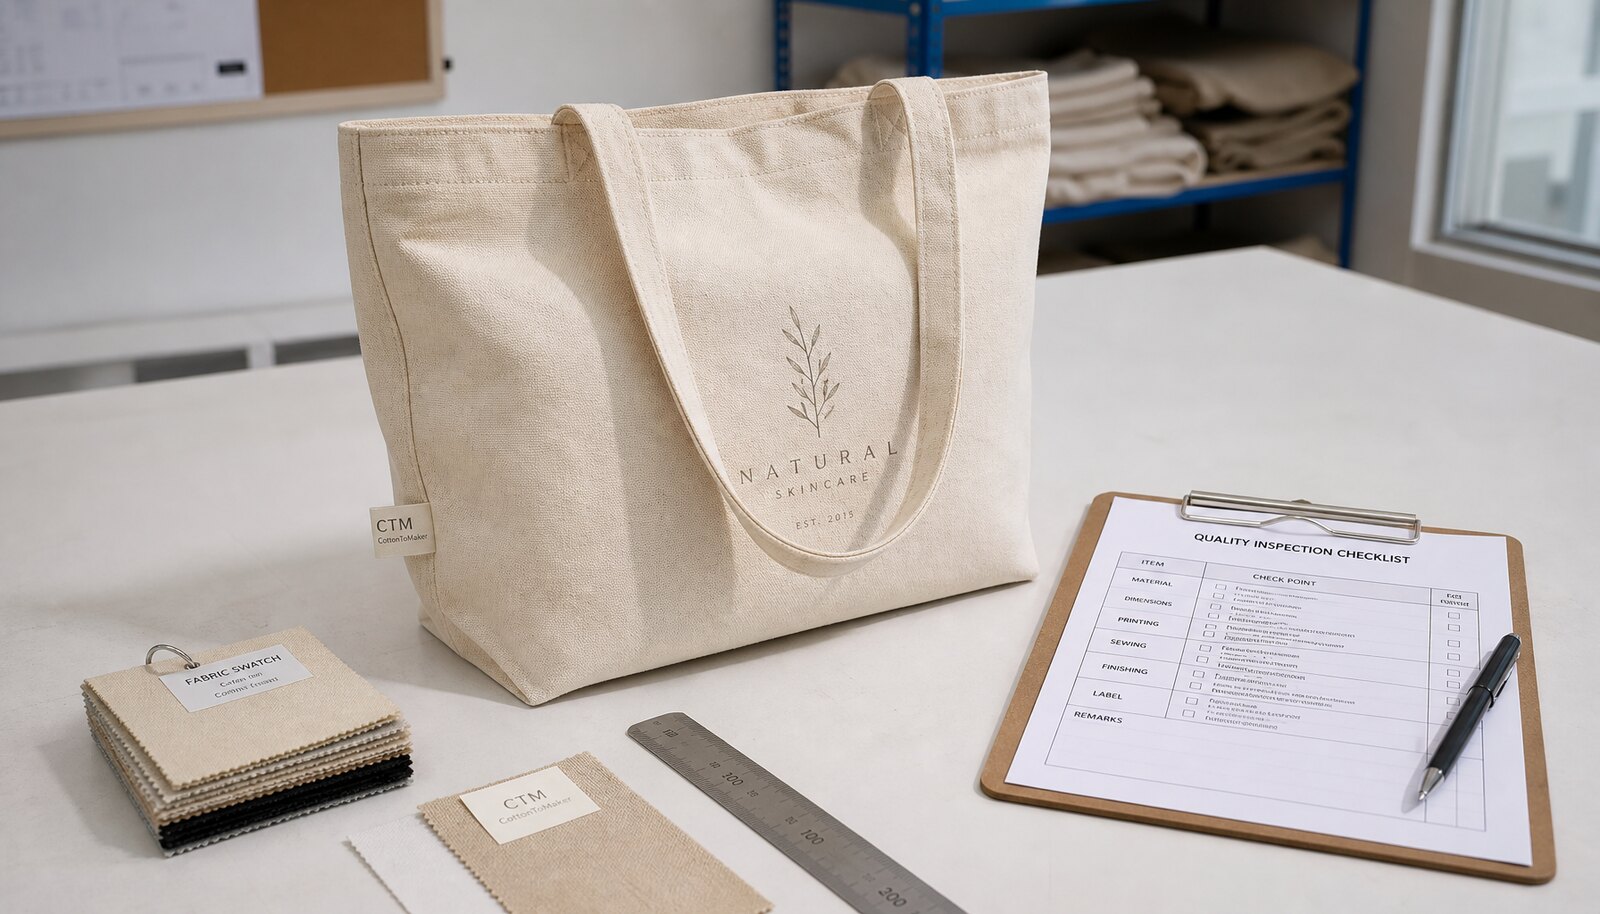
Use measurable QC thresholds instead of vague finish language
This is where the keyword-heavy phrase quality inspection checklist needs to become real buyer control. The checklist should distinguish critical, major, and minor defects. A torn handle, missing seam line, or print that runs into the seam zone is a critical or major failure depending on the program. A small loose thread or slight crease may be minor if it does not affect use or presentation. If the team cannot say which defects trigger rejection, the supplier will interpret every issue as negotiable.
A practical inspection standard for this category usually combines visual review, measurement, and a small number of functional checks. Many buyers use ISO 2859-1 General Inspection Level II with a defect framework of AQL 0 for critical, 2.5 for major, and 4.0 for minor, then confirm the exact sample size against the lot-size table before the PO is issued. For stitching, handle strength, and rub resistance, the best practice is to anchor the requirement to the tote’s intended use and the supplier’s documented method. If the factory already has an internal pass/fail standard for comparable tote programs, ask to see it and align your acceptance limit to that method rather than inventing a number that does not reflect production reality.
- Define what is critical, major, and minor before the supplier ships production.
- Use a written AQL plan and lock the sample size to the lot table.
- Reject bags with broken seams, torn handles, holes in load zones, or print misplacement that affects brand visibility.
- Allow only cosmetic-level minor issues that do not affect function or shelf presentation.
- Require an inspector to record defect type, count, location, and carton number, not only pass/fail.
Inspect fabric, stitching, and print like a buyer who expects reorders
Fabric checks should focus on the areas the customer will see and the places the tote will fail first. Look for shade variation, slubs, oil marks, weak yarns, holes, and edge fraying. On canvas, small irregularities are normal, but they should not cluster on the front panel or around the handle anchors. If the supplier uses dyed or washed fabric, compare bulk against the approved reference under daylight or a controlled white-light condition so shade drift does not get missed. Ask the factory which mill or fabric roll the bulk came from and whether they can preserve that information for future replenishment.
Stitching and print deserve separate checks. Use the factory’s construction standard as the main reference, then verify that seams are straight, backtacks are secure, there are no skipped stitches, and the fabric does not pucker at stress points. For print, check centering, registration, ink opacity, edge sharpness, and rub resistance after folding and handling. The rub test should be a practical buyer check, not a magic number: the goal is to verify that the artwork will not visibly transfer, smear, or flake during normal event use. If the program requires tighter durability, ask the printing partner to show the same method they use for comparable work and require that method on the approved sample and bulk run.
- Measure stitch density in several locations rather than trusting one point on the sample.
- Check handle anchors for puckering, twisting, and stitch breakage.
- Use a dry rub and a wet rub check on the print if the tote may face humidity or hand contact.
- Compare bulk panels against the sealed sample under the same lighting condition.
- Reject front-panel shade shifts that would be visible in a retail stack or event photo.
- Ask for the fabric mill or source route so reorder lots can be matched more reliably.
Make the handle, reinforcement, and size tolerances part of the spec
Handle design is not a minor detail. It affects comfort, unit cost, silhouette, and failure risk. Cotton webbing usually gives a cleaner structural feel and better durability, while self-fabric handles can look more integrated and may help the bag feel more branded. The right choice depends on how the tote will be carried, how much weight it will hold, and whether your brand prefers a minimalist or more utilitarian look. The quote should state handle material, width, stitch pattern, and drop length, not just a vague handle description.
Size tolerance matters because bags that drift too far from spec are annoying to use and expensive to sort. If the tote is meant to hold a particular insert, kit box, or shelf-ready product bundle, define the finished width, height, gusset, and handle drop with an acceptable tolerance band before production. Even a few millimeters of drift can change the way the bag stacks, folds, or receives cartons. Cosmetic teams often discover the problem only after the bags have already shipped, which is too late to fix efficiently. For repeat programs, keep a measurement record from the approved sample so future lots can be checked against the same baseline rather than a memory of how the bag should have looked.
- Set finished size tolerances for width, height, gusset, and handle drop before cutting begins.
- Confirm whether the handle is cotton webbing, self-fabric, or a blended material.
- Check symmetry so the left and right handles sit at the same height and angle.
- Ask the supplier to reinforce corners if the bag will carry boxed or heavy fill items.
- Retain a measurement sheet from the approved sample for future reorders.
Packing and carton control are part of quality, not just logistics
Packing affects first impression as much as the bag itself. Flat packing saves freight, but if cartons are compressed too hard, the print area may crease sharply or the body may deform. Individual polybags protect the surface and help in humid lanes, yet they add labor and plastic, so the buyer should decide whether the warehouse or store team can remove them efficiently. The right answer depends on the destination, not on habit. For cosmetic brands, the receiving team should know whether the bags are intended to be shelved, distributed in kits, or stored for campaign use, because each destination has a different tolerance for wrinkles and packaging cost.
Carton inspection should be as deliberate as bag inspection. Confirm carton dimensions, gross weight, carton count, and marks before shipment. Then inspect whether the correct SKU, colorway, print version, and lot number are separated. Mixed cartons are a common source of receiving disputes because the warehouse counts the outer cartons but finds the contents are not organized the way the purchase order described. A buyer who wants clean receiving should ask for a packing list that mirrors the physical carton plan exactly, including sortation by version if multiple artworks or campaigns are included in one order.
- Choose flat pack only if crease control will not hurt presentation.
- Use polybags when humidity, transit time, or retail handling makes extra protection worthwhile.
- Check carton corners, moisture, labeling, and count before accepting the shipment.
- Ask for lot-based carton separation when there are multiple print versions or colorways.
- Verify the physical packing arrangement against the packing list at receiving.
- Require carton marks to identify SKU, quantity, lot, and artwork version clearly.
Specification comparison for buyers
| Spec decision | Recommended option | When it fits | Buyer risk to check |
|---|---|---|---|
| Fabric weight | 12 oz / 340-400 GSM canvas | Best starting point for cosmetic brand giveaways, retail events, PR mailers, and reusable book-fair style totes | Too light can look thin and distort at seams; too heavy increases cost, makes folding harder, and can change print hand-feel |
| Construction route | Single-layer body with reinforced top hem and handle anchors | Works for most brand merch programs that need structure without a full lining | Single-layer bags without reinforcement often fail first at the handle join or bottom corners |
| Print method | 1-2 color screen print for simple artwork; heat transfer for small runs or more detailed graphics; woven label for minimalist branding | Useful when the logo, tagline, or icon needs crisp brand recognition and limited color count | Poor registration, ink cracking after folding, weak adhesion on transfer prints, and color drift between sample and bulk |
| Handle style | Cotton webbing or self-fabric handles, usually 25-35 cm drop depending on carry style | Retail buyers who want balanced carry comfort and easy packing | Short drops feel awkward; overly long drops add fabric, twist the silhouette, and may raise unit cost |
| Supplier route | Factory-direct with in-house sewing and printing when possible | Best when you need direct control over sample revisions, QC corrections, and repeatability | Trading layers can hide the true fabric source, limit visibility on rework, and slow defect resolution |
| Order structure | Stock body + custom print for test launches; custom cut-and-sew for larger or repeat programs | Good for teams balancing lead time, MOQ, and brand specificity | Stock-body programs can change color, size, or reinforcement between lots if the supplier is not disciplined |
| Packing style | Flat packed with lot separation, or individual polybag if humidity or retail handling demands it | Useful for warehouse receiving, campaign distribution, and e-commerce fulfillment | Over-compression can crease artwork; mixed lots in one carton create receiving and counting errors |
| Inspection method | AQL-based visual and measurement inspection with pull, rub, and carton checks | Any branded tote program where presentation quality and repeatability matter | Without written acceptance criteria, every seam, shade, or print shift becomes a dispute |
Buyer checklist before sampling
- Lock the finished size, seam allowance, handle drop, and whether the tote is single-layer, lined, or reinforced before asking for quotes.
- State the target canvas weight in oz or GSM and the allowed tolerance, especially if the bag will carry boxed cosmetics, catalogs, or sample kits.
- Define the print method, artwork files, color count, and whether PMS matching is required or only a visual match under daylight.
- Request a pre-production sample made from the same fabric lot, thread color, label, and packing method intended for bulk.
- Ask the supplier to quote fabric, sewing, printing, packaging, and freight assumptions separately so one quote can be compared with another.
- Set measurement tolerances, defect categories, and carton requirements before the purchase order is issued.
- Require one signed golden sample, one signed spec sheet, and one packed sample carton before bulk production starts.
- Confirm whether the supplier can segregate lots by size, artwork version, or campaign date if you need multiple SKUs in one shipment.
Factory quote questions to send
- What exact canvas weight, weave type, and shrinkage range are you quoting for this tote?
- Is the quote based on stock body fabric or newly cut material, and what changes if the stock body is unavailable?
- Which steps are included in the unit price: cutting, sewing, handle attachment, print setup, label sewing, packing, and cartonization?
- How many colors, print locations, and print passes are included before the price changes?
- What is the MOQ for the quoted version, and what changes if we alter size, handle length, reinforcement, or print method?
- Can you produce a pre-production sample using the same fabric lot and print process that will run in bulk?
- What are the allowed tolerances for bag size, stitch density, handle placement, and print placement?
- How do you prevent mixed lots, print versions, or size variants from being packed into the same carton?
- What is the normal lead time after sample approval, and which step is the most likely to delay shipment?
- Will you share final carton dimensions, gross weight, net weight, and carton marks before goods are shipped?
Quality-control points to confirm
- Use a written AQL plan, commonly ISO 2859-1 General Inspection Level II with separate acceptance logic for critical, major, and minor defects; many buyers start with AQL 0 for critical, 2.5 for major, and 4.0 for minor, then confirm the exact sample size against the lot table before the PO.
- For stitching, use the factory’s documented construction standard as the primary reference. As a buyer starting point, many canvas tote programs specify around 8-10 stitches per inch on body seams and 10-12 stitches per inch on handles and reinforcement zones, then verify that the seam is even, secure, and appropriate for the fabric weight rather than chasing a number alone.
- For handle strength, avoid arbitrary pull targets unless they are tied to the expected load. A more defensible buyer spec is to test the handle and anchor with the intended working load multiplied by a safety factor agreed with the supplier, or to ask the factory to disclose its internal test method and acceptance threshold used on comparable tote programs.
- Set a print rub check using a white cloth after folding and handling. Use the supplier’s standard method if they have one, or agree a practical starting-point test that shows whether the print transfers, smears, or cracks in normal use, especially on dark artwork and transfer prints.
- Confirm print placement is within a defined tolerance, such as within 5 mm of the approved artwork position or centerline, so logos do not drift toward seams or handles.
- Inspect fabric for holes, slubs, oil marks, shade bands, weak yarns, and edge fraying, with stricter rejection for defects in the front panel or load-bearing zones than for hidden areas.
- Measure bag width, height, gusset, handle drop, and symmetry on a sampling basis and reject units that fall outside the agreed tolerance band.
- Open cartons randomly to confirm quantity, SKU, artwork version, and lot number, then check that the inner packing style matches the approved sample.
- Reject any carton with moisture damage, crushed corners, mixed versions, missing labels, or count mismatch between carton marks and the physical contents.
- Require loose thread trimming, odor control, and dust removal before packing so the bag arrives ready for retail or event distribution.