Start With the Event Load
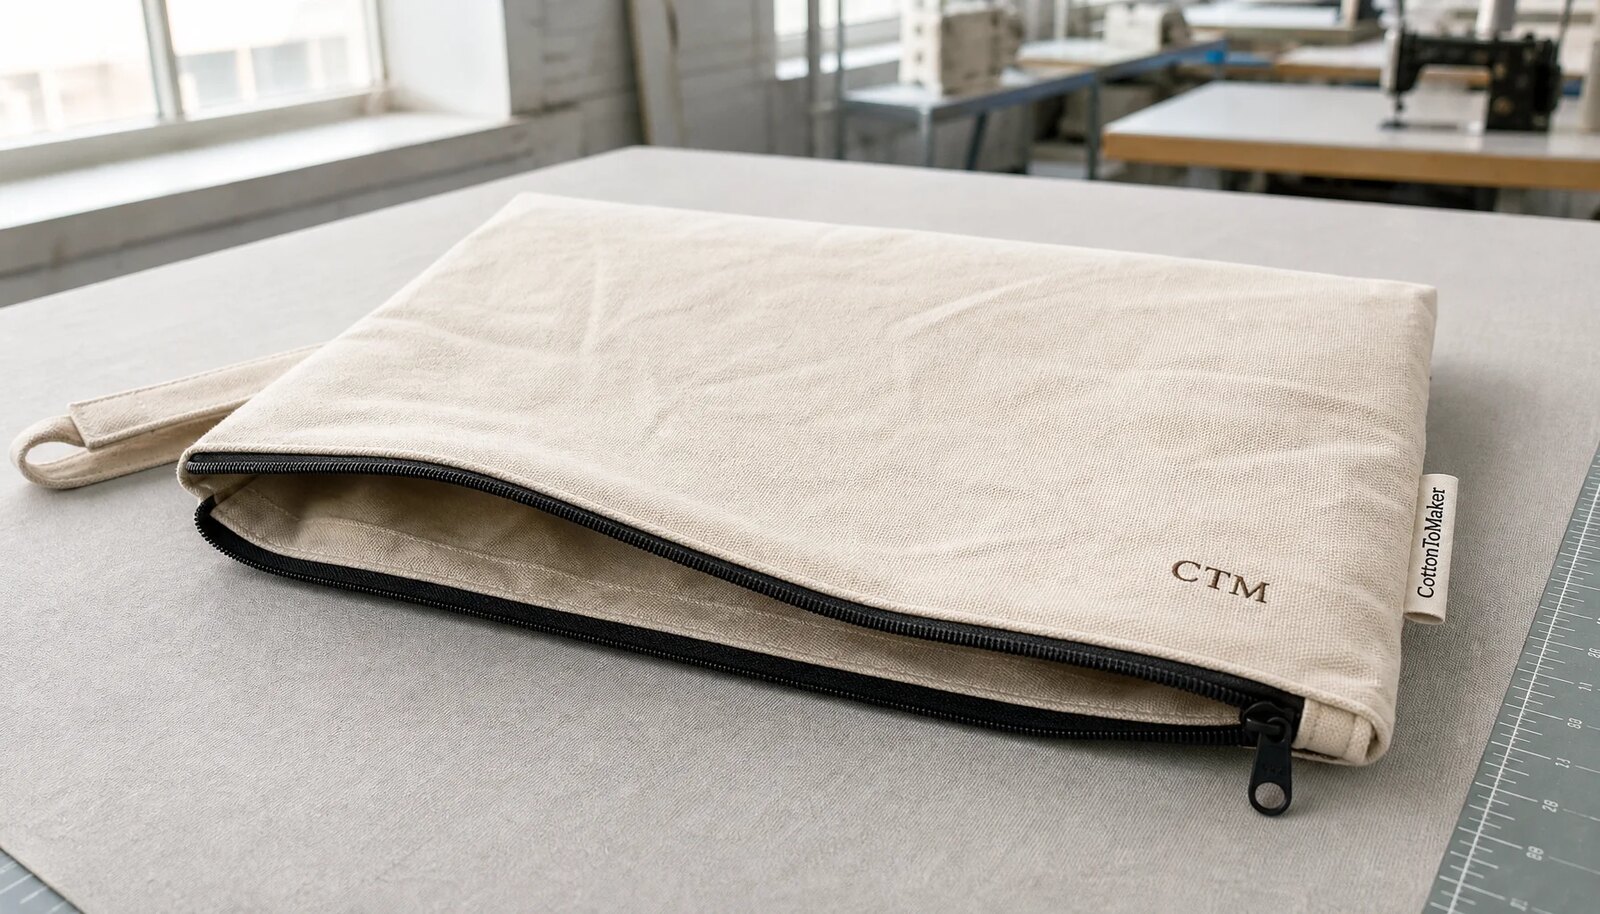
A canvas zipper portfolio for event planners is part organizer, part branded packaging, and part attendee giveaway. It may carry agendas, sponsor inserts, badge packets, hotel cards, maps, workshop sheets, notepads, pens, and sometimes a slim tablet or charger. The product is also handled before the event: packed in cartons, sent to a warehouse, inserted into attendee kits, moved to registration tables, and displayed with the logo facing out.
The right specification starts with the load. A document holder for a half-day seminar does not need the same fabric, lining, or zipper as a VIP delegate portfolio for a multi-day hosted-buyer event. A portfolio packed inside a larger welcome kit has more carton-compression risk than one handed out empty at registration.
Write the buying brief around use, not around a generic product name. List the largest insert, loaded thickness, expected number of openings, reuse expectation, and whether the front panel must stay flat for logo presentation. Those details guide fabric weight, zipper grade, reinforcement, decoration, and packing.
- Use lighter builds for short programs carrying only flat paper.
- Move to lining and stronger seams for mixed kits with notebooks and sponsor inserts.
- Review zipper opening length when tablets, chargers, or thick catalogs are involved.
- Treat VIP gifts and resale items as reusable accessories, not disposable handouts.
- Plan packing so the logo panel is not creased before the event starts.
Read Canvas Weight Correctly
Canvas weight is usually quoted in ounces per square yard and often converted into GSM for international sourcing. As practical buying ranges, 8 oz canvas is about 280 to 300 GSM, 10 oz is about 340 to 350 GSM, 12 oz is about 400 to 450 GSM, and 14 oz is a heavier structured option. These ranges are typical, not universal, because weave, yarn, finish, and measurement method can shift the result.
For most event portfolios, 10 oz canvas is the balanced middle. It gives the front panel enough body for a clean logo, accepts common decoration methods, and keeps carton weight manageable. Move toward 12 oz when the buyer wants better shape retention, a more premium hand feel, or repeated use. At that level, lining and zipper-end reinforcement should usually be upgraded too.
An 8 oz portfolio can work for light paper programs and budget handouts, especially when a stock body is available. It becomes risky for heavy brochures, tablets, and repeat use. A 14 oz body feels substantial but increases material cost, corner bulk, sewing difficulty, and freight weight. In the RFQ, state both oz and GSM and define the allowed tolerance so the bulk fabric can be checked before cutting.
- 8 oz: light, lower freight impact, best for flat paperwork and short-term use.
- 10 oz: common default for conference portfolios and one-color branded programs.
- 12 oz: better hand feel and shape retention when paired with lining and stronger trims.
- 14 oz: suitable when premium positioning or resale value justifies cost and weight.
- Use this canvas zipper portfolios for event planners fabric weight guide as a starting point, then adjust for contents, brand standard, and budget.
Match Build to Contents
Fabric weight alone does not make a portfolio durable. A 12 oz canvas body with weak zipper tape, loose stitch density, and no reinforcement can fail faster than a well-built 10 oz version. The full build includes outer canvas, lining, pocket layout, seam allowance, stitch density, zipper type, zipper-end treatment, corner reinforcement, decoration, and packing.
For document-only use, an unlined or lightly lined 10 oz portfolio may be enough. For notepad kits, lining protects the inside and keeps paper edges from catching on raw seams. For tablet-friendly programs, the opening must be long enough, the lining should be smoother, and corners need more control because rigid contents push against the zipper line.
Test samples with real contents. Pack the planned brochure, notebook, pen, badge packet, sponsor inserts, and any tablet substitute. Zip it, unzip it, lay it flat, stack several units, and inspect again. If the front panel ripples, the zipper bows, or corners bulge, revise the construction before bulk cutting.
- For agendas and brochures, prioritize flat panels and a clean print surface.
- For notepads, review pen-loop position, pocket depth, and interior seam finish.
- For tablets, use lining, sufficient opening length, and corner stress control.
- For staff kits, check repeated access and zipper comfort.
- For attendee-kit assembly, make sure the portfolio fits the larger kit without bending.
Specify the Zipper
The zipper is one of the most visible and most-used components on a canvas portfolio, yet many RFQs still say only zipper closure. That leaves room for substitutions. Include zipper type, size, tape color, teeth color, puller shape, puller material, puller finish, end treatment, and whether a branded puller is required.
Nylon coil is usually the practical choice for flat canvas portfolios because it is flexible, smooth, light, and forgiving when the product is filled. Molded plastic can look more rugged but may feel bulky on a slim document holder. Metal can look premium, though low-grade metal zippers may feel rough and add weight. For event use, smooth travel usually matters more than decorative effect.
Zipper size should match the finished portfolio thickness. A slim document pouch can use a smaller coil zipper. A lined 12 oz portfolio with pockets, gusset, or tablet use should move to a larger zipper and stronger tape. Reinforced ends are important: folded tape stops, bar tacks, and controlled top stitching reduce the chance of the zipper pulling loose during repeated opening.
- Name zipper type and size in the quote, not only zipper closure.
- Match tape color and puller finish to the portfolio body and brand standard.
- Use stronger zipper tape for lined, gusseted, or tablet-friendly portfolios.
- Inspect zipper-end reinforcement on the pre-production sample.
- Test zipper travel with the portfolio loaded, not empty.
Choose the Logo Method
Decoration should match the fabric finish, artwork, and event use. Screen printing is efficient for clean one-color or two-color logos on natural or dyed canvas. It is repeatable when ink is properly cured. Key details include print size, ink color reference, placement tolerance, opacity, registration, and cure quality.
Woven labels and sewn patches suit premium programs, darker canvas, or understated corporate branding. They bring separate variables: label MOQ, edge finish, backing, stitch color, placement tolerance, and whether the label puckers the front panel. On a flat portfolio, a slightly crooked label is easy to see.
DTF and heat transfer can help with multicolor logos, gradients, or fine artwork that is inefficient for screen print. The risks are edge lift, color migration, cracking, and poor abrasion performance. Test these methods on the same canvas weight and finish planned for bulk. Embroidery can work on heavier canvas, but dense stitching may distort the panel, especially near a zipper seam or corner.
- Use screen print for simple logos and repeat event programs.
- Use woven labels or patches for premium and subtle branding.
- Use DTF or heat transfer only after abrasion, crease, and edge-lift checks.
- Use embroidery carefully and avoid dense artwork on thin canvas.
- Approve decoration on the same fabric color, finish, and weight planned for production.
Make Quotes Comparable
A low quote is not useful if it is based on a different product. One supplier may price 10 oz canvas with nylon coil zipper, lining, export cartons, and a print strike-off. Another may price 8 oz canvas, no lining, vague zipper details, and basic packing. Those prices should not be treated as equal offers.
A complete RFQ should include finished dimensions, canvas weight in oz and GSM, fabric finish, lining, zipper specification, decoration method, artwork size, pocket layout, stitch color, reinforcement points, packing method, carton requirement, sample stages, inspection requirement, and Incoterm. Add the event date and warehouse arrival date so suppliers can judge schedule risk.
Request a quote matrix instead of one blended number. Separate base unit cost, sample cost, setup charges, print charges, label cost, branded pullers, lining upgrades, individual packing, carton markings, and freight terms. This lets procurement adjust cost deliberately without removing features that protect function or brand presentation.
- Send every supplier the same dimensions, fabric, zipper, logo, lining, and packing brief.
- Request base price and upgrade prices in separate lines.
- Ask which materials are stock and which are made to order.
- Require carton dimensions and gross weight with serious quotes.
- Hold price comparisons until the Incoterm, packing method, and inspection assumptions match.
Frame MOQ and Lead Time
MOQ is shaped by more than sewing capacity. Fabric availability, dyeing minimums, zipper sourcing, label production, cutting efficiency, decoration setup, and packing can all affect the minimum. A natural canvas body with standard zipper tape and one-color print often supports a lower MOQ than custom-dyed fabric with branded pullers and woven labels.
Use MOQ ranges as market-dependent examples, not fixed sourcing claims. A stock or semi-custom portfolio may be available around 300 to 500 pcs when the factory already has the body, fabric, and zipper. A fully custom size, canvas weight, lining, and logo placement often fits better from about 1,000 pcs. Custom-dyed canvas, custom zipper tape, woven labels, or branded pullers can push MOQ to 1,000 to 3,000 pcs depending on the mill, trim supplier, and customization level.
Lead time should be split into stages: material sourcing, sample making, decoration strike-off, sample approval, bulk cutting, sewing, packing, inspection, and freight handover. A custom program may need 7 to 14 days for samples after artwork and material confirmation, 25 to 40 days for bulk production after approval, and additional time for inspection, freight, customs, and local delivery. Event dates need buffer before kit assembly.
- Ask for MOQ at the exact quoted specification, not at a simpler stock version.
- Confirm whether canvas, zipper tape, lining, labels, and pullers are in stock.
- Separate sample lead time, material lead time, bulk sewing time, and freight time.
- Avoid late changes to custom pullers, dyed trims, or label placement.
- Include one sample revision in the timeline for new custom builds.
Approve Samples by Data
Sample approval should not rely on a clean product photo. Measure finished width, height, zipper opening, gusset width, pocket depth, logo-to-edge distance, label position, seam allowance, and stitch density. Record the numbers on a sample sheet and compare them with the RFQ tolerance before approving bulk production.
The sample should use the same canvas weight, zipper grade, lining, decoration, and main trims planned for bulk. A substitute fabric sample can confirm rough size, but it cannot confirm hand feel, print behavior, shrinkage, zipper waviness, or packed appearance. If the first sample uses substitutes, require a true pre-production sample before bulk cutting.
Use simple checks that your team can repeat. Load the sample with intended contents, zip and unzip it at least 20 times, lay it flat, review logo alignment, rub the print with a clean dry cloth, flex the decoration area, and pull gently at zipper ends, pocket corners, pen loops, and label edges. These checks do not replace formal lab testing, but they catch many event-use problems early.
- Create a measurement sheet before sample approval.
- Approve a decoration strike-off when color, opacity, or fine detail matters.
- Keep one sealed approval sample with the buyer and one with the factory.
- Photograph approved details: zipper ends, logo placement, lining, pockets, and packing.
- Do not approve bulk production until material, trim, and decoration match the final spec.
Set Inspection Standards
Quality standards should be agreed before production begins. The inspection checklist should cover fabric consistency, panel alignment, zipper operation, seam strength, decoration quality, interior finish, measurement tolerance, packing, and comparison with the sealed approval sample. Clear standards reduce disputes when a defect is found.
For formal inspection, many buyers use ANSI/ASQ Z1.4 with general inspection level II. A common consumer-goods target is 0 critical defects, 2.5 AQL for major defects, and 4.0 AQL for minor defects, but the buyer should set the final standard based on risk, order value, and customer expectations. Critical defects may include unsafe sharp parts, mold, strong contamination, or an unusable closure. Major defects may include broken zipper, wrong fabric weight, wrong logo, severe front-panel stain, open seam, or size outside tolerance. Minor defects may include small thread tails, slight removable marks, or minor shade variation within the approved standard.
Final inspection should include random carton selection, measurement checks, loaded-function checks, zipper-cycle checks, decoration review, print rub checks, packing verification, and carton condition. For premium reusable programs, request 100 zipper cycles on inspection samples. For standard event handouts, 50 cycles may be enough if there is no snagging, tooth separation, puller failure, or end-stitch failure.
- Set AQL, defect classifications, and tolerances before bulk sewing.
- Inspect fabric panels before sewing to remove stains and severe shade bands.
- Check logo placement from multiple cartons, not only the top unit.
- Run zipper-cycle checks on loaded samples.
- Use pass/fail rules for zipper failure, open seams, wrong logo, wrong size, stains, and crushed packing.
Plan Packing and Landed Cost
Packing is part of the specification for flat canvas portfolios. A good product can arrive with a crease through the logo, dusty surface, crushed zipper line, or warped corners if cartons are packed too aggressively. Decide whether each piece needs an individual polybag, paper wrap, tissue, insert sheet, hangtag, barcode, or master-carton divider. For sustainability requirements, ask for paper or recyclable options early because they can affect cost and handling.
Carton density affects both landed cost and event operations. Request carton length, width, height, units per carton, net weight, gross weight, and carton material. For many flat portfolios, keeping gross carton weight under about 15 to 18 kg improves warehouse handling, but the buyer should confirm local handling rules. Overfilled cartons can lower freight cost per unit while increasing crease damage and rework risk.
Landed cost includes sample charges, setup charges, inspection, FOB price, freight, duty, domestic delivery, warehouse receiving, repacking, and schedule buffers. For fixed event dates, a slightly higher unit price can be the better choice if it reduces sample risk, protects the logo panel, improves zipper reliability, or avoids emergency air freight. The best canvas weight is the one that performs at the event and still fits the total landed-cost plan.
- Approve packing before bulk production, especially when the logo panel must stay flat.
- Request carton dimensions and gross weight with the final quote.
- Check whether cartons suit warehouse receiving and attendee-kit assembly.
- Compare suppliers using the same Incoterm and packing assumptions.
- Leave time for inspection, freight handover, customs, and local distribution.
Specification comparison for buyers
| Canvas and build | Typical weight range | Best event use | Procurement checks |
|---|---|---|---|
| Light flat portfolio | 8 oz canvas, about 280 to 300 GSM, often unlined or lightly finished inside | One-day seminars, badge packets, agenda sheets, sponsor flyers, and light document packs | Use only for flat loads. Check print show-through, panel sag, zipper smoothness when filled, and whether the logo panel creases in carton packing. |
| Standard conference portfolio | 10 oz canvas, about 340 to 350 GSM, usually with nylon coil zipper and clean interior binding or light lining | Corporate meetings, association conferences, training programs, trade shows, and general delegate kits | Set fabric tolerance, commonly around plus or minus 5 percent if acceptable to your buyer. Check zipper opening length, logo placement, front-panel flatness, and carton gross weight. |
| Structured planner portfolio | 10 to 12 oz canvas, about 350 to 420 GSM, lining recommended, reinforced zipper ends | Notepad kits, room schedules, maps, slim catalogs, pens, and programs handled throughout several event days | Test with real contents. Check pocket depth, stitch density, corner stress, zipper-end reinforcement, and whether paper catches on interior seams. |
| Premium delegate portfolio | 12 oz canvas, about 400 to 450 GSM, lined body, stronger zipper tape, bar-tacked stress points | VIP events, hosted-buyer programs, incentive trips, alumni gifts, staff kits, and repeat-use attendee tools | Pair the heavier fabric with lining and stronger trims. Watch for decoration puckering, bulky folded corners, needle marks, and higher freight impact. |
| Heavy retail-style portfolio | 14 oz canvas or similar heavy structured canvas, usually lined or supported internally | Merchandise tables, executive gift sets, resale items, and year-round event merchandise | Use when the premium feel justifies cost and weight. Check sewing bulk, zipper strain, carton weight, folded-edge appearance, and landed cost per usable unit. |
| Material | 300D-600D polyester, 10-12 oz canvas, or recycled PET with backing stiffness matched to document weight | Before price comparison | Different cloth weights, backing, or certification claims make quotes hard to compare |
| Construction | zipper gauge, zipper tape width, puller finish, binding tape, corner reinforcement, seam allowance, and document-size tolerance | Before sampling | Weak stress points create returns and failed inspections |
| Decoration | screen print, heat transfer, woven label, or rubber patch placed away from zipper stress and fold lines | Before artwork approval | The wrong method can crack, bleed, pucker, or fail on the chosen fabric |
Buyer checklist before sampling
- Map the real load: documents only, notebook and pen, badge packet, sponsor inserts, tablet sleeve, staff kit, VIP gift, or resale merchandise.
- Measure the largest insert and define finished width, height, zipper opening length, pocket depth, and gusset width around that item.
- State canvas in both oz and GSM, with a buyer-approved tolerance such as plus or minus 5 percent when suitable.
- Name the fabric finish: natural, dyed, washed, brushed, coated, preshrunk, water-resistant, or recycled-content canvas if required.
- Lock zipper details: nylon coil, molded plastic, or metal; zipper size; tape color; teeth color; puller style; puller finish; and end reinforcement.
- List interior details: unlined, light lining, cotton lining, polyester lining, divider sleeve, tablet sleeve, pen loop, card pocket, binding, or seam finishing.
- Provide vector artwork with Pantone, CMYK, or thread references, exact logo size, placement, decoration method, and placement tolerance.
- Set tolerances for finished width, height, zipper opening, pocket depth, gusset, and logo placement before the pre-production sample is made.
- Use defined sample stages where needed: material swatch, decoration strike-off, custom sample, pre-production sample, and sealed approval sample.
- Confirm packing: individual bag or paper wrap, units per carton, carton grade, shipping marks, insert protection, and suitability for kit assembly.
Factory quote questions to send
- What exact canvas weight are you quoting in oz and GSM, what tolerance applies, and how will fabric weight be verified before cutting?
- Is the fabric stock or made to order, and is it natural, dyed, washed, coated, brushed, preshrunk, or water-resistant?
- What MOQ applies to this exact specification, and which choices change it: dyed fabric, lining, labels, custom pullers, custom zipper tape, or special packing?
- What lead time applies for material sourcing, sampling, decoration strike-off, bulk sewing, packing, inspection, and freight handover?
- Which zipper type and size are included, and what tape color, teeth color, puller style, puller finish, and end reinforcement are quoted?
- What decoration method is included, how many colors are included, what artwork size is covered, and what setup, screen, mold, or label charges apply?
- Can you provide a print strike-off, embroidery sample, woven-label sample, or heat-transfer test on the same canvas planned for bulk?
- What finished-size tolerance, logo-placement tolerance, stitch-density range, and seam allowance will production follow?
- What AQL plan do you support for final inspection, and how do you classify critical, major, and minor defects for this product?
- What carton dimensions, units per carton, net weight, gross weight, export-carton grade, and packing method are included in the quote?
Quality-control points to confirm
- Verify fabric weight against the approved oz and GSM range before cutting, using the agreed tolerance and recording results by lot.
- Check canvas shade, weave, finish, hand feel, slubs, stains, and panel direction against the sealed approval sample under consistent lighting.
- Inspect finished width, height, zipper opening length, gusset width, pocket depth, and divider size against the approved measurement tolerance.
- Check logo placement against the approved tolerance, commonly within 3 to 5 mm on a flat front panel when that standard fits the artwork.
- For screen print, review opacity, clean edges, correct color, registration, cure, no pinholes, no ghosting, and no cracking after light folding and rubbing.
- For heat transfer or DTF, review edge lift, bubbling, color migration, sticky surface, cracking after creasing, and abrasion resistance on the same canvas.
- For embroidery or sewn labels, review puckering, loose backing, label alignment, stitch color, trimmed threads, and whether the decoration interferes with interior use.
- Run zipper checks on loaded samples: smooth travel, no snagging, no tooth separation, no twisted tape, no loose puller, and reinforced ends intact.
- Use a zipper-cycle target suited to the order, such as 50 open-close cycles for standard event handouts or 100 cycles for premium reusable programs.
- Inspect stitching for density, skipped stitches, broken threads, loose tails, seam waviness, needle damage, uneven binding, and weak bar tacks.